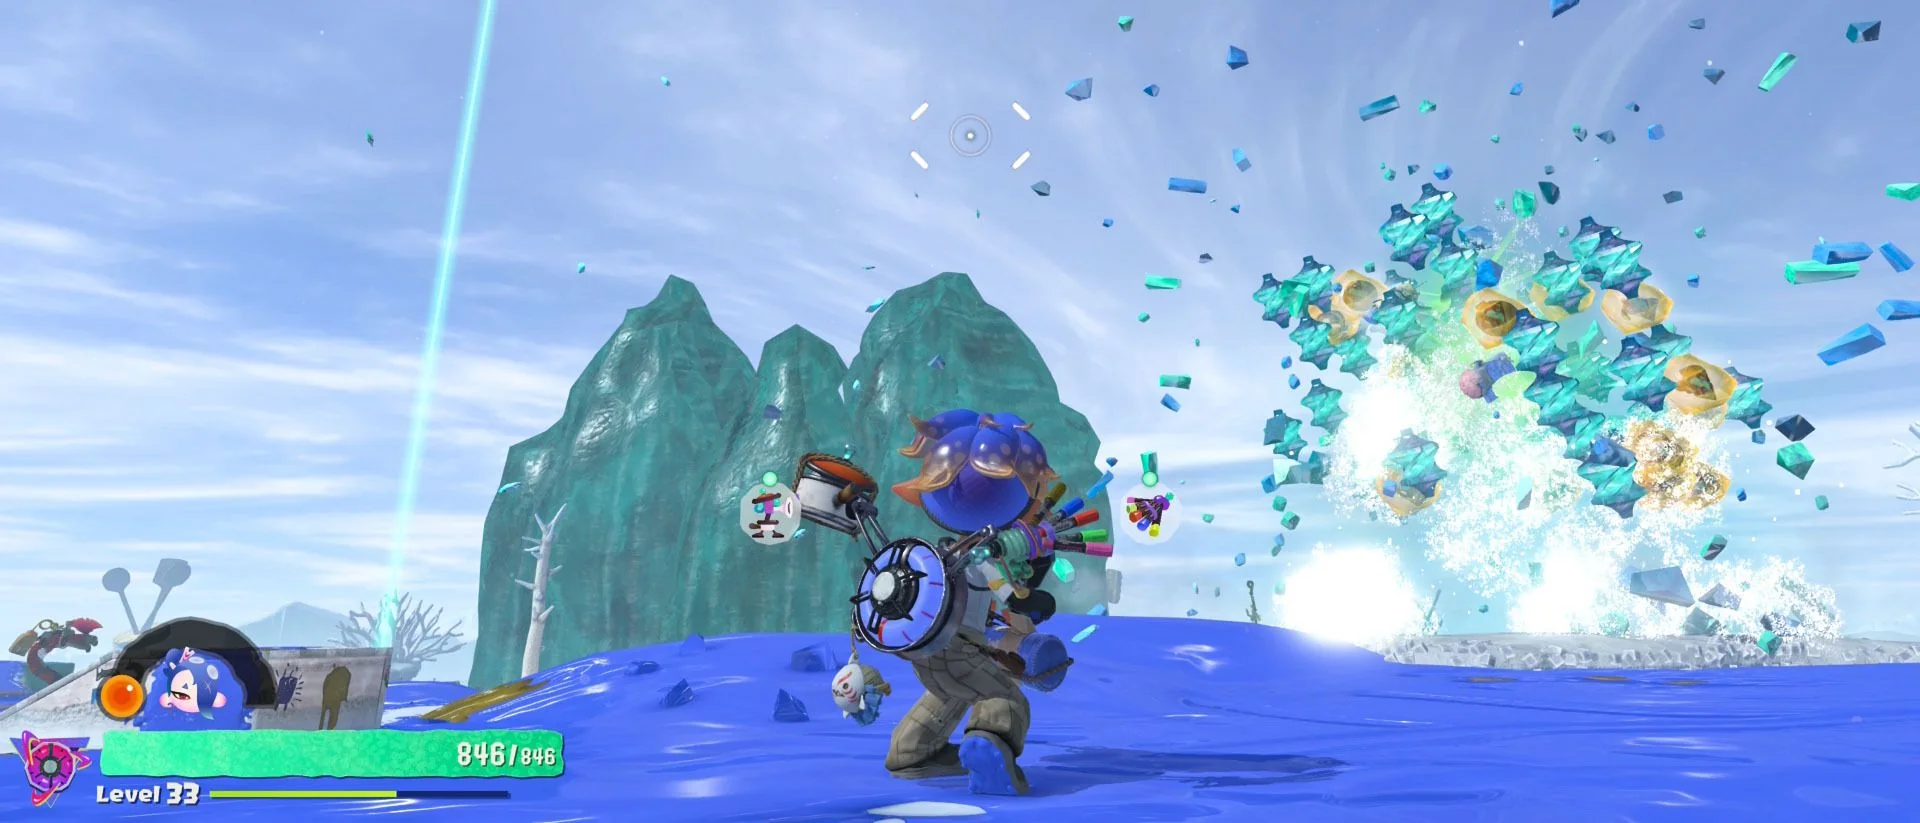
The cleanest Splatoon Raiders walkthrough is a flexible difficulty route, not a mandatory stage list. Start with Pantree Beach and the low-level raids around Erpp, Puos, Spata, Tygoru, and Zapiz; clear Bowtlode Temple; move through the volcanic islands toward Stonuvan Temple; cross the ice and outer-island routes to Coohla Temple; then enter the Great Salmon Mess Hall for the main finale. The map often exposes several raids at once, so use the displayed Salmonid Level and the objective type to choose the next sensible stop.
This guide stays spoiler-light through the first half, names bosses only when route planning requires it, and warns before the ending path. It focuses on where to go and how to recognize a progression problem. For movement, ink management, Bot Buddy controls, and basic equipment systems, keep the site's beginner guide open as a companion rather than expecting a campaign route to reteach every control.
Splatoon Raiders walkthrough route at a glance
The table below is a route compass, not a completion ledger. Exploration raids open the map and teach traversal; dens compress the same combat ideas into timers or consecutive sublevels; temples are major story gates. Optional raids are valuable for levels and equipment, but an uncleared icon does not automatically mean the main story is blocked.
| Campaign band | Recommended route focus | Main gate | What the band tests |
|---|---|---|---|
| Opening islands | Pantree Beach, then the lower-level Erpp, Puos, Spata, Tygoru, and Zapiz routes | Bowtlode Temple, listed at Level 12 | Radar reading, Bot Hops, Power Egg collection, and the difference between exploration and timed objectives |
| Volcanic islands | Work upward through the Level 15–22 routes and finish Uven Crater | Stonuvan Temple | Lava and rail hazards, den efficiency, stronger mixed Salmonid groups, and arena control |
| Ice and outer islands | Begin around the Level 24 ice routes, then follow newly revealed islands toward Glacerie | Coohla Temple, listed at Level 33 | Longer routes, denser enemy combinations, larger egg requirements, and build consistency |
| Main finale | Complete the Great Salmon Mess Hall tiers and enter the Throne Room | Main-story credits | Sustained execution, traversal under pressure, and correct use of the encounter objective |
| Post-game | Three Hidden Ruins in Level 42, 44, and 46 order, then the Bottomless Buffet from Level 50 | Floor-100 true-ending route | All three Tanks, mature equipment, fixed high difficulty, and endurance |
If you only want to finish the initial story, stop at the credits. The final row is a separate challenge path, not a missing chapter you must clear to say you beat the campaign. Players already at the finale can use the dedicated final boss guide; players who have rolled credits should move to the post-game route.
Start at Pantree Beach and learn the campaign loop
Pantree Beach is a tutorial, but its real purpose is to establish the loop used on every later island: recover a usable weapon, read the route, command the Bot Buddy, then bring the results back to the Hideout Ship. Do not rush past the contextual prompts. The bot is not background decoration; its search function points toward treasure, its hop creates vertical routes, and its drill opens marked crystals. A player who forgets those commands can appear “stuck” even when every enemy is already defeated.
Piel Coast on Erpp Island is the first complete rehearsal. Before moving away from a landing point, ask four questions: Where is the strongest radar signal? Which ground should be inked for retreat? What must the Bot Buddy do here? What objective actually ends the raid? That last question matters. Some encounters reward clearing a formation, others require Power Eggs, and excavation still needs the bot after the battlefield is quiet. Learn to stop firing once the stated requirement is met.
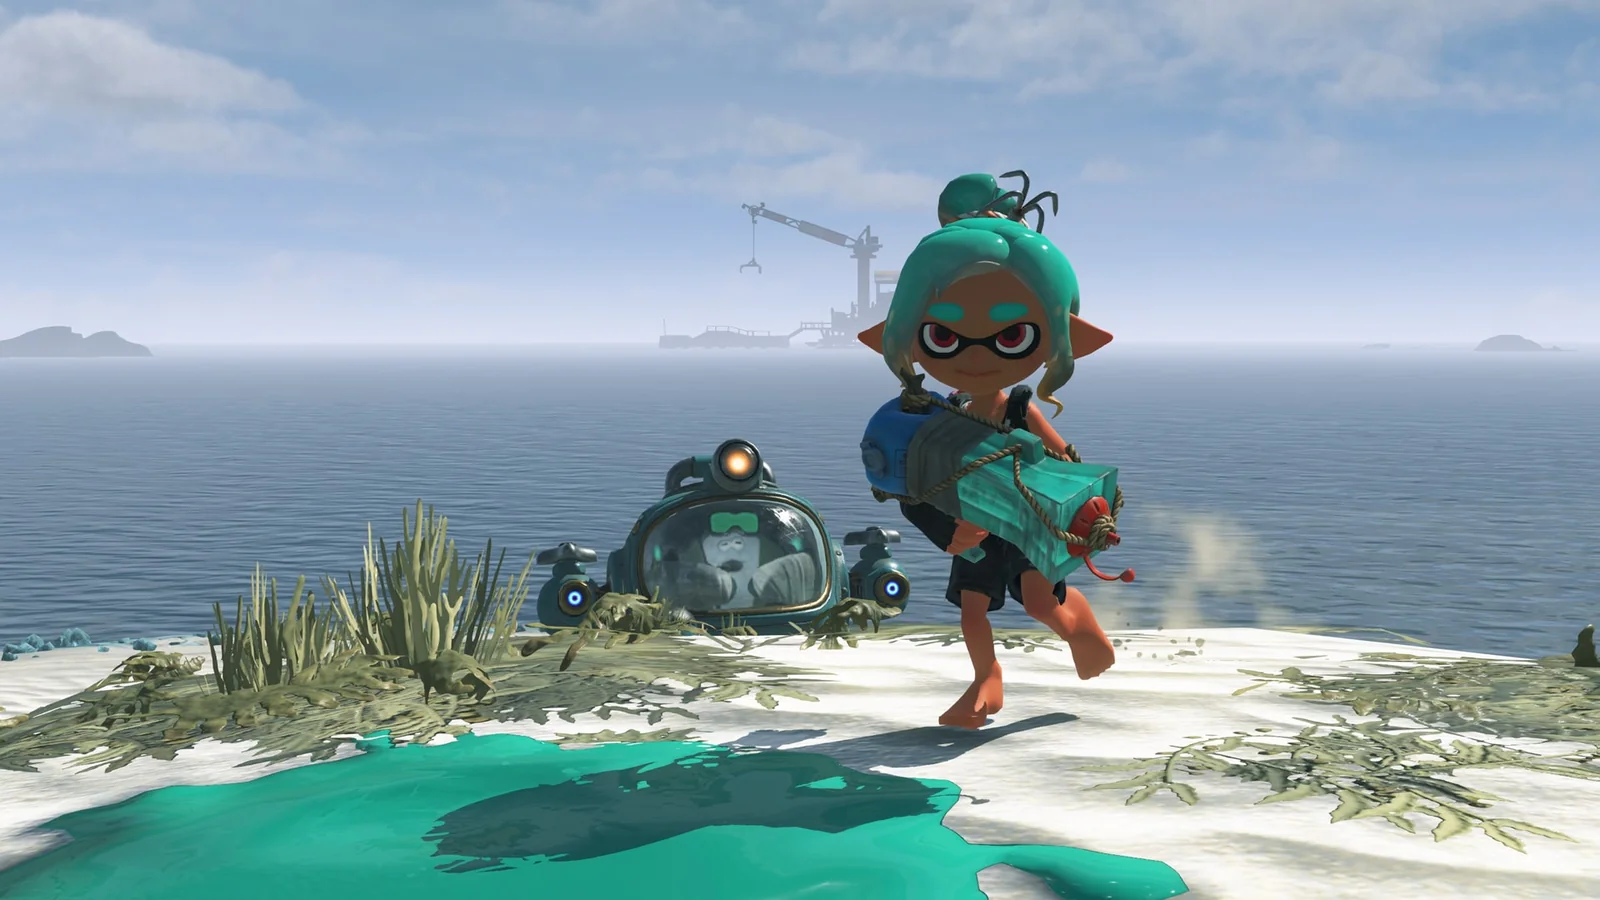
Use the Hideout Ship as a planning screen, not merely a menu between fights. Equip useful parts, spend skill points with a purpose, review newly revealed map nodes, and test one change at a time. If a longer-range weapon makes an elevated route easier, keep it for that job; if an efficient weapon lets you maintain ink under pressure, that is also a real upgrade. The opening does not demand a single “correct” build.
Your first milestone is therefore competence, not full collection. You can return for crystals, discoveries, and better completion later. Move on when you can follow radar pings, land a Bot Hop without panic, call the drill at the right crystal, and recognize when Power Eggs charge a route-specific action or Showstopper. Those skills save more time over the campaign than farming an early random drop.
Clear the early islands before Bowtlode Temple
After Piel Coast, finish the Erpp Island line through Blansh Seaway and Scayl Buried Ruins. That gives you a controlled introduction to elevated traversal and your first meaningful progression reward. From there, the map becomes less linear. A smooth route is Puos Island's Tumetto Rocks and Lintle Inlet, followed by Chowda Buried Ruins; then work across Spata, Tygoru, and Zapiz in roughly the order suggested by Levels 7 through 11.
- Use exploration raids to learn the terrain. Carbanyara Wetlands and Pipyoni Cliffs reward patient route reading, platform control, and removal of ranged threats before excavation.
- Use timed dens to test objective speed. Spigetty Den, Pleyn Den, and Sheeyz Den punish fighting enemies that do not help the current Power Egg quota.
- Use buried ruins to test endurance. Chowda and Alphreydo carry pressure across multiple sublevels, so entering the final room with no lives or charged tools is a route error, not bad luck.
- Enter Bowtlode Temple when the opening tools feel automatic. Its Level 12 listing is useful guidance, but reliable aiming, a painted escape route, and saved burst resources matter more than matching one exact weapon number.
If one branch stalls, take another visible low-level node and return with more experience. Do not spend half an hour forcing a strict timer just because it appeared first. A higher-numbered exploration raid can be easier for your current build than a cramped lower-numbered den. The aim is to arrive at Izakaya Island with several practiced answers—range, crowd control, recovery, and movement—not with every early icon checked.
Compasses and optional discoveries can reveal useful destinations, but hunting all of them now breaks the walkthrough's momentum. Mark the unfinished island and use the site's Treasure Map and compass guide during cleanup. Before the temple, compare the abilities you actually own in the Tank and Gadget Explorer. Choose tools that cover different failures instead of equipping two answers to the same easy crowd.
Clearing Bowtlode Temple is the transition into the middle campaign. It opens harder Spicy replays and multiplayer assistance and supports the next Hideout Ship upgrade path. Treat those unlocks as options, not chores: sample a Spicy raid if you want a tougher test, use Help when a normal raid stops being productive, and continue to the newly revealed volcanic route when your goal is story progress.
Follow the volcanic route to Stonuvan Temple
Minor boss and location spoilers follow. The volcanic difficulty curve begins around Level 15 with Fridda Trail and Temprah Den. Continue through Taytur Rocks and the Ferdi buried ruins, then use the lower-level options across Cire, Gildred, Narem, and Oftu to build toward Trattoria Island. The region's useful final pairing is Uven Crater followed by Stonuvan Temple, the Level 22 story gate.
The important change is environmental pressure. Fridda asks you to climb; Yaksubi Volcano uses launch plants and aerial routes; Kreyp Lava Lake and Uven Crater make a bad landing more expensive. Before crossing a rail, spring, or narrow bridge, clear the ranged enemy that can interrupt the movement. Ink the arrival platform when possible. A successful jump that lands in hostile ink beside a Stinger is not a safe route.
Timed dens remain the quickest test of whether your build converts combat into the objective. Temprah asks for a large egg total; Raisbul and later dens add arena-control problems such as Steel Eels or armored ranged enemies. If the timer expires while eggs remain scattered behind you, damage may not be the issue. Tighten the collection circuit, stop chasing low-value targets, and save wide attacks for the moment several useful enemies overlap.
Uven Crater is an untimed descent through bridges, rails, lava passages, excavations, and heavy formations. Use that freedom. Clear a landing zone before taking a traversal device, refill after each dense group, and preserve one emergency ability for the final excavation. Reaching Stonuvan Temple with a loadout that only works in open ground is a warning to add range, recovery, or control.
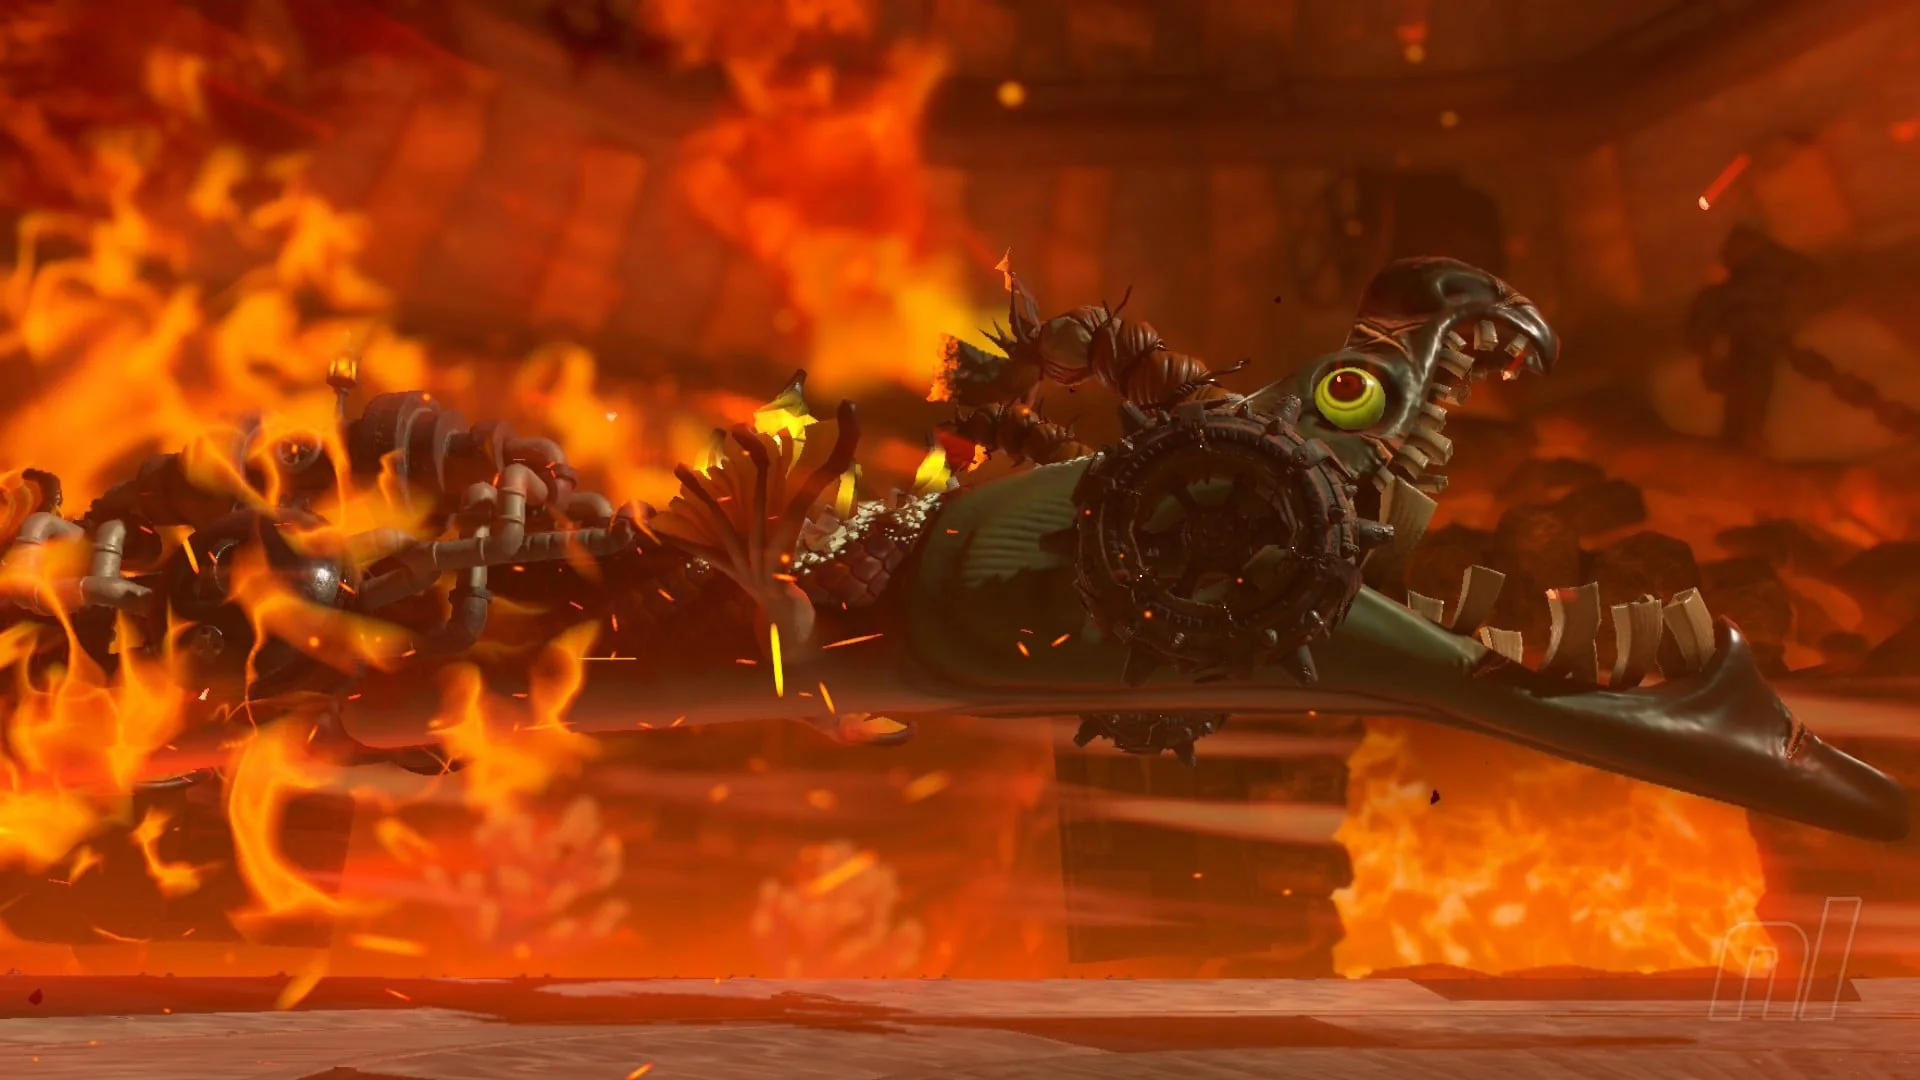
Stonuvan's boss, Paincourse, circles the arena at speed. The route-level lesson is simple: read its track, keep friendly ink available, and commit damage only during a created opening. Unexploded minecarts and the Power Egg Drill can stop the boss; firing while standing in its path is not progress. If supporting enemies erase your movement lanes, use the site's Salmonid counter guide to identify the threat that should die first. Clear the temple to finish the volcanic band and open the later ship systems.
Cross the ice islands and reach Coohla Temple
The late campaign opens with Vanilo Mountain and Choclet Iceberg on Zeefer Island, both listed at Level 24. Vanilo is a traversal check across icy slides, rotating treadmills, exposed edges, and ranged formations. Choclet is a broader, untimed sweep: gather roughly 4,500 Power Eggs across its branches, then return to the main crystal. Because neither route rewards reckless speed, remove long-range pressure before stepping onto moving terrain.
Continue through the newly exposed ice and outer-island nodes rather than treating one online list as a mandatory chain. Stroborro Den and Minchup Buried Ruins provide a natural rise into Levels 25 and 26, while later routes across Sypic, Keplic, Cryur, Hissu, Dasla, Rebda, and Dretess mix exploration, dens, and buried ruins. Follow the lowest sensible level when several nodes appear, but let the objective break ties: choose an untimed exploration raid if a strict den is currently exposing a weak build.
At this point, upgrade quality matters more than novelty. Keep a weapon only if its range, ink use, and firing rhythm remain dependable in dense formations. Check the weapon comparison for role-based choices, then pair it with one Gadget that solves space and another that solves the priority target. The Gadget guide is more useful than copying a late-game build whose parts you do not own.
Glacerie Island's Coohla Temple is the third major gate, listed at Level 33 in current finished-game routes. Its boss, Desshurt, protects damage windows behind destructible zones. Arrive with enough ink and cooldown capacity to survive a telegraphed attack and then break the exposed target quickly. If you spend everything on protected armor, the problem is timing; if the opening closes despite clean timing, improve focused damage before another attempt.
Finish the Great Salmon Mess Hall and main campaign
Main-story finale spoilers begin here. The next paragraphs name the final campaign boss and explain what rolling credits unlocks.
After Coohla Temple, follow the revealed route into the Great Salmon Mess Hall. Its Upper, Middle, and Lower Tier sequence is a sustained campaign exam rather than one ordinary island raid. Expect repeated timed objectives, stronger formations, and limited recovery between meaningful checks. Enter each tier with a loadout you have already tested; the finale is a poor place to learn an unfamiliar weapon simply because its level number is higher.
Before the Throne Room, verify three things. First, ordinary priority enemies should fall quickly enough that they cannot stack into overlapping attacks. Second, you should be able to gather dropped Power Eggs while moving instead of clearing an arena and then retracing it. Third, your Bot Hops should land where you intend. Those are the skills the finale combines, and no amount of theoretical boss damage repairs a failed traversal input.
Salmonarch is the main-story final boss. The encounter moves from a hazard route into platform objectives: defeat useful enemies and targets, fill the Power Egg gauge, and spend the Drill Attack on the required head. After all three heads are handled, complete the timed return to the Hideout Ship and the final crane interaction. Read the complete phase-by-phase final boss guide if you need attack tells, retry behavior, or loadout diagnosis.
Defeating Salmonarch rolls the first credits and completes the main campaign. That is a legitimate ending, not a failed or incomplete result. Your save then returns to the islands with new high-level routes. If you want story completion only, you can stop here; if you want the true-ending milestone or long-term equipment challenges, continue into the separate post-game path below.
What to do when a raid blocks your progress
A failed raid gives useful information only if you name the failure. Before spending materials, identify the moment that ended the attempt. A fall or missed Bot prompt is an execution problem. A timeout with eggs on the ground is a route problem. A timer that expires despite clean movement may be an output problem. Repeated damage from one enemy is a target-priority problem. Each diagnosis suggests a different fix.
- Retry once with one behavioral change. Paint the escape circuit first, remove the ranged threat earlier, or save the Showstopper for the final formation.
- Change one loadout element. Add range for an airborne target, crowd control for a den, mobility for exposed traversal, or recovery when small hits compound.
- Take another visible raid. A different objective can provide levels, parts, and practice without repeating the same failed minute.
- Farm toward a named upgrade. Use the farming guide when you know which material, weapon improvement, or Gadget part solves the problem.
- Change the difficulty or use help. Tourist, Raider, and Survivalist can be changed; normal campaign routes also provide online assistance after its unlock, subject to current activity limits.
A copied “best build” is useful only if you can explain its job. The site's build guide separates damage, survival, mobility, and support criteria. Start with the job your failed run revealed. If ordinary enemies are already dying quickly, another damage part may be less valuable than a tool that preserves the collection lane.
For co-op, distinguish a planned multiplayer room from Call for Help. Player count, progression, internet requirements, and activity restrictions can affect which option appears. Check the current multiplayer guide before treating matchmaking as a universal shortcut. Help should restore momentum, while a route or equipment change should explain why the next solo attempt works better.
Continue into post-game and the true-ending route
Major post-game spoilers follow. This section names the new locations and the floor-100 secret boss.
Reload the cleared save and follow the post-credits signal. Upgrade the Hideout Ship to Level 3 if needed, then clear Fischflak Hidden Ruins at Level 42, Smoksam at 44, and Myunyere at 46. Each location contains challenges tied to the Power, Speed, and Tactical Tanks. One comfortable-Tank clear is not enough; completing the full set provides the Relic parts that open the next route.
Super Spicy versions of campaign raids are useful for practice, materials, and equipment testing, but a complete Super Spicy checklist is not the direct true-ending requirement. Use those replays when a Hidden Ruin exposes a measurable weakness. The full post-game guide explains Tank preparation and the correct ruin checklist without forcing this campaign overview to duplicate it.
The assembled route leads into the Bottomless Buffet beneath the Great Salmon Mess Hall. It begins around Level 50, advances in groups of floors, and fixes the challenge at Survivalist. Call for Help is unavailable there, although supported direct online multiplayer remains possible. Reach floor 100 and defeat Lord Saltimatum to trigger the true-ending milestone. Bottomless Buffet can continue beyond that story target, so even the true ending is not the same as collecting or maximizing everything.
That distinction gives this walkthrough three sensible stopping points: credits for the main story, floor 100 for the extended story, and personal completion for players who enjoy open-ended builds and collection. For the narrative meaning rather than route mechanics, use the spoiler-heavy ending explanation.
Splatoon Raiders walkthrough FAQ
Do I need to clear every raid to finish the story? No. The Treasure Map can reveal optional dens, discoveries, and harder replays alongside story progress. Clear the raids that open the temple and finale route, then return to optional nodes when you want levels, equipment, collectibles, or completion. If one visible destination is blocking you, another branch may be the intended recovery path.
What is the Splatoon Raiders boss order? The main campaign order is Flappetizer at Bowtlode Temple, Paincourse at Stonuvan Temple, Desshurt at Coohla Temple, and Salmonarch in the Throne Room. Lord Saltimatum is a separate post-game boss at Bottomless Buffet floor 100, not a fifth gate before the first credits.
Can I play the campaign in co-op? Campaign raids support co-operative play after the opening unlock, but the exact room, Help, system, copy, account, and internet requirements depend on how your group connects. The host selects an available raid, and some late activities restrict Call for Help. Check the multiplayer and co-op guide before planning a full shared run.
Does rolling credits mean I completed everything? It means you completed the main story. The post-game adds Super Spicy replays, three Tank-specific Hidden Ruins, the Bottomless Buffet, a floor-100 true-ending goal, and continued collection. None of those invalidates the first ending. Choose the stopping point that matches your goal instead of turning an enjoyable campaign into an unwanted completion grind.
The shortest reliable principle is: follow the lowest useful route, read the mission objective before choosing a build, and change one thing after a failure. That method takes you from Pantree Beach to the Throne Room without pretending the Sphiralite Islands are linear—and it remains useful when the post-game route begins.

Loading comments...