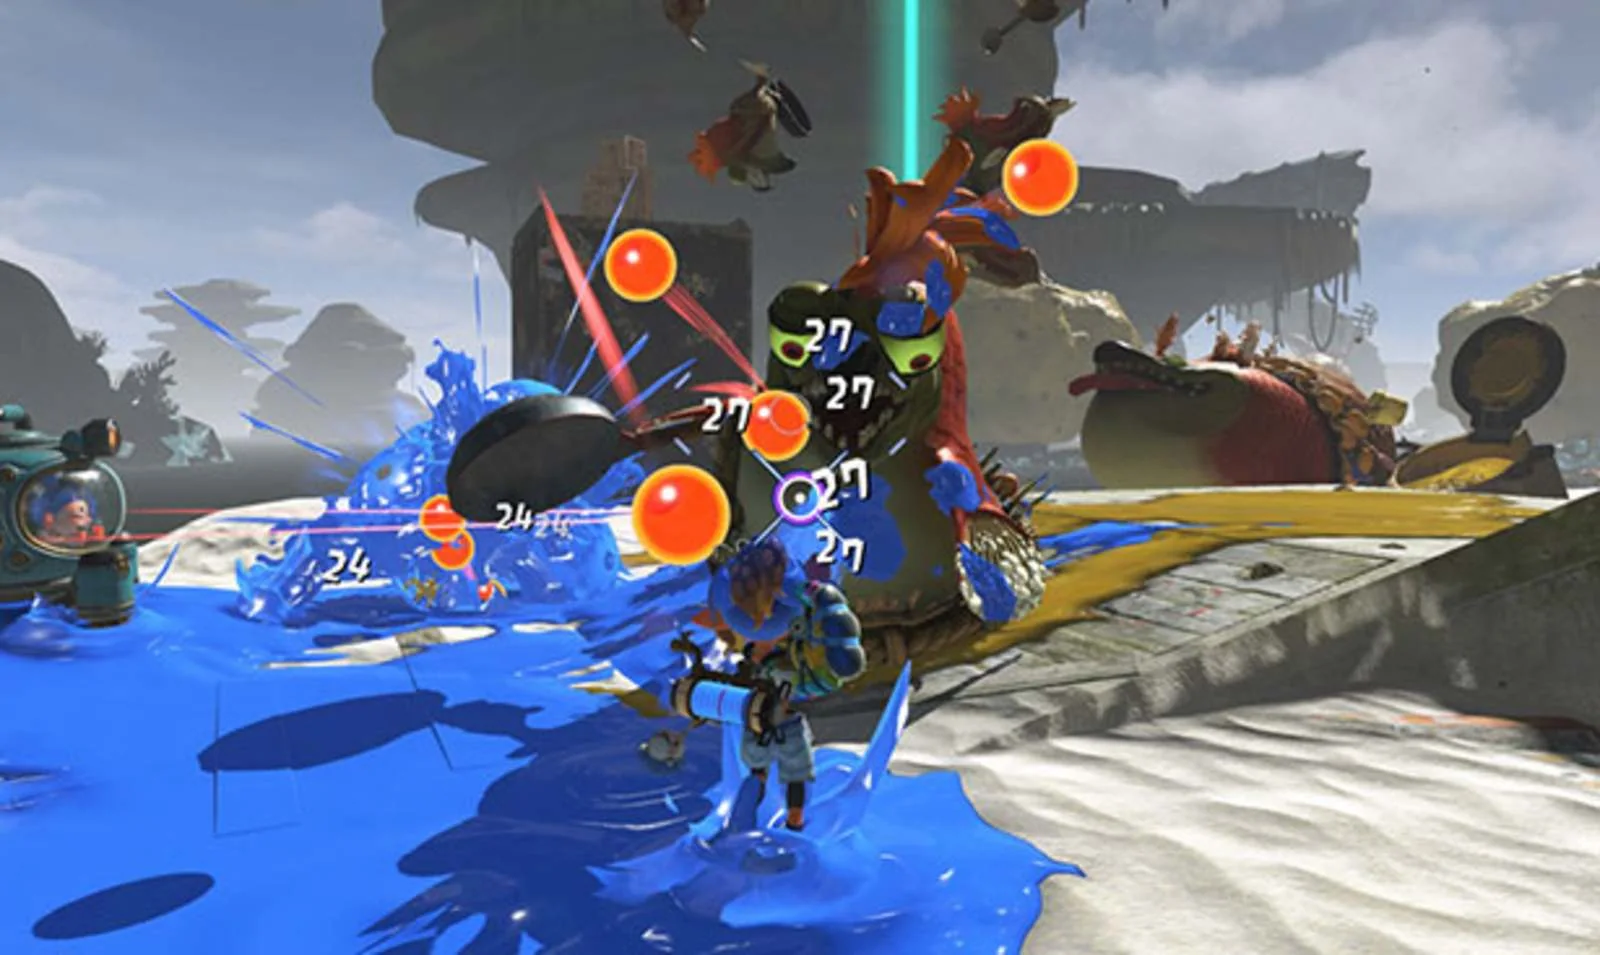
The best launch-version default picks are Blast Boot plus Jump Bomb for Speed, Splatellites plus Splatchet for Power, and Torqscrew plus Shot Pot for Tactical. Those pairs cover movement, dependable area pressure and low-maintenance control respectively. They are starting points, not immutable endgame law: boss shape, mission timer, weapon range, Gadget Parts and later cross-Tank slots can make another combination clearly better.
This guide judges a Gadget by reliable value during ordinary solo Raider progression first, then explains boss, crowd and co-op alternatives. Every recommendation was checked against the finished 15-Gadget roster on August 13, 2026. Use the Tank and Gadget Explorer to inspect the individual effects and compatible Parts before spending rare materials.
How we judge a Gadget
A Gadget ranks highly when it creates value on an ordinary press, not only after a perfect Part roll. Reliability includes seven questions: Does it work against both lesser and Boss Salmonids? Does it protect movement or create paint? Can it miss completely? How long does the action expose you? Does the cooldown permit repeated use? Does it duplicate the main weapon? How many Part slots are needed before the advertised strategy becomes real?
- Uptime: useful effect per cooldown cycle, including time spent aiming or setting up.
- Safety: movement, invulnerability, distance or control that prevents incoming pressure.
- Coverage: number of enemies, lanes or objectives affected.
- Boss value: dependable damage or access to awkward weak points.
- Part independence: strength before rare modifiers arrive.
- Synergy: whether it solves the weapon’s weakness or triggers another effect.
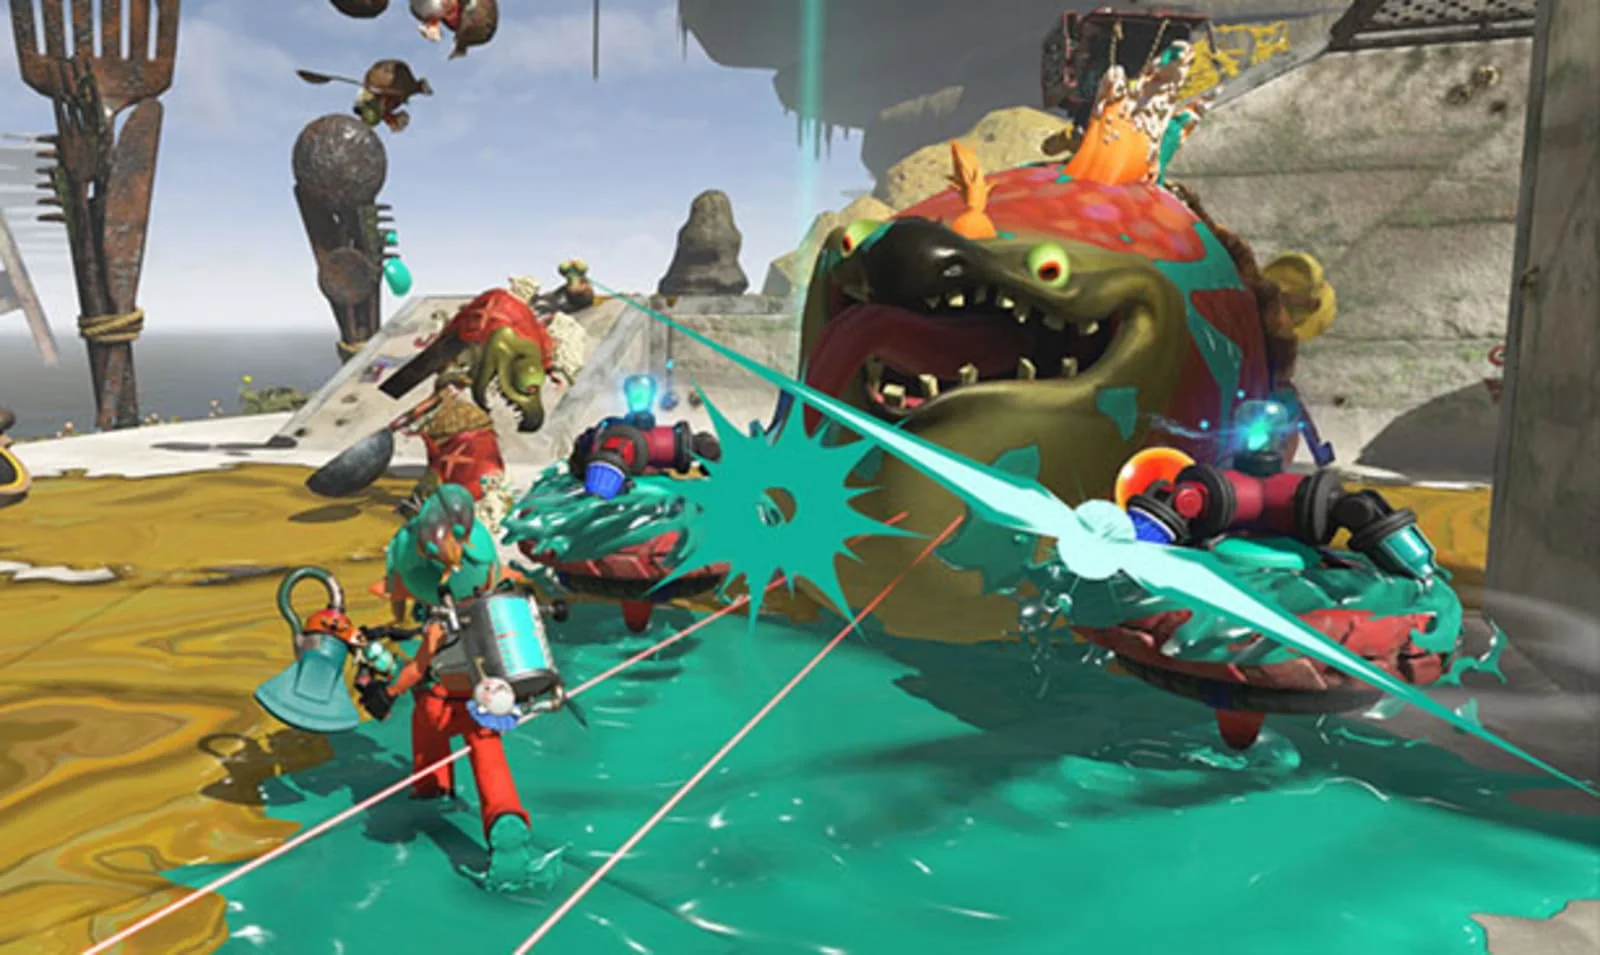
Parts can overturn a close comparison. Cooldown modifiers increase uses; action-changing Parts can add projectiles, status, collection or movement; stronger effects consume limited capacity. Judge the base tool first, then the exact Part package you own. A hypothetical maximum build is not useful when its required drops have not appeared.
Finally, “best” must name the job. Splatellites score highly because orbiting discs paint and damage with little attention. Torqscrew scores highly for persistent control. Blast Boot scores highly because movement and impact happen in one action. None automatically replaces a boss-focused charged Shellacker, a placed Shot Pot or a traversal Flywire when that specialist job decides the mission.
Best Speed Tank Gadgets
Default pair: Blast Boot and Jump Bomb. Blast Boot leaps forward and explodes on landing, combining engagement, escape and area damage. Jump Bomb creates an explosive jump in the chosen direction. Together they let you enter, change elevation and leave without waiting for painted ground to become perfect. Their value survives weak Part rolls because movement itself solves raids.
Dash Bomb competes directly for the second slot. It dashes in the chosen direction with explosive force, favoring horizontal travel, timed routes and emergency repositioning. Choose Dash Bomb over Jump Bomb when the stage is flat, distance matters more than height, or your Parts add a defensive window. Running all three after the later extra slot creates a clear hit-and-away identity, but two similar exits can become redundant if the main weapon already handles mobility.
Flywire is the specialist traversal pick. It extends a line and zips to inkable ground, walls or a Salmonid, granting reach that a fixed jump cannot imitate. Use Flywire plus Jump Bomb for vertical navigation or airborne access. The drawback is aim and target dependence: Blast Boot works immediately under pressure, while a missed Flywire can waste the cooldown.
Booyarang is the safer ranged alternative. It damages along an outward and returning arc, and Parts such as Multirang or persistent-return behavior can materially change its coverage. It fits a player who wants Speed without committing their body to every attack. Its base impact is less universally transformative than movement, so build it only when its return path or Parts serve a deliberate crowd-control plan.
A strong Speed loadout keeps one movement button available instead of spending every cooldown simultaneously. Open with the damage/mobility action, shoot during the safe position it creates, then retain the second movement tool for the next wave. The Tank’s advantage is not merely traveling quickly; it is choosing when the battlefield is allowed to catch you.
Best Power Tank Gadgets
Default pair: Splatellites and Splatchet. Splatellites deploy eight orbiting discs that ink nearby ground and damage approaching enemies. That passive, multi-hit pressure protects the space where Power weapons want to fight. Splatchet rushes forward through a wide arc, providing a direct answer when the orbit is not clearing a dense front quickly enough.
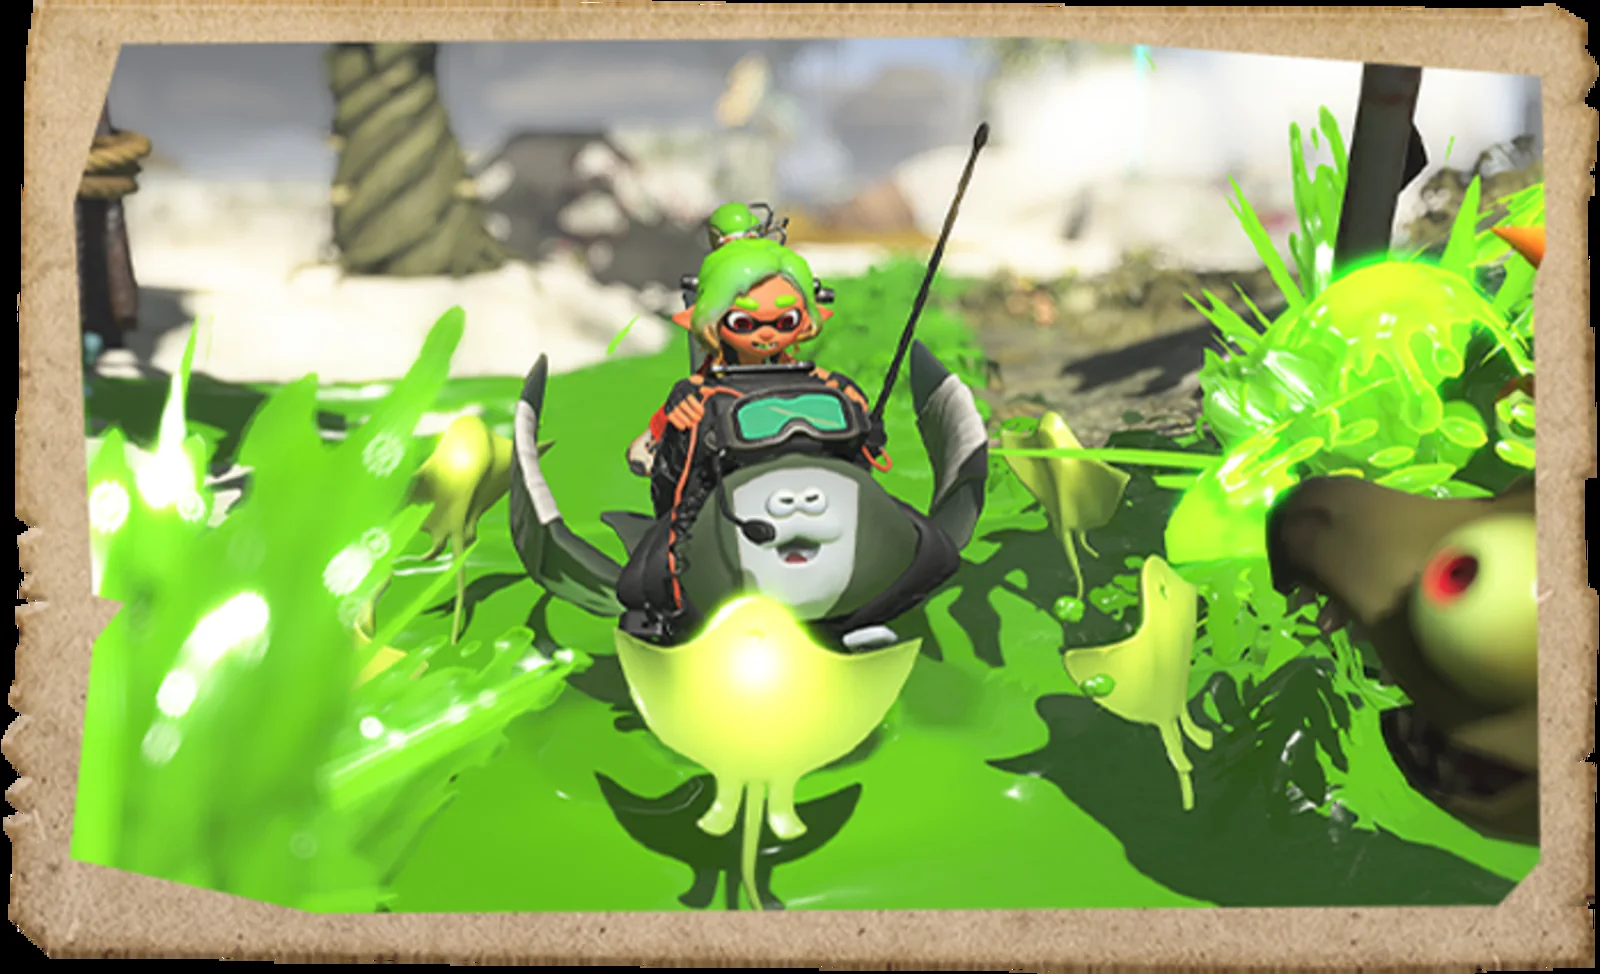
Spinwheel is the mobile boss alternative. It rolls forward and can lock onto a Boss Salmonid, sending lesser enemies flying along its route. Select it when the encounter provides a stable large target or a long lane. Compared with Splatchet, its chase behavior is more specialized; compared with Splatellites, it demands more attention. Strong multi-wheel or trigger Parts can raise it sharply.
Meteor Mitt creates a larger explosion when the diving strike starts from greater height. It belongs in aerial or status builds that can reliably create that height. Without the setup, Splatchet is the simpler wide attack. With Blast Boot, Bot jumps or suitable terrain, Meteor Mitt can convert mobility into burst and becomes a compelling third slot.
Shellacker is the ranged Power choice. Hold the input for a stronger exploding projectile, trading immediate response for controlled burst. It patches a short-range main weapon and helps against a target you should not approach. Use it when the mission offers charge windows; avoid pairing it with another slow action if the build already struggles with surrounding lessers.
Power’s common mistake is selecting three impressive damage buttons that all want the same close crowd. Keep Splatellites for background control, one immediate attack and—after expansion—one mobility or ranged option. That division produces more real damage because fewer cooldowns are wasted on the same defeated group.
Best Tactical Tank Gadgets
Default pair: Torqscrew and Shot Pot. Torqscrew can be placed on ground or wall to create a vortex that launches Salmonids, defining a controlled lane. Shot Pot automatically fires at nearby crates and enemies after deployment. Nintendo explicitly uses this combination as an example for keeping approaching hordes away from a Charger while it prepares shots.
Placement separates a strong Tactical build from two cooldowns abandoned behind the fight. Put Torqscrew just before a chokepoint so enemies commit to its area, not at the empty center of the current crowd. Place Shot Pot where terrain preserves its line of fire and where your next movement keeps enemies inside its reach. Then use the main weapon on targets the deployables are not already solving.
Hi-Fiver is the geometry pick. It shoots five simultaneous ink lines that bounce off terrain, making corridors and enclosed arenas far more valuable than open beaches. Replace Shot Pot when reflected coverage repeatedly reaches more targets than a stationary turret. Bombloons instead reward preparation: link several balloons and trigger them for a larger explosion. They suit known spawns and defensive holds, but lose value when objectives force continuous movement.
Tether Wail creates a laser connection whose thickness and damage improve as it extends. It controls a long line and benefits a player who can move while preserving that line. Choose it for open lanes or a ranged build; avoid it when tight obstacles repeatedly break the intended angle. Its active relationship with player movement makes it less automatic than Shot Pot but potentially broader.
Tactical should feel like planning one wave ahead. Deploy before the crowd reaches the weapon’s weak range, then rotate position rather than standing beside the device. If your setup regularly happens after enemies surround you, add a cross-Tank movement tool later or choose a more immediate native option. The best Tactical Gadget is the one placed early enough to change the fight.
Best cross-Tank combinations after Ultra upgrades
Ultra progression adds a third Gadget slot and permits a limited Gadget from another Tank along the connected upgrade path. It does not dissolve every compatibility rule. Check the loadout screen or Explorer before planning a build, and treat the imported tool as a way to repair the native Tank’s missing job.
| Build goal | Core combination | What it fixes |
|---|---|---|
| Mobile Power | Splatellites + Splatchet + Blast Boot | Adds an immediate escape/engage to close-range pressure. |
| Controlled Speed | Blast Boot + Flywire + Torqscrew | Gives a mobile weapon persistent area control. |
| Defensive Tactical | Torqscrew + Shot Pot + Splatellites | Adds low-attention orbiting protection around the player. |
| Ranged Tactical burst | Torqscrew + Shot Pot + Shellacker | Adds a charged explosion after deployables establish space. |
Mobile Power is the broadest recommendation. Splatellites manage nearby pressure, Splatchet attacks a wave, and Blast Boot prevents the aggressive Tank from becoming trapped. Controlled Speed reverses the idea: Speed already escapes, so Torqscrew gives it a reason to hold a valuable lane. Defensive Tactical imports Splatellites when the deployables sit farther away and the player needs personal protection.
Do not assume the third slot should always be foreign. Blast Boot, Jump Bomb and Dash Bomb form a coherent native aerial/mobility set; a Tactical build can prefer Hi-Fiver, Shot Pot and Torqscrew when the map rewards layered control. Cross-Tank access is valuable because it creates options, not because a mixed label automatically makes a build advanced.
Parts should reinforce each Gadget’s separate job. If two tools both carry maximum cooldown support but neither deals or controls enough, the build cycles weak actions quickly. If every tool consumes the full Part budget for damage, the build may lose utility. Allocate movement Parts to the escape, duration/control to the deployable and damage/status to the tool that hits most reliably.
Gadget upgrade checklist and common mistakes
- Test the base action. Confirm aim, travel, placement and cooldown feel good before spending on Parts.
- Name one job. Write “escape,” “boss burst,” “lane control” or “personal defense.” Reject Parts that do not serve it.
- Buy capacity deliberately. Gadget Part Slots create flexibility across every build and can be more useful than maximizing one early modifier.
- Measure a full cycle. Test action plus cooldown during a familiar raid, not only the opening hit at the Hideout.
- Keep jobs distinct. One movement, one control and one damage tool is a safer template than three versions of the same attack.
The first common mistake is auto-filling Parts and assuming the result is coherent. Automatic filling uses capacity; it does not understand the role you want. The second is stacking raw damage on an action that frequently misses. Range, area, duration, targeting or cooldown may increase real output more. The third is activating every Gadget at once, leaving no response when the next wave appears.
The fourth mistake is upgrading a famous endgame setup before its enabling Part drops. Build the version you own. A plain Torqscrew can control a lane without an aerial package; a basic Blast Boot remains movement without a perfect Freeze roll. Let rare modifiers extend an already functional plan.
Use the test range Nintendo recommends, then run the same short raid twice. If the new Part package improves clear time, removes a dangerous moment or makes the main weapon easier to operate, keep it. If the only difference is a larger number on an isolated hit, preserve your materials. The best Gadgets are strong actions; the best builds are strong actions assigned to different problems.

Loading comments...