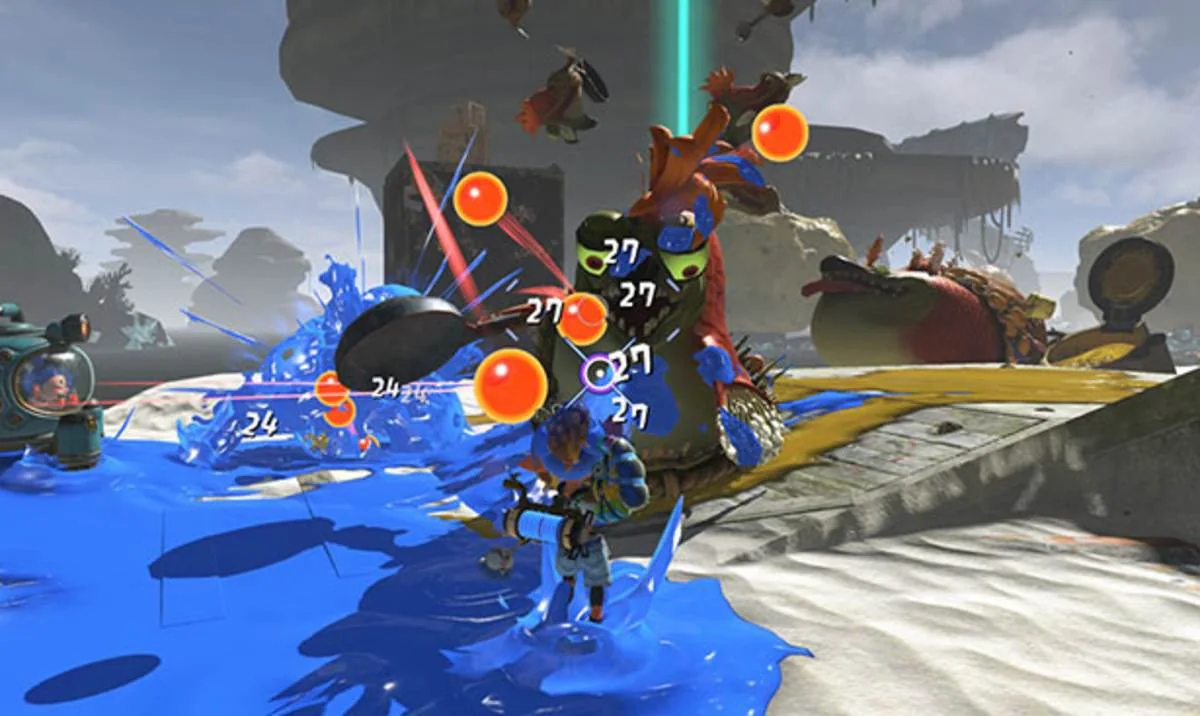
The best Splatoon Raiders build is the one that solves the encounter in front of you. A new player needs a dependable weapon and two Gadgets that work without rare Parts; an endgame player can build around cooldown loops, status effects and a cross-Tank Gadget. That difference matters more than copying one fashionable loadout.
This guide treats a build as the complete package: Tank, weapon profile, Gadgets, useful Parts, Relic Powers and upgrade priority. Recommendations reflect the launch version available on August 13, 2026. Exact weapon drops and Part rolls vary, so every setup explains its purpose and dependencies instead of pretending every player owns identical gear.
Best Splatoon Raiders builds at a glance
Nintendo divides the core playstyles into Speed, Power and Tactical Tanks. Speed emphasizes movement and evasion, Power brings direct pressure, and Tactical controls space with deployable tools. None is automatically strongest in every raid. A short timed arena, a mobile boss and a long Bottomless Buffet climb reward different things.
| Goal | Tank | Weapon profile | Core idea | Main dependency |
|---|---|---|---|---|
| Safe early progress | Power | Fast, familiar shooter or another controllable drop | Reliable weapon damage plus frequent area pressure | No rare gear required |
| Fast repositioning | Speed | Weapon that remains useful while moving or attacking from the air | Escape danger, create an angle, then turn movement into damage | Mobility Gadget timing |
| Heavy burst | Power | Close- or mid-range weapon with a safe opening | Break armor and remove a dangerous group before it spreads | Positioning and cooldown discipline |
| Area control | Tactical | Consistent weapon that can fire while deployables work | Cover more than one lane and keep damage active | Placement and Part capacity |
| Developed endgame | Speed or Tactical | High-quality roll whose powers match the status plan | High Gadget uptime, mobility and a deliberate status/damage loop | Advanced unlocks, Parts and costly upgrades |
Use the table as a starting point, then check the base behavior and compatibility of a candidate ability in the Tank and Gadget Explorer. The best-looking Gadget on paper can still be wrong if it duplicates your weapon’s job, leaves you without an escape, or depends on Parts you have not developed.
How a complete build works
A loadout begins with the Tank, but it does not end there. The Tank determines your native Gadget family and develops through Skill Point upgrades such as HP, weapon damage, Gadget damage and Gadget Part capacity. Your main weapon then supplies the attack you can use without waiting for a cooldown. Its level, variation and powers can make two weapons with a similar silhouette behave very differently.
Gadgets should cover jobs the weapon cannot perform safely. One can create space or movement; another can deliver burst, control a lane or keep pressure active while you aim elsewhere. Parts modify those abilities and consume limited capacity, so “use Blast Boot” is incomplete advice unless it also explains what the installed Parts are meant to accomplish. Relic Powers provide another passive layer, while the selected Deep Cut Bot Buddy supplies support and a charged Showstopper. The site wiki provides a compact refresher on how these systems fit into the raid loop.
Build from the problem backward. If a slow weapon leaves you trapped, add mobility before stacking more damage. If a boss phase lasts too long but survival is comfortable, improve a repeatable damage source. If crowds attack from several directions, use control or an autonomous deployable instead of adding a second narrow single-target tool. This role-based method survives imperfect loot far better than chasing an exact screenshot.
- Tank: establishes the native Gadget pool, Tank ability and upgrade investment.
- Weapon: provides dependable ink coverage and damage between cooldowns.
- Gadgets and Parts: solve movement, burst, control or uptime problems.
- Relic Powers: reinforce the build’s main loop instead of collecting unrelated bonuses.
- Bot Buddy: adds support and an emergency Showstopper, but should not be your only answer to a recurring threat.
Nintendo confirms the system components, but it does not publish a single official meta. When players call a combination “best,” treat that as a tested recommendation for a particular floor, weapon roll or playstyle. A useful build makes those conditions visible and gives you a substitute when one piece is missing.
Best early-game setup
For the first stretch of the story, start with Power Tank, a controllable ranged weapon and the Power Gadgets you have actually unlocked. Splatchet gives the opening setup a direct burst option for armor or a clustered threat. Once Gadget development and additional Power tools become available, Splatellites can add persistent pressure and nearby ink coverage. Until then, do not build a plan around an item that is still locked.
Your weapon does not need perfect rarity. A Splattershot-style shooter or Squelcher-style option is useful because it can paint a safe route and keep attacking at a comfortable distance; Blasters, Dualies, Brushes and Splatanas are reasonable when their movement and timing already feel natural. Test a drop before spending heavily. A familiar weapon that keeps you alive is more valuable than a higher number attached to a weapon you cannot aim or refill safely.
- Paint an escape path before committing to the center of a wave.
- Use Splatchet on armor, a packed group or a threat that has entered your safe space.
- Fire the weapon while the Gadget cools down instead of saving both tools for an imagined emergency.
- Spend early Skill Points on the stat that fixes a visible problem—usually weapon damage, HP or enough Part capacity for a useful effect.
- Replace a merely adequate weapon when natural raid drops overtake it; avoid pouring scarce late-game materials into every temporary find.
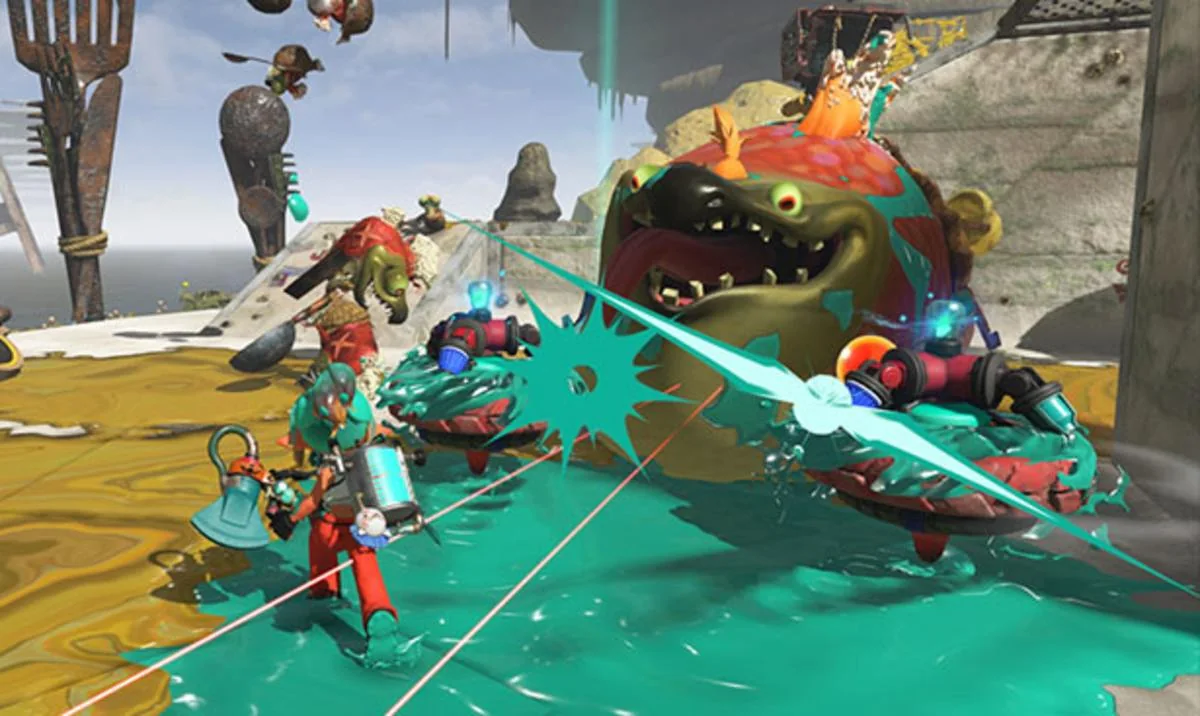
This is a learning platform, not a permanent commitment. The full beginner guide explains movement, difficulty and first-raid priorities, while the resource farming guide helps when a specific upgrade becomes the next real bottleneck. Upgrade one working set enough to progress, then let better drops and new services tell you when it is time to rebuild.
Best Speed Tank build
The strongest general Speed template uses Jump Bomb with either Flywire or Blast Boot. Jump Bomb supports an airborne rhythm, while Flywire offers directed travel and Blast Boot supplies an aggressive leap or escape. Choose between the latter two by the arena: Flywire rewards planned anchors and traversal; Blast Boot is easier when threats have already collapsed on your position.
Use a weapon that converts the movement window into useful attacks. A slow, powerful weapon benefits because the Gadgets repair its positioning problem; a quicker shooter or Splatana can keep pressure active as you change angles. Developed builds often add Freeze, Damage Surge, airborne damage or cooldown effects through appropriate rolls and Parts. Those are build goals, not guaranteed base features, so inspect the effect on the Part you own before copying the label.
| Slot | Recommended role | Alternative |
|---|---|---|
| Tank | Speed for native mobility tools | None; this setup is built around Speed’s movement loop |
| Gadget 1 | Jump Bomb for vertical reset and airborne play | Blast Boot if Jump Bomb is not yet developed |
| Gadget 2 | Flywire for route control | Blast Boot for immediate escape and impact |
| Weapon | Strong roll that can attack safely from the created angle | Your best controllable weapon; do not force a class you dislike |
| Parts/Relics | Cooldown, useful status and damage after movement | Ink recovery or survival until the offensive loop is stable |
The failure mode is staying airborne without accomplishing the objective. Land where you can collect required items, reach a target or repaint a safe lane; do not drift away while a timed raid expires. Against a boss, save one movement cooldown for the telegraphed attack instead of spending the whole chain on entry.
Best Power Tank build
A practical story build pairs Splatchet with Splatellites once the latter is developed. Splatchet is the deliberate answer to armor and a close cluster; Splatellites provide ongoing coverage while you return to the weapon. Before that second tool is available, use the best unlocked Power Gadget that covers a different range and keep the same basic division of labor.
At Ultra level, a developed Power loadout can use Splatchet, Splatellites and Meteor Mitt, or replace one native tool with the eligible Speed Gadget for movement. Pick Meteor Mitt when a vertical impact, area hit or safer commitment window solves the stage. Pick a Speed movement option when the build already has enough damage but cannot disengage from a bad position. More offense is not an upgrade if the Mechanic is stuck inside an animation as the next attack lands.
- Story core: Splatchet for armor/burst plus Splatellites for persistent pressure.
- Developed burst: add Meteor Mitt when its impact and available Parts match the encounter.
- Safer Ultra variant: import one permitted Speed movement Gadget instead of carrying three overlapping attacks.
- Weapon profile: use a ranged, repeatable weapon if the Gadgets pull you close; use a high-impact roll only when you can reliably create its firing window.
Power is often easier to operate than a fully airborne Speed build because its value is immediate: break the protected target, clear the crowd and resume shooting. It is also less forgiving when every cooldown is spent at once. Stagger the persistent tool and the committed strike so one answer remains available while the other recovers.
Best Tactical Tank build
Start with Shot Pot as the repeatable lane holder, then add Torqscrew when it becomes available for broader control and a second angle. The weapon remains active while those tools work, which is Tactical’s main advantage: you can pressure a priority Salmonid without completely surrendering the space behind you.
The third slot depends on what the room lacks. Hi-Fiver or Bombloons can add another native damage/control option. At Ultra, an eligible Power import such as Splatellites can add persistent coverage around the Mechanic. Do not place every deployable on the same target. Put one where a wave enters, one near the objective or dangerous flank, then personally aim at the threat the automation handles poorly.
Parts that improve uptime, useful status, targeting behavior or activation can be more important than a small raw increase because a deployable does no work while it is unavailable or firing at the wrong place. Pair the setup with a weapon you can operate while monitoring the arena—a steady shooter, Blaster or other familiar mid-range class is easier than a weapon that demands uninterrupted charge timing.
Tactical is especially valuable in co-op when teammates already bring burst and mobility. Its tools can stabilize a lane while another player chases a boss or completes the objective. Coordinate the role instead of assuming more players make placement irrelevant; the multiplayer guide explains room setup, scaling and shared progress. For tiny, highly mobile targets, replace a slow control effect with direct Shot Pot pressure rather than forcing the same template into every dungeon.
Best endgame loadout
Spoiler warning: this section names post-game systems, the Ultra Tank combination rule and Bottomless Buffet. It does not reveal the floor-100 boss or story ending.
A strong reproducible endgame template is Ultra Speed Tank with Jump Bomb, Flywire or Blast Boot, and the permitted Tactical control Gadget. Build the first two around safe movement, cooldown cycling and a useful status or post-movement damage window. Use the Tactical import to control space, collect required drops or keep pressure active while you reposition. Torqscrew is a common player-tested choice, but a different control tool is better if its behavior fits the floor.
The weapon should complete the status loop rather than merely display the highest rarity. If the Gadgets reliably apply Freeze, a weapon power that rewards attacking frozen targets has a clear job. Ferment can support a damage plan when the build can apply it consistently without crowding out the status you actually need. If the ideal roll has not dropped, use a high-quality familiar weapon and let movement plus uptime carry the build while you continue farming.
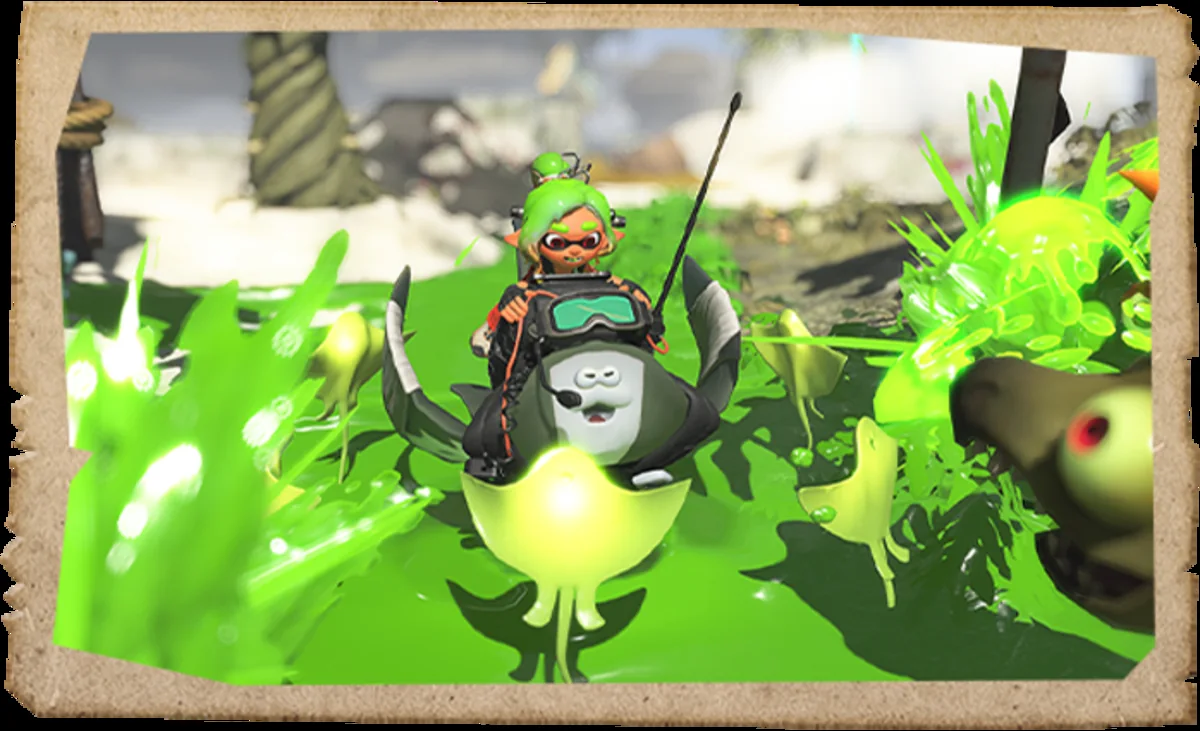
Do not enter the expensive upgrade grind all at once. Confirm the movement loop at low cost, install the status effect, test whether the weapon can exploit it, then improve cooldown or Part efficiency. The post-game guide explains the route into Hidden Ruins and Bottomless Buffet. A loadout is ready when it completes the target floors consistently; owning every theoretically perfect component is optional.
How to adapt a build for bosses, solo raids and co-op
Change the smallest component that fixes the next activity. Bosses usually reward a safe answer to a telegraphed attack and repeatable single-target damage. Timed crowd rooms value coverage, quick target switching and automatic pressure. Exploration raids need movement and ink economy because reaching the objective can matter as much as splatting one durable enemy.
| Context | Keep | Change first |
|---|---|---|
| Mobile boss | One escape cooldown | Replace slow area control with reliable single-target reach |
| Dense timed wave | Persistent coverage | Add crowd control, activation or cooldown uptime |
| Solo exploration | Self-contained damage and recovery | Add traversal or ink support if the route is the problem |
| Co-op raid | Your clearest team role | Remove a duplicate tool and cover the lane teammates ignore |
Co-op does not erase build decisions. Nintendo says participant power and enemy strength are adjusted so differently progressed players can cooperate, and the host’s selected Bot Buddy joins the raid. Before launching, identify who supplies control, who can reach distant threats and who retains burst for the priority target. If three players already deploy autonomous damage, the fourth may contribute more by bringing mobility or immediate armor pressure. See the multiplayer guide for room and Help setup.
Difficulty is not a loot multiplier: Nintendo states that Tourist, Raider and Survivalist change combat strength, not the rewards available. Test a revised loop at a comfortable setting instead of raising difficulty to “improve” drops. Once the build behaves correctly, increase challenge for practice or preference—not because the equipment guide requires it.
Build upgrade checklist and common mistakes
- Name the failure: death, time limit, poor traversal, ink shortage or one priority enemy.
- Change one component: swap a Gadget, weapon or Relic instead of rebuilding six variables together.
- Test the loop: verify cooldown timing, movement, targeting and ink in the Hideout range or a familiar raid.
- Buy the cheapest meaningful improvement: a Tank stat, useful Part capacity or modest weapon level can validate the idea.
- Commit only after it works: spend scarce materials on the weapon roll and Parts that survive several different encounters.
The most common mistake is saving Gadgets for too long. They run on cooldowns, so an unused ready Gadget generates no value and delays its next use. A second mistake is upgrading every interesting weapon. Natural drops keep arriving, and advanced investment becomes expensive; keep inexpensive experiments separate from the one developed weapon that anchors the current build.
Do not max damage while ignoring the reason attacks fail to connect. Range, mobility, ink, Part slots or safer activation can produce more real damage than another paper increase. Likewise, do not equip several status effects simply because each is strong. Choose the status the weapon can exploit and avoid filling limited capacity with effects that compete for the same target.
Finally, never copy a screenshot without reading the Parts. Two visually identical Gadget bars may have different cooldown, activation, status and damage behavior. If the build is correct but materials are the bottleneck, farm the required resource deliberately with the farming guide instead of weakening five other loadouts.
Splatoon Raiders build FAQ
What is the best Tank? Speed is a strong developed choice for mobility and current airborne/status builds, Power is the clearest beginner-friendly damage platform, and Tactical excels at persistent arena control. The best one is the Tank whose native tools solve the activity and whose upgrades you can support.
Do I need every exact item in a published build? No. Preserve the jobs first: one safe repeatable weapon, a movement or protection answer, and damage/control suited to the objective. Replace a missing named Gadget with an unlocked tool that performs the same job, then add the premium Part or roll when it drops.
Does higher rarity automatically mean a better weapon? No. Judge the entire drop: level, variation, powers, range, ink behavior and whether the weapon works inside your Gadget loop. A rare weapon that cannot perform its assigned job is not an upgrade.
When should I rebuild? Rebuild when time-to-kill, ink demand, range or survival is clearly holding the setup back, or when a new roll performs the same job more effectively in testing. Do not replace a familiar weapon solely because another class has a higher headline value.
Does Survivalist difficulty give better build drops? No. Nintendo states that difficulty changes Salmonid strength, not the loot you can obtain. Choose difficulty for the combat experience and use raid level, progress and targeted activities—not the difficulty selector—as your equipment plan.
Should co-op players all copy the same meta loadout? Usually not. Keep each player’s strongest comfortable loop, then remove obvious duplication. A group benefits when it can cover distant threats, crowded lanes, armor and emergency movement instead of having four players spend identical cooldowns at the same moment.

Loading comments...