
There is no single best Splatoon Raiders farm for every resource. Use Huge Crystal stages for repeatable Spirhalite Shards, short Salmonid Dens for XP and Power Eggs, harder raids with frequent reward rolls for weapons, and deterministic first-clear rewards before chasing random Spirhalite Gems. Post-game players can use Awlmun Den for rapid mixed-loot attempts, but it is not a guaranteed Gem source.
This guide reflects the launch build as documented through July 28, 2026. Nintendo describes the raid, salvage, and upgrade loop, while exact yields circulating during launch week come from individual players. Numbers below are labeled as observations because difficulty, character level, route, collection time, and random drops can change the result.
Best farm for every Splatoon Raiders resource
| Resource | Best starting activity | Why | Important limit |
|---|---|---|---|
| Spirhalite Shards | Huge Crystal mining stages | Power Eggs raise the final Yield multiplier; regular crystals add Shards during the run | Longer sessions can be worse than a short route if your damage is low |
| Spirhalite Gems | Unclaimed first-clear rewards, then eligible high-level or Help activities | Deterministic rewards come before RNG; co-op creates more relevant activity options | No guaranteed repeatable launch-week Gem farm has been verified |
| XP | A short Den you can clear consistently | Dense, timed waves compress enemy XP into a small arena | Viral yields are player observations, not fixed tables |
| Power Eggs | Dense Salmonid Den | Fast kills produce many Eggs without long traversal | Eggs must be collected; leaving them on the floor reduces the result |
| Weapons | Harder repeat raids or a quick endgame reward route | More difficult encounters tend to drop stronger gear and repeat clears create more rolls | Weapon type, level, stars, Powers, and Primo status remain random |
| Power Chunks / scrap value | Any fast weapon-drop route | Unwanted weapons can be dismantled after inspection | Do not scrap a useful roll merely because its level is lower |
New players should not stop normal progression to copy an endgame loop. Early story raids unlock facilities, Tank tools, locations, and one-time rewards that make every later farm faster. If you are still learning the upgrade systems, review the beginner guide before spending rare materials.
How farming and rewards work
Splatoon Raiders turns loot into power at the Hideout Ship. Raids provide salvage, Spirhalite, weapons, parts, and treasure; the Hideout converts those rewards into improved Gadgets, weapon levels, and facilities. Nintendo’s official page also states that items collected on solo raids are kept even if the run fails. That makes a difficult solo mining attempt less punishing, although completing the objective still matters for end rewards.
A useful farm balances four things: time, success rate, reward relevance, and cleanup. A 25-second clip is not a 25-second farming cycle if loading, inventory comparison, scrapping, and failed attempts add another minute. Measure from selecting the stage until you are ready to select it again. Count the resource you need, not every colorful item on the reward screen.
Difficulty should support that calculation. Raising difficulty for a theoretically better roll is wasteful if it doubles failure time. Start with the hardest version you can clear almost automatically. Move higher only when the stronger enemies no longer break your rhythm.
How to farm Spirhalite Shards
Run Huge Crystal mining stages
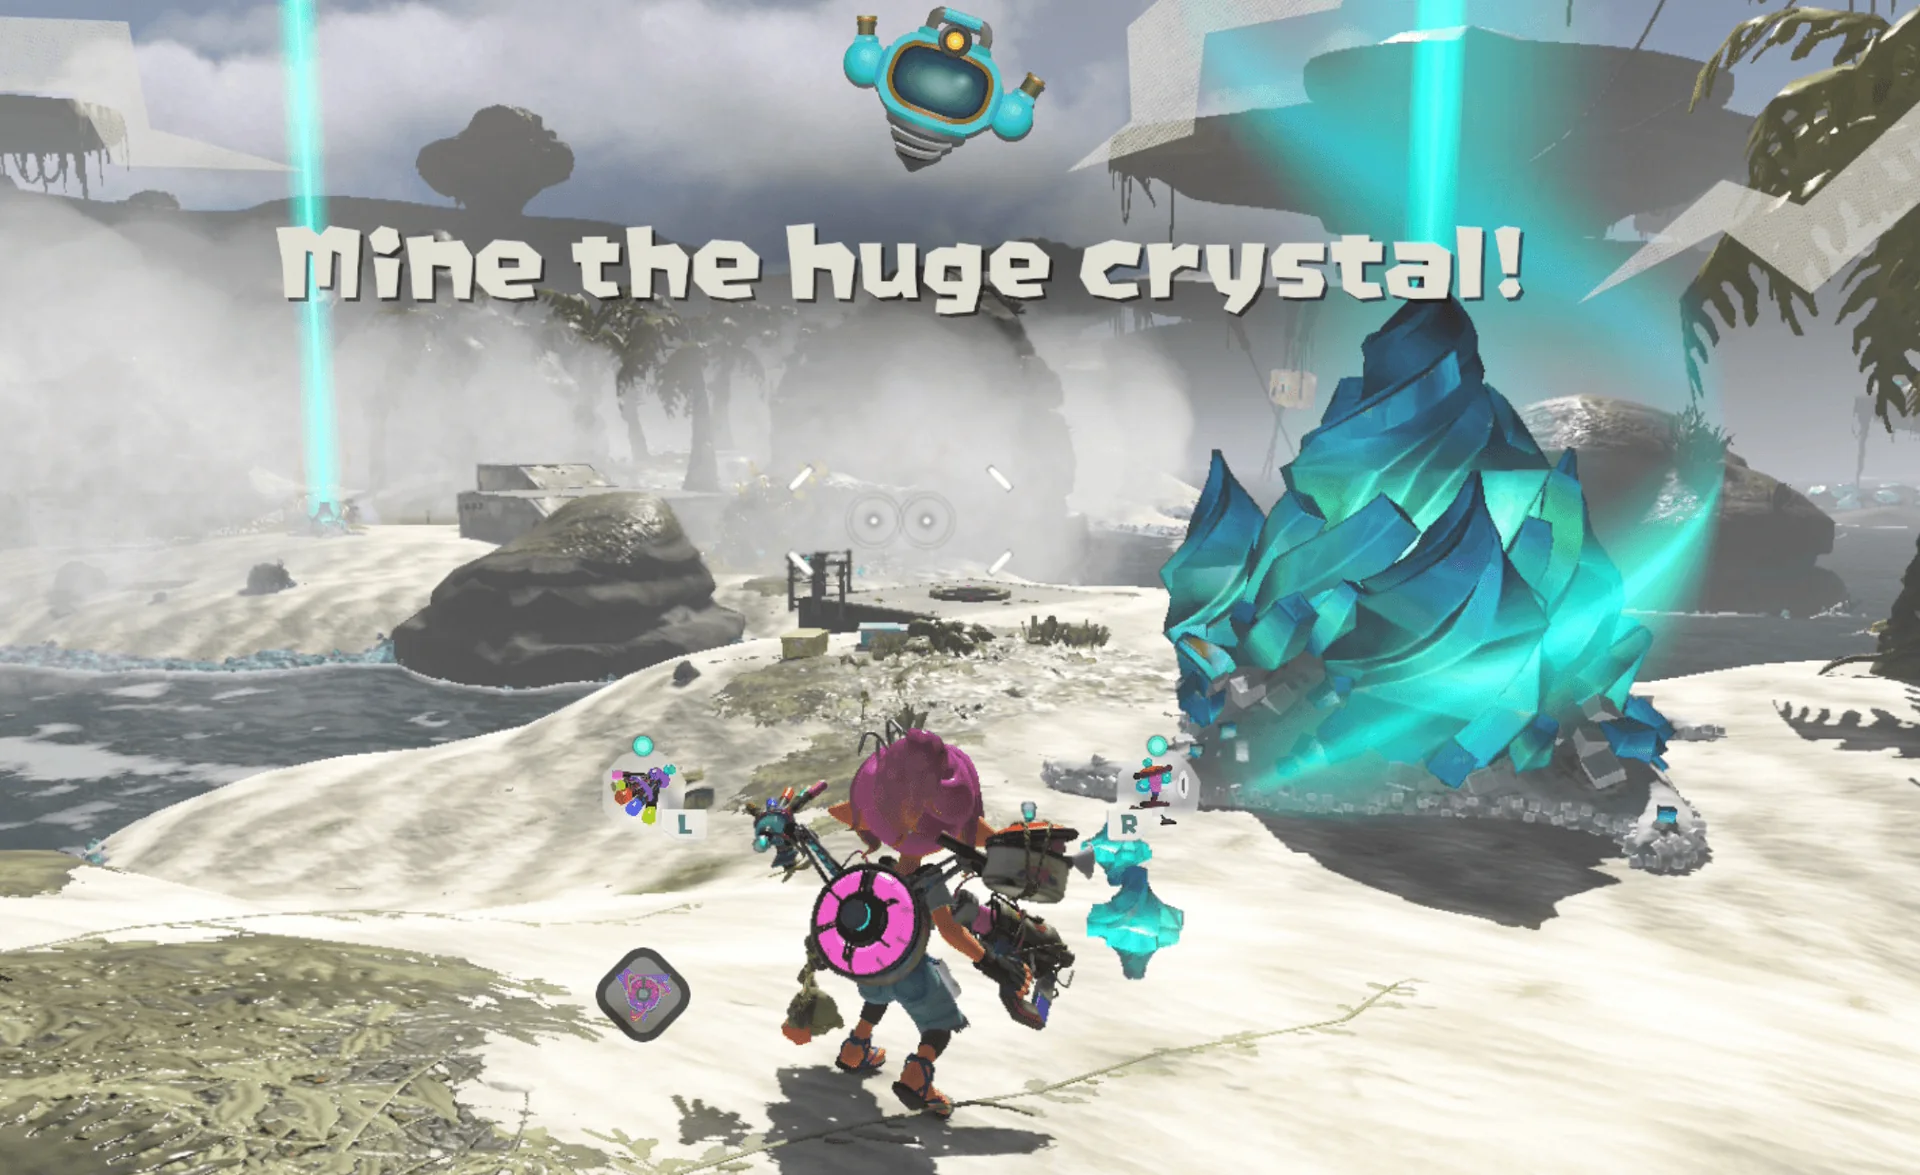
Huge Crystal stages are the clearest general-purpose Shard method. The loop is easy to read: defeat Salmonids, collect their Power Eggs, raise the Yield meter, mine smaller crystals, then drill the Huge Crystal when the payout is worth ending the raid. Launch-week finished-game guides identify Lintle Inlet on Puos Island, Taytur Rocks on Ferdi Island, and Kreyp Lava Lake on Gildred Island as examples.
The important decision is when to drill. At roughly half progress you can finish, but filling the meter to 100% produces the maximum 2x Yield according to current guide testing. Staying for 100% is valuable when enemies die quickly and you have lives to spare. Take the earlier exit when the run has become unsafe or the last portion of the meter is taking longer than starting another attempt.
Goldie is a valuable bonus when it appears. Current gameplay guides report that attacks can release Shards and that defeating it quickly adds a large burst. Treat it as an opportunity, not the foundation of your rate. Anomaly waves can also change the encounter, so keep a build that handles crowds instead of optimizing only for a stationary crystal.
Collect finite Shard payouts before grinding
Not every good payout is a farm. Briny Scroll and collection milestones can award substantial one-time Shard bundles when reviewed with Big Man. Treasure also increases total relic value, and progression guides document Shard-yield benefits at value milestones. Check the Hoard and clear notifications before repeating a stage for an hour; a completed milestone may solve the immediate cost without a grind.
For a pure Shard session, record the starting balance, complete five mining runs, and divide the increase by the full cycle time. This automatically accounts for your build and route. It is more dependable than copying a Shards-per-minute claim produced with different equipment.
How to farm Spirhalite Gems
Spirhalite Gems are the launch build’s unreliable bottleneck. They are rare materials used by important facilities and high-value development, and players who exhausted obvious first-clear rewards report inconsistent results from repeat raids. No official repeatable drop rate or guaranteed post-game Gem stage was found during this research.
Use this order:
- Clear visible raids and Dens that explicitly show a Gem or needed first-clear reward.
- Open the Hoard and finish outstanding construction/progression tasks that reveal new activities.
- Try Help activities or harder raids you can finish reliably. Some launch-week players report Gems from helping, but dry runs also exist.
- Combine the attempt with another target such as weapons, parts, or Shards so a no-Gem run still has value.
- Stop spending Gems speculatively. Reserve them for the facility or build that removes your current wall.
Do not confuse Spirhalite Gems with Shards. A fast Awlmun Den or Huge Crystal route can be excellent for Shards while producing few or no Gems. If a post promises a Gem every run without showing the mission, difficulty, sample size, and results log, treat it as unverified.
How to farm XP and Power Eggs
Choose a short Den with a dense, predictable spawn and an arena that does not require long traversal. A launch-day player reported an early loop producing about 7,000 XP, 3,000 Power Eggs, and 200–250 Shards in roughly 30 seconds, then a level-25 version producing a reported 17,000 XP, 3,200 Eggs, and 300 Shards in a similar clear. Another comment described delaying Egg collection on Spicy for a higher XP result. These are individual launch-week observations, not guaranteed values.
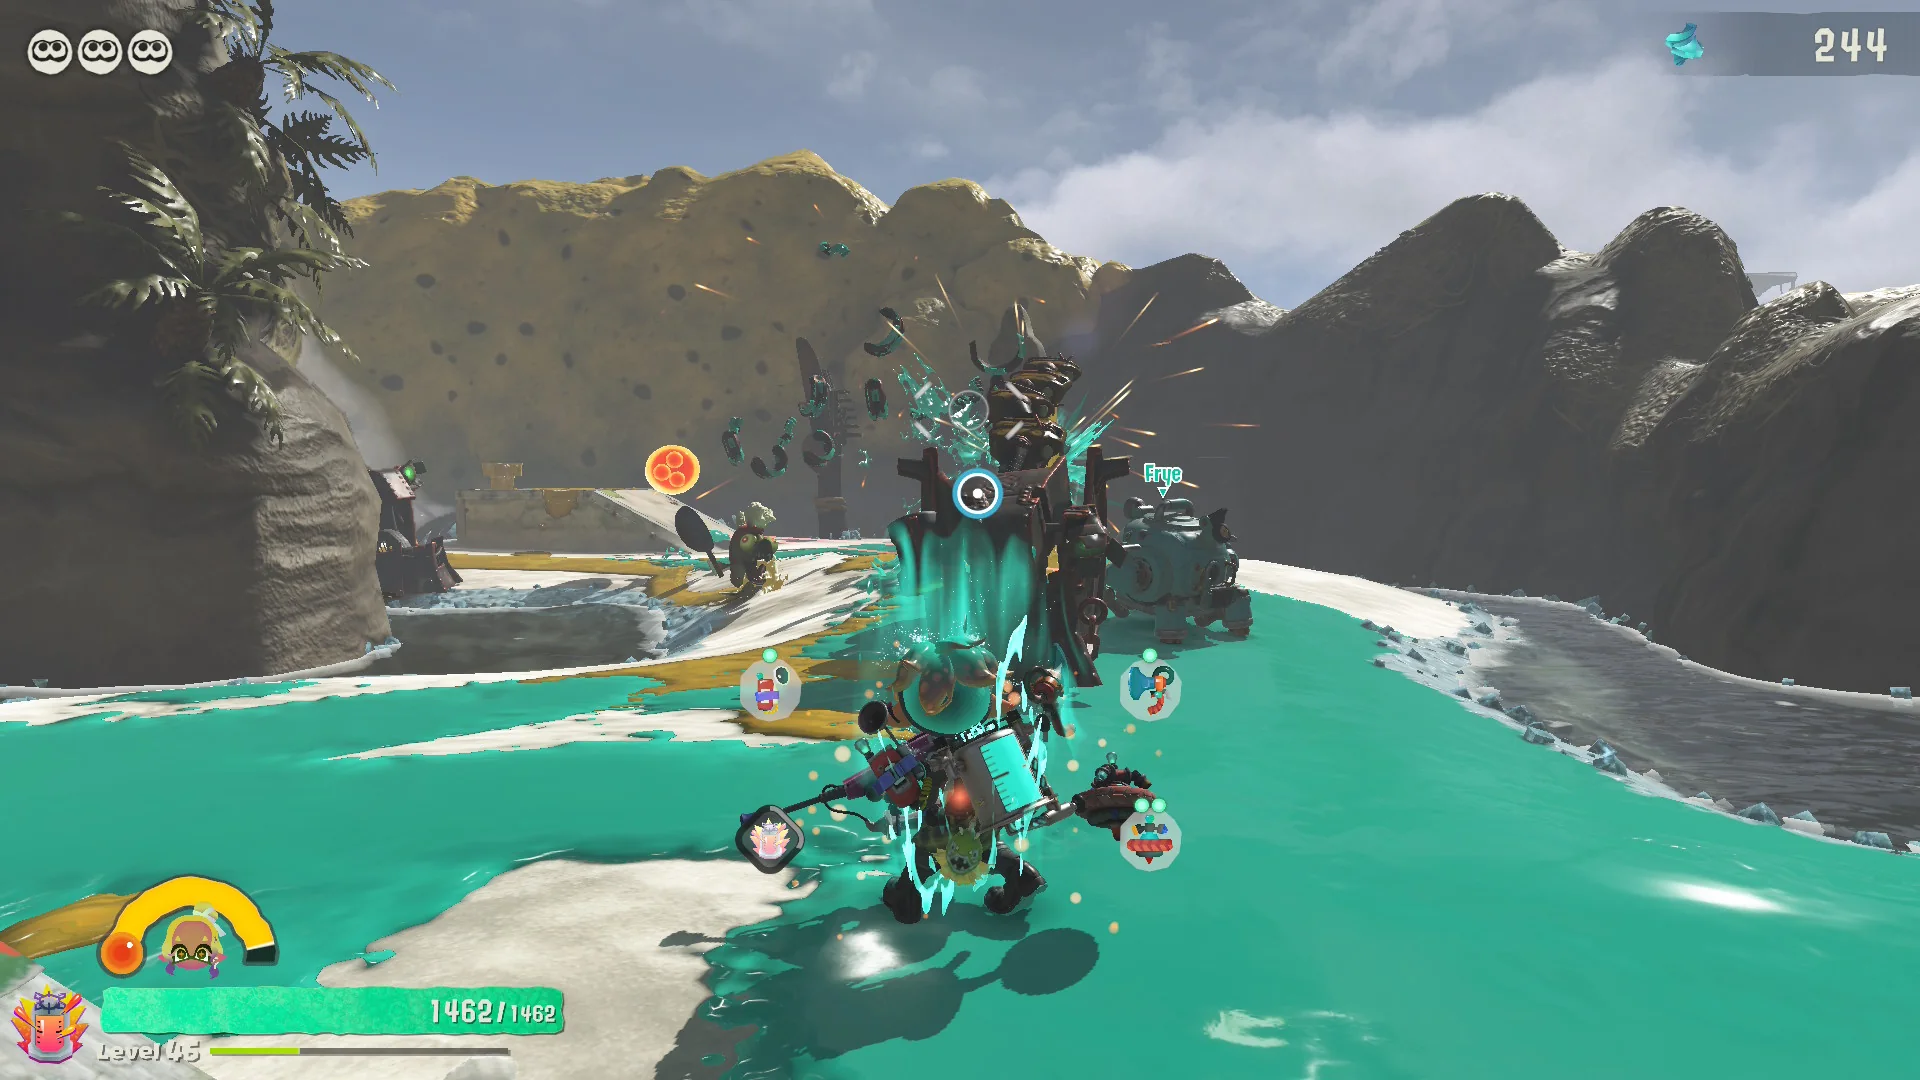
Power Egg routing matters because the game does not automatically vacuum every Egg into your total. Finished-game guides specifically warn that players can miss an objective with Eggs still lying in the arena. Equip collection support if available, let the Exploration Bot assist, and sweep the floor before triggering another distant spawn. Damage without pickup is not an efficient Power Egg farm.
For XP, you may deliberately keep a wave active longer if continued enemies award worthwhile experience, but compare that with starting a fresh run. A 90-second extended attempt is not better merely because the final XP number is larger. Calculate XP per full cycle and choose the loop that remains comfortable for repeated play.
How to farm weapons, Primo weapons, and Power Chunks
Weapons drop from enemies and raid rewards. Current finished-game testing indicates that later and harder encounters are more likely to produce higher-level equipment, while Huge Crystal stages and Salmonid Dens offer many enemies or reward opportunities. Regular weapons can be upgraded to +5; Primo variants can continue beyond that limit, making a strong Primo a long-term investment.
Star rating is separate from raw level. Current guides document no Weapon Powers at one star, one Power at two stars, a stronger single Power at three, two Powers at four, and up to three at five stars. Compare the actual effect before equipping or dismantling. A lower-level five-star weapon with useful Powers may be more valuable than a higher number with a poor fit.
After Hideout level 3 and construction of the Weapon Power Swapping bench, Power Chunks and Shards can alter weapon abilities. That means unwanted weapons can support the weapon you keep. The efficient process is:
- Run the hardest short activity you clear consistently.
- Lock or separate any new Primo, five-star, or build-relevant weapon.
- Compare range, handling, special stat, Powers, and upgrade cost.
- Scrap only confirmed duplicates or inferior rolls.
- Spend Chunks on a weapon you expect to use across several raids.
Use the Tank and Gadget Explorer to make sure the rest of the build supports the weapon’s range and role. A weapon farm cannot compensate for Gadgets that leave your preferred Tank without mobility or crowd control.
Early-, mid-, and post-game farming route
Early game: progress first
Clear new raids, collect visible crystals, open the Hoard, and build facilities that expand your options. Repeat an easy Den only when you are a few levels or one affordable upgrade short of a clear. Avoid upgrading every weapon and Gadget; a naturally dropped replacement can make that spending obsolete.
Mid game: use Huge Crystal stages and targeted enemies
Once Lintle Inlet and later mining stages are comfortable, use them for Shards and collection progress. If one named Salmonid material blocks construction, consult the in-game Salmonid research and revisit a stage where that enemy appears. Targeted material runs beat a generic Shard farm when the missing item cannot be purchased with Shards.
Post-game: optimize reward rolls
Post-game route spoiler: after unlocking the appropriate Oftu Island content and Super Spicy, Awlmun Den can become a very short mixed-loot loop. Its community Bot Hop/Flywire route is useful for weapons, parts, and scrap value, but it depends on launch-build movement. Follow the dedicated Awlmun Den farming guide for the setup, safe practice route, and evidence limits.
What should you spend first?
Farming becomes shorter when spending removes a real bottleneck. Prioritize a facility that unlocks an important system, broad Tank improvements used in every run, one dependable weapon, and one or two Gadgets central to your play style. Keep a Gem reserve until you know the next construction requirement.
- Spend Shards on broad progress and a proven main weapon before cosmetic completion projects.
- Spend Gems on scarce, progression-changing construction rather than experimental sidegrades.
- Spend Power Chunks only after checking that the base weapon roll is worth keeping.
- Keep alternatives for range, crowd control, and boss damage instead of feeding everything into one narrow build.
Splatoon Raiders farming FAQ
What is the fastest Spirhalite Shard farm?
Huge Crystal stages are the most accessible repeat method. A practiced post-game Awlmun Den route may create faster mixed-loot and scrap-value attempts, but its actual Shards vary with random rewards.
Can Spirhalite Gems be farmed reliably?
No guaranteed repeat route was verified as of July 28, 2026. Take deterministic first-clear rewards first, then test Help or high-level activities while also collecting another useful resource.
Do I keep resources after failing?
Nintendo’s official page says that you keep what you collect on solo raids even if something goes wrong. That statement should not be assumed to describe every multiplayer or special-mode reward rule.
Does a higher difficulty always give better loot?
Harder encounters can improve the quality of available drops, but a difficulty that causes long failures lowers your real return. Use the highest setting you can clear reliably, then retest after upgrades.
Should I farm before finishing the story?
Only to overcome a specific wall. Normal progression unlocks better stages, facilities, and tools, so extensive early grinding is usually less efficient than opening the next part of the map.
Final rule: name the bottleneck, choose the activity that directly produces it, track five complete cycles, and switch when progression or a stronger build changes the result.
Loading comments...