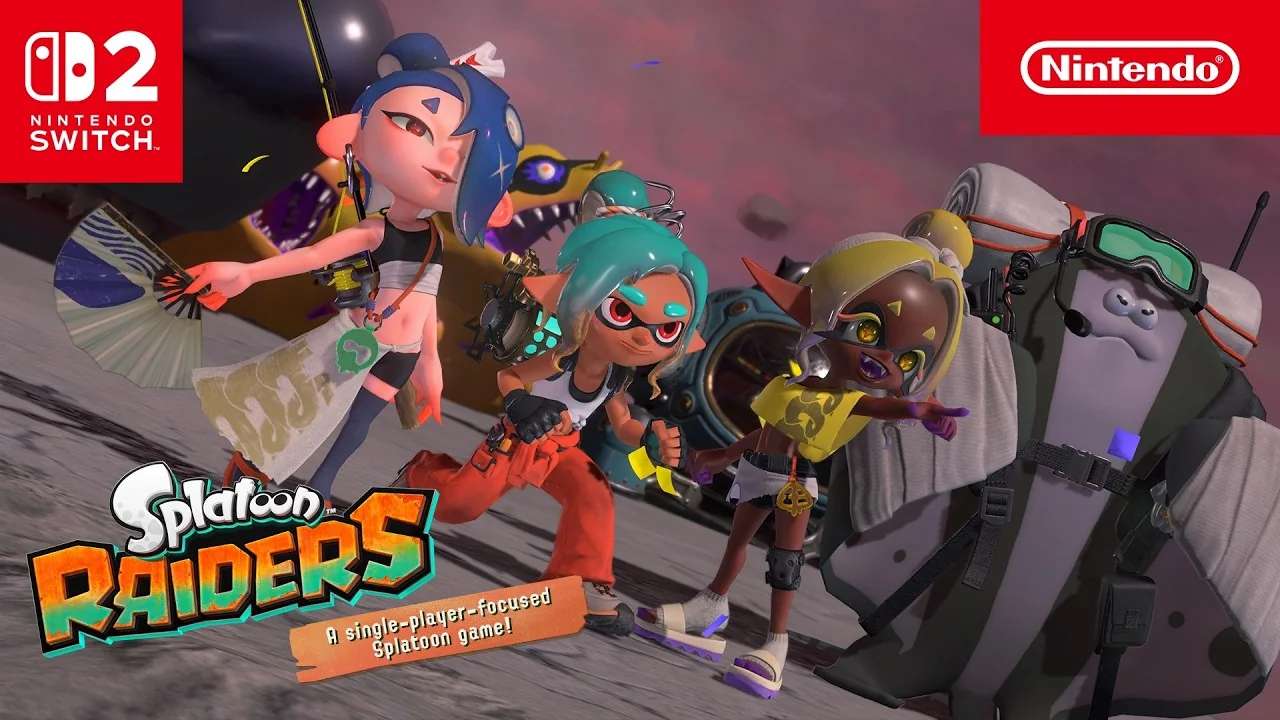
Shooters, Dualies and Splatanas are the strongest all-purpose weapon classes for a normal solo playthrough. Shooters earn the safest S tier because they paint, damage and change targets without setup. Dualies share that flexibility while adding dodge-roll mobility. Splatanas offer an unusually strong close-to-mid-range package once you are comfortable with charged attacks. Sloshers, Rollers, Blasters and Splatlings are excellent A-tier specialists; Chargers, Brellas, Brushes and Stringers demand more favorable stages or more practice.
This is a launch-version class tier list for solo Raider difficulty using reasonably current drops—not a claim that every Shooter beats every five-star Primo specialist. Level, rarity, Weapon Powers, Tank bonuses, Gadgets and player execution can move any individual item very substantially in real raids, especially when mission layouts sharply favor range, mobility, or crowd control. If you need the roster and variant rules first, read our complete weapons and variants guide.
Tier list criteria and important caveats
The baseline is a solo player advancing from the opening through the first credits on Raider difficulty. We assume a weapon near the recommended enemy level, ordinary useful Powers rather than a perfect roll, and a balanced loadout. Classes earn points for five things: safe damage uptime, crowd control, target switching, ability to paint an escape, and execution burden when an arena becomes chaotic.
S tier means consistently useful, not highest theoretical damage. A class rises when a merely decent drop works across raids, dens, dungeons and bosses without forcing the other loadout slots to repair it. A class falls when it needs a particular arena, Power combination or specialist technique before matching that consistency. A lower tier can still contain the best weapon for one encounter.
Four variables can overturn the table. First, a large level gap often matters more than class. Second, five-star weapons carry more Powers and a Primo variant maximizes its model specialty. Third, Gadgets can supply mobility, ranged damage or control that the main weapon lacks. Fourth, player familiarity changes real output: a Charger expert who rarely misses should not abandon it for an S-tier class they cannot operate.
The ranking also avoids extreme Bottomless floors. Deep endgame enemy scaling and highly tuned cross-Tank builds reward different effects from an ordinary campaign. It does not rank speedrun clears, perfect boss bursts or co-op support in one column. Instead, later recommendations identify the best classes for those contexts. Use the table to select what to test, then keep evidence from your own runs above the letter beside a weapon name.
Splatoon Raiders weapon tier list
| Tier | Weapon classes | Why |
|---|---|---|
| S | Shooters, Dualies, Splatanas | Flexible range, strong uptime and enough mobility or coverage to recover from pressure. |
| A | Sloshers, Rollers, Blasters, Splatlings | Excellent damage or control with a manageable but real range, cadence or setup cost. |
| B | Chargers, Brellas, Stringers | Powerful in favorable geometry, but crowds can interrupt their preferred rhythm. |
| C | Brushes | Fast and fun, yet short reach and repeated-input demands reduce general solo consistency. |
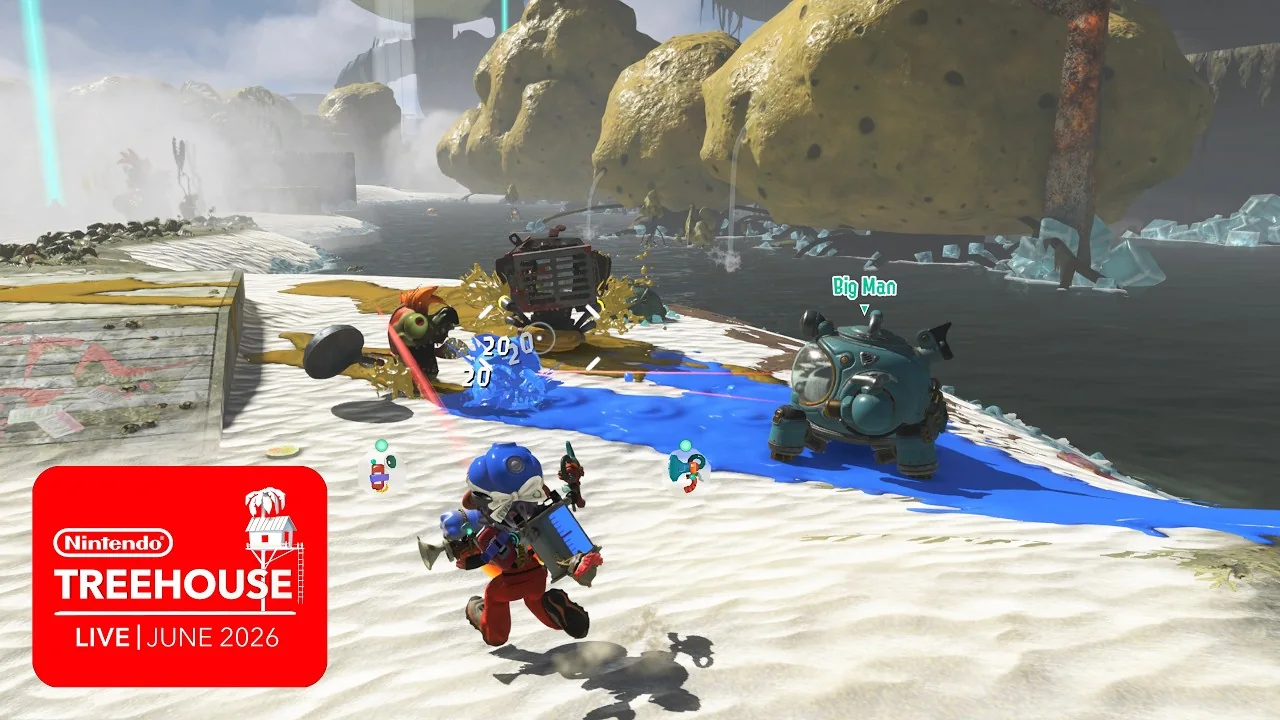
Shooters are the cleanest first recommendation. A balanced Plastic-Bottle or quick Glass-Bottle-style drop performs even before perfect Powers appear. Dualies add two dodge rolls and strong post-roll fire, which raises survival for players who roll toward safe ink rather than deeper danger. Splatanas combine ink waves with charged reach and a lunge, giving experienced players answers at more than one distance.
The A tier contains the strongest specialists. Sloshers arc over cover and hit groups with low aiming friction. Rollers erase close crowds and paint routes, but tough enemies punish careless rolling. Blasters convert accurate shots into valuable explosions. Splatlings deliver superb sustained damage after securing charge space. Each can look S-tier in its preferred stage.
B-tier classes are not weak. Chargers delete priority threats, Brellas buy defensive space, and Stringers cover broad lanes with charged explosions. They simply ask the player to preserve a firing condition while Raiders keeps spawning threats. Brushes land alone in C under this baseline because they expose the player at short range without the Roller’s heavier area hit. A mobility-focused expert can still make a Touring Brush clear quickly.
Best weapons for beginners and early progression
Start with a balanced Shooter. It teaches every system at once: aim at a target, paint between fights, swim to refill, and resume firing without waiting for a charge animation. Plastic-Bottle Splattershot-style efficiency is forgiving during long waves; Glass-Bottle-style fire rate rewards keeping the reticle on one target. Do not wait for either exact name—use the highest sensible Shooter near your level and learn what statistic you miss.
Next, try a Slosher. Its arcing, broad ink throw lands useful damage even when a beginner’s aim is imperfect, and it reaches platforms or enemies behind small obstacles. The lesson is cadence: throw, reposition, confirm the hit and avoid emptying ink into a target that has already moved. A balanced Camo or efficient Polyethylene-style model is easier to learn than an explosive Pow variant with a stronger quirk.
A Roller is the third useful lesson because it makes paint and spacing visible. Swing into crowds, roll across safe light targets, and stop trying to flatten anything that bounces you backward. The class feels intuitive without precise motion aim, but it teaches a bad habit if you hold forward through every enemy. A Brella is a good alternative for a cautious player who wants a protective beat while learning arena layouts.
Avoid investing heavily in a Charger or Splatling before confirming that you enjoy prepared attacks. They can be exceptional, yet an early resource commitment makes no sense if every crowded raid interrupts your preferred charge. Test them in a dungeon that teaches the mechanic or at the Hideout first. Dualies are beginner-friendly only when you practice ending each roll in painted safety; otherwise their signature move becomes a self-made trap.
The simple progression is Shooter for fundamentals, Slosher or Roller for area control, then one technical class that excites you. Pair that practice with the beginner guide. Early weapons are teaching tools, so judge them by whether they help you understand movement, range and ink—not by whether they will remain your final endgame item.
Best weapons for bosses, mobs and co-op
| Situation | Best starting classes | Reason |
|---|---|---|
| Boss damage | Splatling, Splatana, Shooter | Strong punish-window uptime with different setup demands. |
| Dense lesser Salmonids | Slosher, Roller, Blaster | Wide swings, arcs and explosions convert groups into efficient damage. |
| Distant priority targets | Charger, Shooter, Stringer | Reach removes threats before they control the arena. |
| Blind solo progression | Shooter, Dualies, Splatana | Flexible answers and safer recovery from surprises. |
| Co-op specialist role | Charger, Splatling, Brella | Teammates can protect the setup or exploit the space created. |
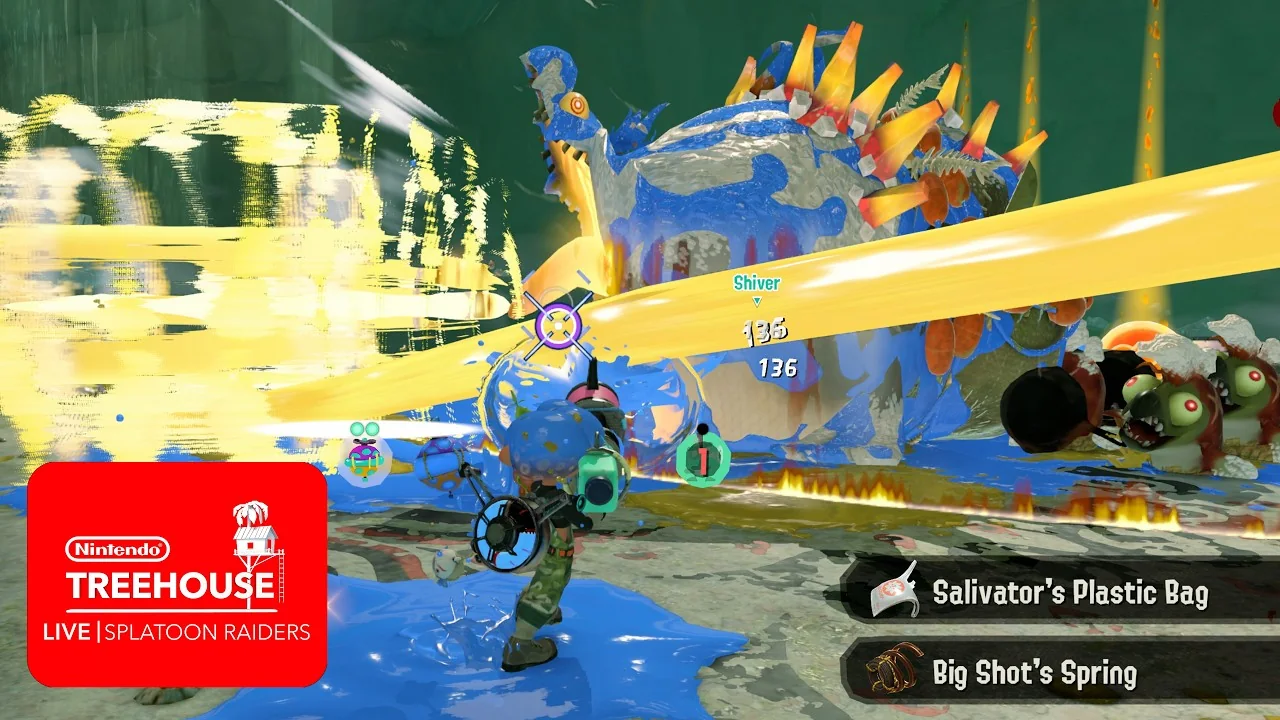
Against bosses, consistency during a safe punish window matters more than theoretical single-shot power. Splatlings exploit long openings, Splatanas combine flexible waves with charged commitment, and Shooters lose less damage when the target moves unexpectedly. Chargers rise when a weak point stays exposed at range; they fall when small enemies repeatedly interrupt the shot.
For mobs, count enemies affected per action. Sloshers reach over bodies, Rollers sweep a lane and Blasters splash grouped targets. These classes become even stronger when a Gadget gathers, slows or controls a wave. Do not duplicate the same job across every slot: a Roller plus another point-blank Gadget may need a ranged solution more than additional crowd damage.
Co-op rewards contrast. A Charger or Splatling can hold a protected firing position while mobile teammates collect Power Eggs and clear flankers. A Brella can create breathing room that is less valuable alone but meaningful for a prepared teammate. Coordinate through the multiplayer fundamentals, and compare complementary Gadgets in the Explorer. A four-player squad of individually top-tier weapons can still be worse than a mixed team that covers range, crowds, boss uptime and recovery.
When a lower-tier weapon is right and how to test it
A letter is easiest to overturn when the drop itself is exceptional. A current-level five-star weapon with three useful Powers can outperform an underleveled S-tier class. A Primo model can maximize the exact statistic your build needs. Range geometry can make a Charger safer than a Shooter, while a fixed-loadout dungeon may teach a class well enough that its previous execution tax disappears.
Mission failure also tells you which dimension matters. If distant threats end the run, promote range even if the tier list prefers general uptime. If lesser Salmonids surround you, choose a wide arc, explosion or swing. If the timer expires while you remain safe, add damage uptime rather than more defense. If you die while recharging, fix ink economy or escape paint before comparing peak damage.
Before spending substantial Shards, run this test:
- Equip the candidate and your current weapon without changing Tank, Gadgets or difficulty.
- Use the furnished Hideout range to compare time to a tough target, crowd coverage and one full ink cycle.
- Practice the class action—roll, charge, canopy, lunge or swing—until movement no longer contaminates the result.
- Run one familiar raid with each weapon and record clear time, dangerous moments and remaining ink.
- Upgrade only when the candidate wins the job you need or opens a genuinely different role.
Nintendo specifically recommends building out the test area with targets, rails and balloons so players can examine range, damage and maneuverability safely. Use the moving elements, not only a stationary target. A weapon that posts huge damage while you stand still may lose every advantage as soon as you must paint a wall, turn to a Stinger or leave enemy ink.
For early investment, upgrade enough to remain near the content curve and avoid maxing the first rare item you see. In late progression, reserve the largest commitment for a five-star or Primo candidate whose class and specialization you have already validated. Power swapping after the relevant Hideout upgrade can polish a favorite, but it cannot change the weapon’s basic action.
The final rule is simple: your best weapon is the strongest tested drop you can operate consistently in the current mission. The tier list predicts which classes reach that state with the fewest conditions. It does not revoke a lower-tier weapon that repeatedly clears faster, safer or more enjoyably in your hands.
Retest after a major level jump or a new three-Power drop. Do not retest after every minor duplicate; that turns useful comparison into menu churn. Keep one familiar benchmark, one specialist for the problem that benchmark cannot solve, and one experimental slot. This compact inventory gives new loot a fair trial while protecting the stable build that advances the campaign. If a candidate loses twice under controlled conditions, scrap or store it and move on without worrying that its class letter promised more.

Loading comments...