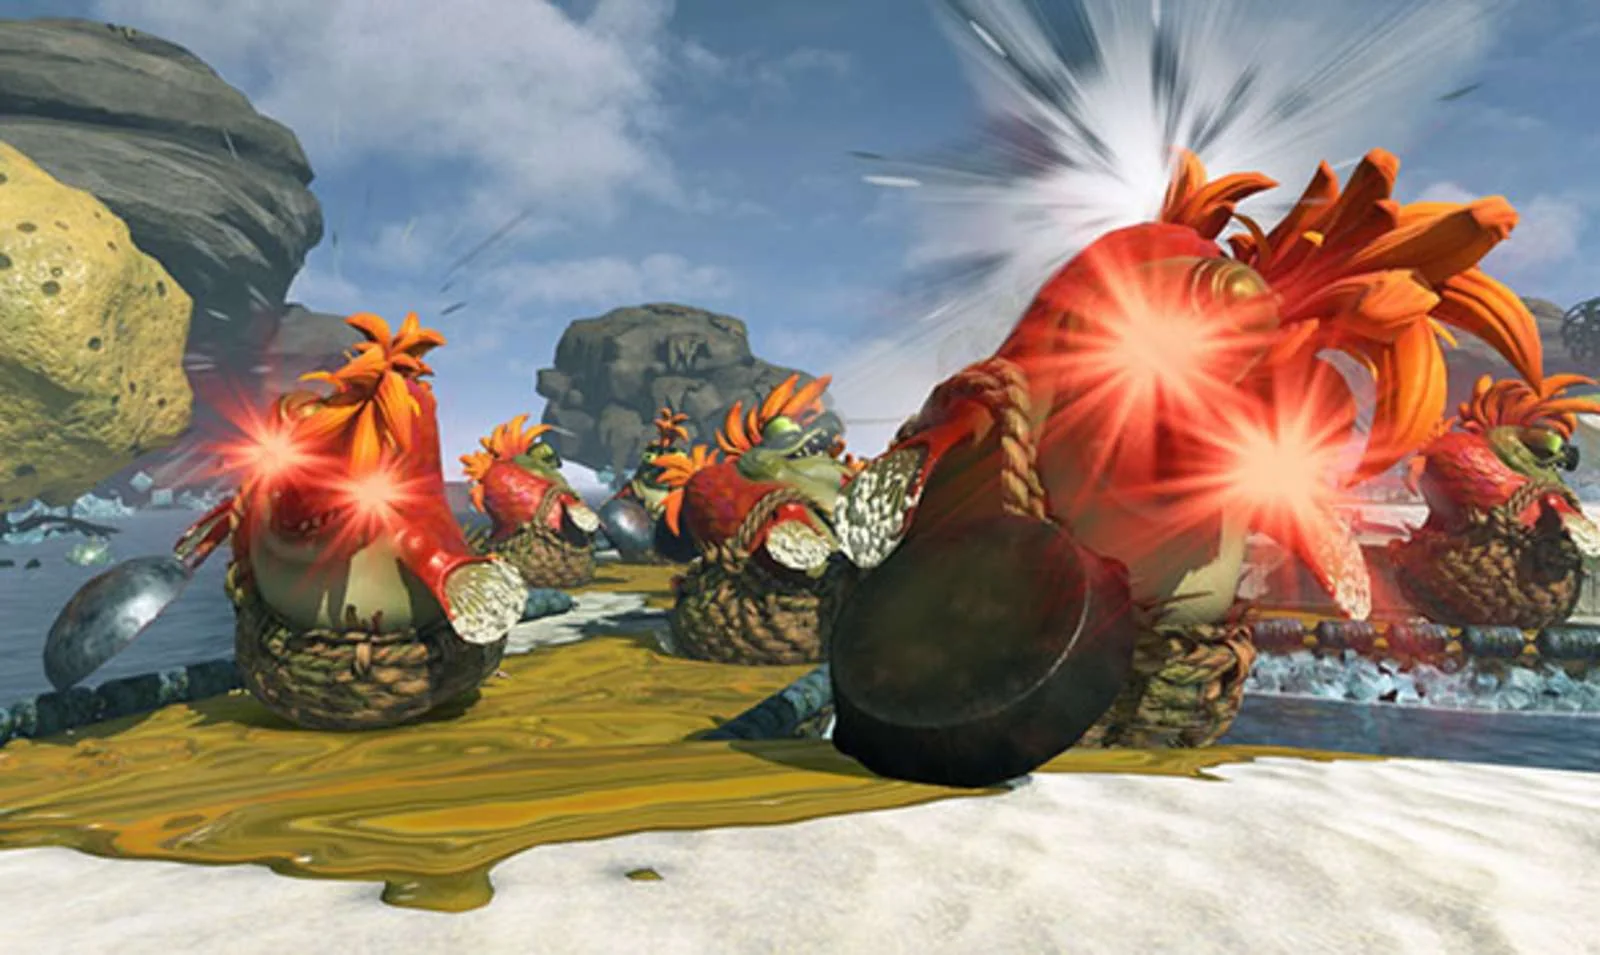
Splatoon Raiders has 11 main-weapon types and more than 100 weapon variations. The complete class roster is Shooters, Rollers, Chargers, Sloshers, Splatlings, Dualies, Brellas, Blasters, Brushes, Stringers and Splatanas. A “variation” is not merely a cosmetic skin: salvaged models emphasize different stats, and individual drops also carry a level, rarity and—at higher rarities—Weapon Powers. Primo versions push a model’s built-in specialty further.
That loot structure is why a useful weapons list must do more than print names. This guide explains every class, representative launch-version variants and the rules that tell you whether a new drop is actually an upgrade. Nintendo confirms the 11-class, 100-plus-variation headline; the named examples come from finished-game records checked on August 13, 2026. Randomized rolls and future updates can expand what you personally see, so treat the class list as complete and any observed variant list as a living catalog.
How weapon drops and variants work
A weapon card combines five separate decisions. Type determines the fundamental action: a Shooter fires continuously, a Charger stores a precise shot, and a Roller can swing or ink while moving. Named model shifts built-in traits such as fire rate, range, coverage, ink efficiency or charge speed. Level places the drop on the current progression curve. Rarity controls how many Weapon Powers it can carry. Primo status marks a superior version whose specialized built-in stats are pushed to their maximum.
Stars are easiest to understand as Power capacity. Finished-game records show one-star weapons without a Weapon Power; two-star and three-star drops carry one, with the three-star tier able to roll a stronger Power; four-star weapons carry two; and five-star weapons carry three. Those passive effects can improve the Mechanic or apply combat effects such as Freeze or Ferment. A five-star item therefore offers the largest build canvas, but it can still belong to a weapon style you dislike.
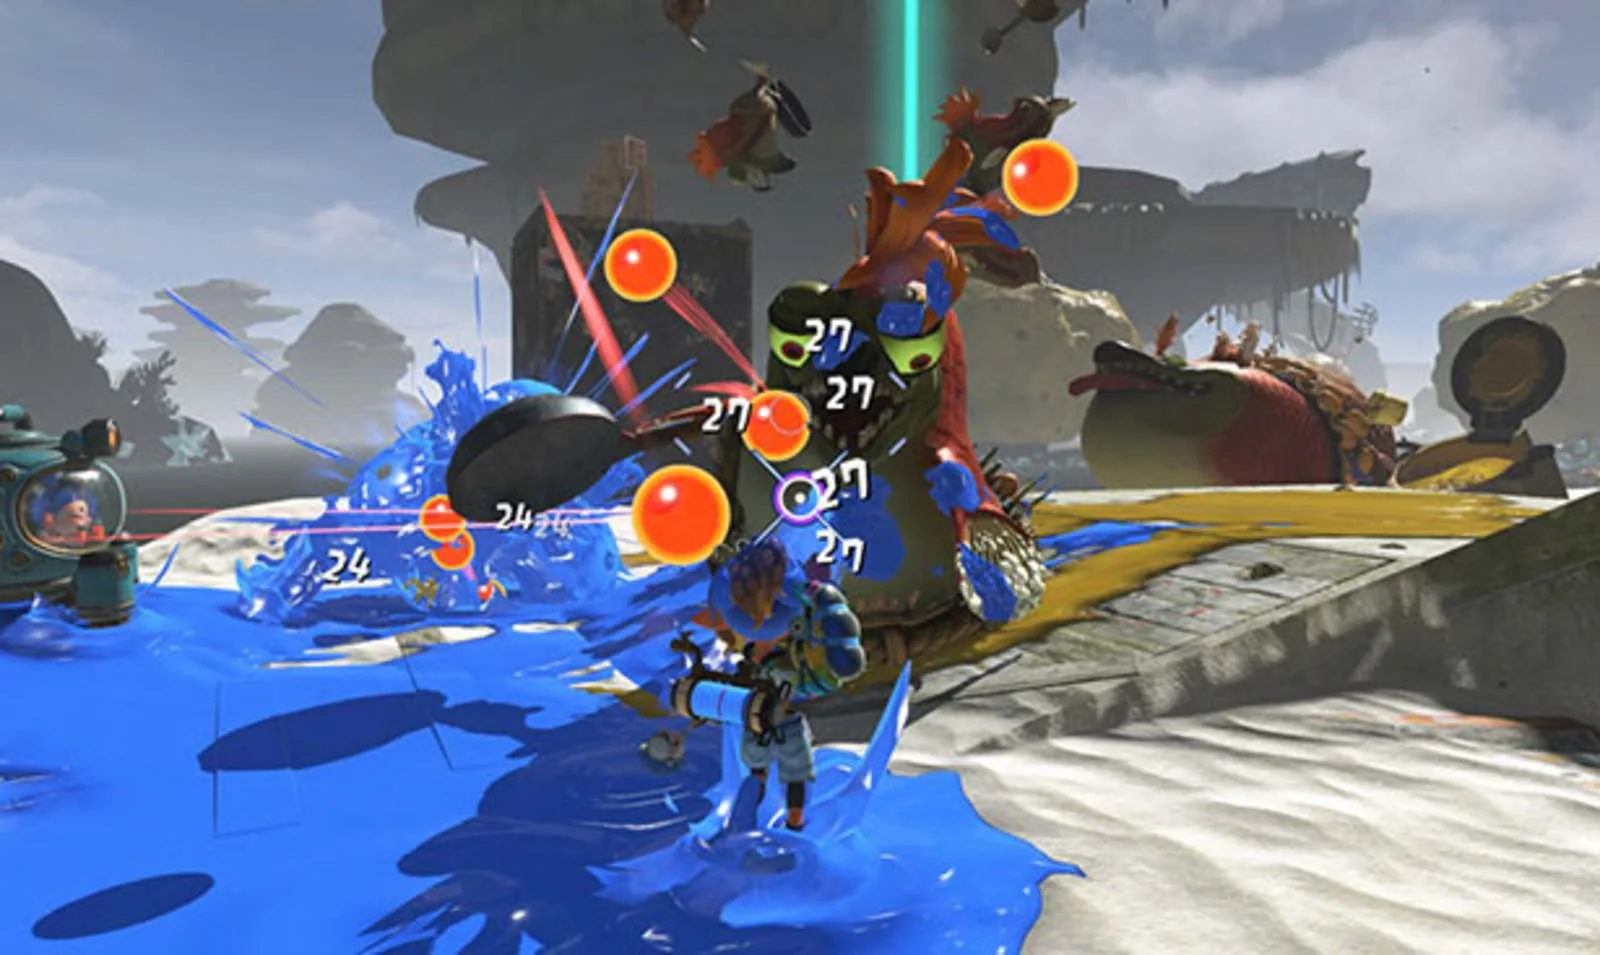
Primo and five-star are also not synonyms. Primo describes the strength of a named model’s intrinsic specialization, while stars describe rarity and Power slots. This matters when comparing, for example, a quick-charge model with a range-focused model: a Primo tag strengthens the selected identity; it does not turn every stat into the best possible stat. Keep the model whose strength solves your actual problem.
Weapons drop during raids and remain in your haul even when a run ends in defeat, so experimentation is less dangerous than the inventory screen suggests. Lock a promising drop, test its firing rhythm and ink demand, then compare it with a familiar baseline at similar levels. Our beginner guide covers safe movement and resource habits. A weapon is only an upgrade when you can keep dealing damage, paint an exit and operate its quirks under pressure.
All 11 weapon types at a glance
Every class from Splatoon 3 returns, but Raiders’ Salmonid crowds change the question from “Which kit wins a PvP matchup?” to “Which attack pattern solves this raid?” Use this table as a class selector; the following sections explain representative variants.
| Weapon type | Core action | Best raid job | Main risk |
|---|---|---|---|
| Shooter | Flexible continuous fire | General progression and mobile damage | Less specialized than extremes |
| Roller | Wide swings and ground rolling | Close crowds and fast paint routes | Exposure at short range |
| Charger | Stored long-range precision shot | Priority targets and safe openings | Charge time under pressure |
| Slosher | Heavy arcing ink throw | Platforms, cover and grouped enemies | Measured fire rhythm |
| Splatling | Charge then sustained rapid fire | Boss uptime and defended lanes | Needs setup space |
| Dualies | Rapid paired fire with dodge rolls | Mobile damage and repositioning | Rolling into hazards |
| Brella | Shotgun-like burst plus canopy | Defensive advance and safe pressure | Lower tempo if shield is mistimed |
| Blaster | Exploding ink projectile | Burst and clustered targets | Missed shots cost time |
| Brush | Rapid melee swings and fast inking | Mobility and cleanup | Short reach and input intensity |
| Stringer | Five-way charged spread | Coverage and delayed explosions | Requires distance judgment |
| Splatana | Ink blades and charged lunge | Flexible close-to-mid damage | Charge commitment near crowds |
Shooters are the safest starting point because they paint, damage and reposition without a special setup step. The other ten types exchange part of that simplicity for a stronger identity: Dualies buy movement with dodge-roll discipline, Sloshers attack over geometry, and Chargers or Splatlings trade immediate firing for powerful prepared output. That trade is more important than a small stat difference between two drops.
The table also explains why no alphabetical weapon list can name one universal winner. A wide Roller can dominate a dense den yet feel awkward against a distant airborne target. A Charger can remove that target cleanly but struggle when small Salmonids surround the player. Keep at least one comfortable option for mobile general play and one contrasting option that covers its weakest engagement.
Close-range and mobile weapon families
Shooters are the universal baseline. Observed variants range from fast Flamingo and Lifeguard Splattershot Jr. models to balanced Glass-Bottle and Plastic-Bottle Splattershots, plus longer-range Jam, Olive-Oil and Perfume Squelchers. Choose by the weakness you notice during play: fire-rate models reward steady tracking, efficiency models extend a fight before refilling, and range/coverage models create safer lanes. Their lack of a charge or swing commitment makes Shooters the easiest class for learning a new raid.
Dualies turn that continuous-fire foundation into an evasive style. Aluminum, Steel and Titanium Twincans occupy power, coverage and speed niches; Diner, Sippy-Cup and Sport-Bottle Dualies offer balanced variations. The class can dodge roll twice, with improved firing behavior after the movement. That makes it excellent for attacking while relocating, but the roll is not a free escape. A player who rolls toward unpainted ground or a second Salmonid threat has spent ink to enter a worse position.
Rollers convert proximity into wide paint and heavy swings. Balloon and Duct models emphasize efficiency, Inner-Tube and Engine models emphasize swing behavior, and Shrimp or Turbine models expand attack area and coverage. Rolling through light enemies feels powerful, yet tougher Salmonids can stop the advance and leave you exposed. Treat the grounded roll as path creation and cleanup; use deliberate swings when an enemy can survive contact.
Brushes are the lightest melee family. Cycle, Pulley and Touring Brushes trade among efficiency, coverage and swing speed. Their quick inking helps reposition or finish scattered targets, while their reach demands awareness of every nearby threat. They suit players who prefer constant motion and can manage repeated swings without losing aim or situational awareness.
These four families pair naturally with mobility and crowd-control tools, but the Tank does not change the weapon’s fundamental safety. Before committing resources, use the Tank and Gadget Explorer to cover the class’s weakness: a close-range weapon often benefits more from an escape or ranged control option than from doubling down on another point-blank attack.
Ranged and control weapon families
Chargers and Splatlings need protected setup time. Bleach, Cleaner and Detergent Chargers favor faster or more efficient operation, while Diesel, High-Octane and Unleaded 4K models occupy the heavier end. Splatlings include capacity-focused ABC and LPG models, quick Gas-Can, LN2 and Water-Jug options, and the ranged Buoy. Chargers convert one prepared line into precision damage; Splatlings convert a charge into sustained fire. Pick the former for target selection and the latter for uptime.
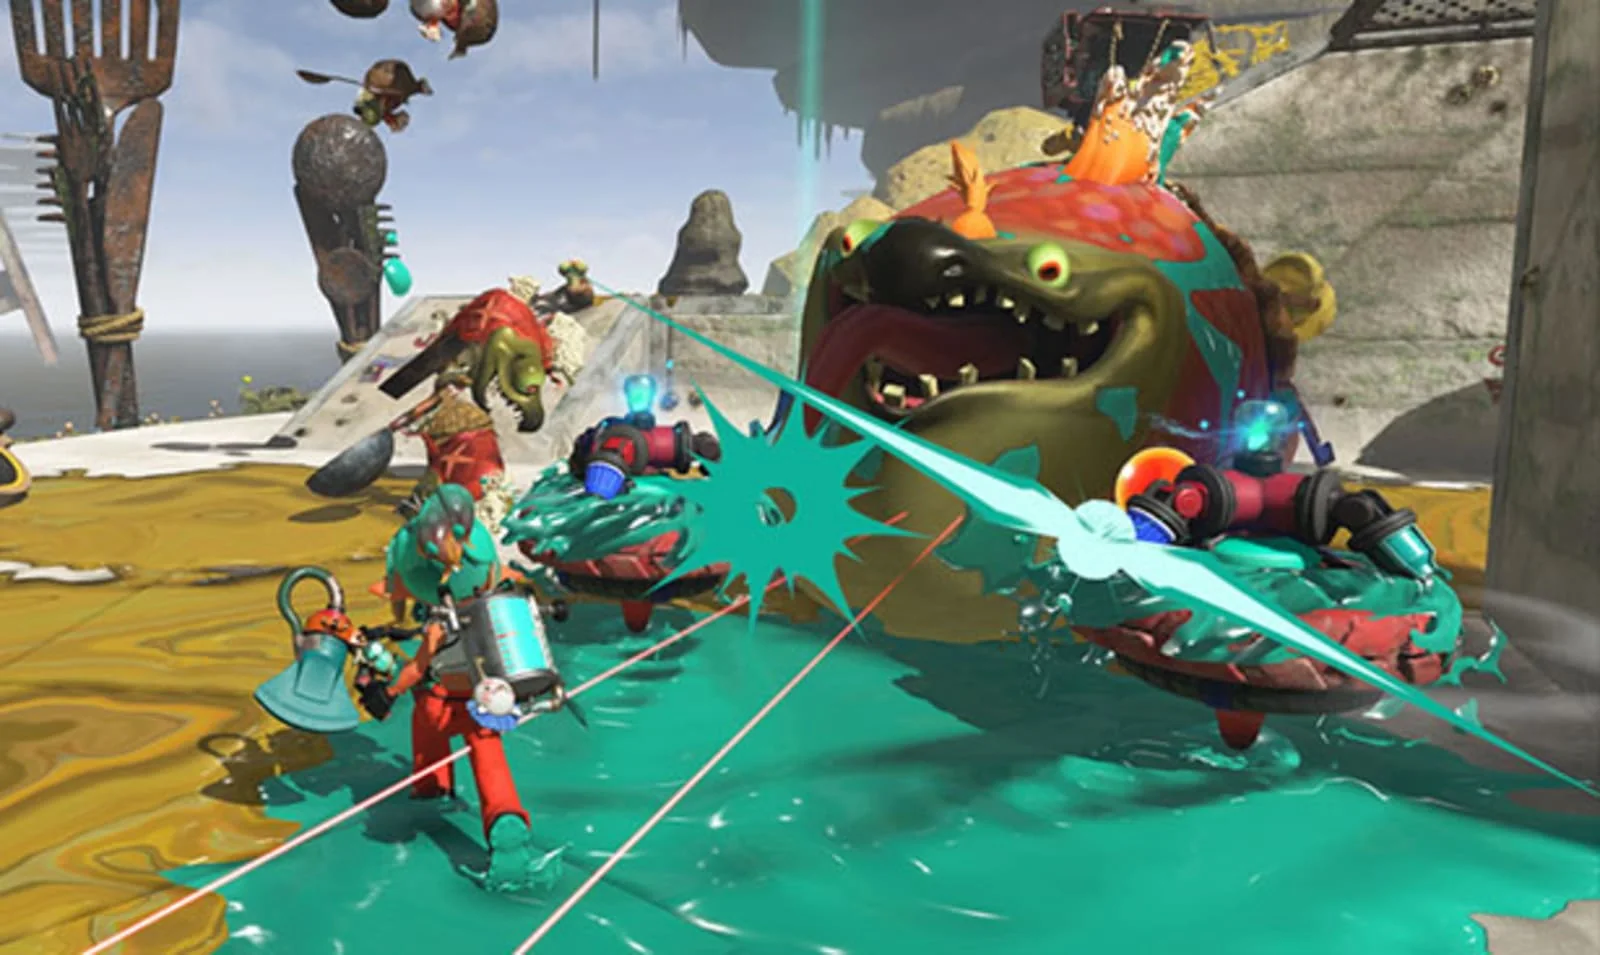
Stringers fire a five-way spread that gains distance and explosive behavior when charged. Alpine favors speed, Bamboo efficiency and Racket coverage. The class rewards players who understand where a crowd will be when the shot resolves. Blasters reach the same control goal through immediate explosions: Butane, Oil and Steam models cover balanced specialties, while Toy-Claw, Toy-Horn and Toy-Shark variants trade toward range. A direct hit is valuable, but an explosion near grouped enemies can be the more important raid outcome.
Sloshers throw ink in an arc, letting you attack platforms or the far side of an obstacle. Camo, Polyethylene and Sand models cover balanced speed, efficiency and range/coverage; Clay-Pot, Oil-Drum and Shichirin Pow Sloshers add explosive identities. They are unusually forgiving when exact line-of-sight aim is difficult, though their firing cadence punishes empty spam.
Brellas mix a broad shot with a canopy that can block and launch forward. Flower, Fruit and Palm models are balanced; Food-Stall and Tarp are larger; Thermal emphasizes speed. Salmonids do not behave like PvP opponents, so the shield is situational rather than an excuse to stand still. Use it to buy a repositioning beat, protect an advance or keep firing safely—not to absorb an entire arena.
Splatanas bridge melee and mid-range play with ink waves, charged slashes and a forward lunge. Wooden favors efficiency, Rail favors swing/charge speed and Plastic extends range and coverage. This flexibility makes the family attractive, but a charged lunge is still a commitment. Aim it through a controlled lane rather than into the center of an unknown wave. Across all seven families, the right variant is the one that makes the class’s setup cost manageable in the mission you are actually playing.
How to compare two variants of the same weapon
Start by controlling the comparison. Two weapon cards at very different levels cannot tell you whether range is better than fire rate; the level gap may dominate the result. Test models at similar levels, remove temporary assumptions about a perfect Power roll, and use the same target or short raid. Then follow this order:
- Confirm the class fits. If you cannot maintain the Charger’s space or dislike repeated Brush swings, a rare version will not repair the fundamental mismatch.
- Read the model specialization. Decide whether the mission needs range/coverage, speed, efficiency or raw impact.
- Check practical uptime. Fire through one full ink cycle and note how often you must stop, recharge or move.
- Inspect rarity and Powers. Count useful effects, not stars alone. A lower-rarity interim drop with the right behavior can clear the story while you wait for a long-term item.
- Price the upgrade. Do not pour scarce Shards into a marginal sidegrade merely because it is new.
Use three tests: a crowd sweep, a priority-target burst and an escape-paint test. The crowd sweep exposes coverage and firing interruptions. The priority target shows whether charge, range or direct-hit demands reduce real damage. The escape test asks whether the weapon can quickly ink a route after its main attack cycle. A spectacular target-dummy number is less useful if the weapon repeatedly leaves you dry and surrounded.
Finally, compare the weapon with the rest of the loadout. A control Gadget can create the setup time a Splatling needs; a mobility Gadget can let a Roller enter and leave safely. This is where the Explorer becomes more useful than a static ranking. Keep the variant that improves the whole combat loop, not the one with the most impressive card viewed in isolation.
Finding, upgrading and managing weapons
New weapons come from playing raids and defeating Salmonids, with later and harder destinations generally producing more relevant high-level loot. Do not turn that observation into a mythical guaranteed farm: select missions you can clear efficiently and that contain enough combat or crates to make the run worthwhile. Because solo progress retains recovered weapons and salvage after defeat, pushing into a challenging raid can still teach you and expand the inventory.
Frye’s Weapon Stash becomes the center of the loop. Upgrade a selected weapon with Spirhalite Shards, scrap extras for useful materials, and eventually manage Weapon Powers after the Hideout reaches Level 3 and the corresponding facility is built. Regular drops accept limited upgrading, while Primo weapons are the long-term candidates once you know which model you actually enjoy. Avoid heavy investment merely because the first rare item arrived early.
Nintendo’s own tips point players toward the Hideout’s targets, rails and balloons for controlled testing. Use them. Fire at close and long targets, measure one ink tank, practice the class movement and ask whether the weapon can paint a safe exit. Then take it into a familiar raid before challenging new content. This separates a bad roll from unfamiliar execution.
For inventory discipline, keep the best current copy of each class you genuinely plan to use, lock any rare long-term candidate, and scrap obvious lower-level duplicates after comparing their specialization. Retain a contrasting ranged or crowd option even if it is not your main. Visit the Stash whenever storage becomes noisy; delayed cleanup makes valuable drops harder to recognize.
Finally, remember that the weapon is one layer of a build. Tank upgrades affect broad combat stats, Gadgets supply mobility or control, and Relic Powers add another modifier. Watch the official gameplay breakdowns in our video library to see those layers working together. The complete weapon list gives you choices; good management turns those choices into a reliable raid kit.

Loading comments...