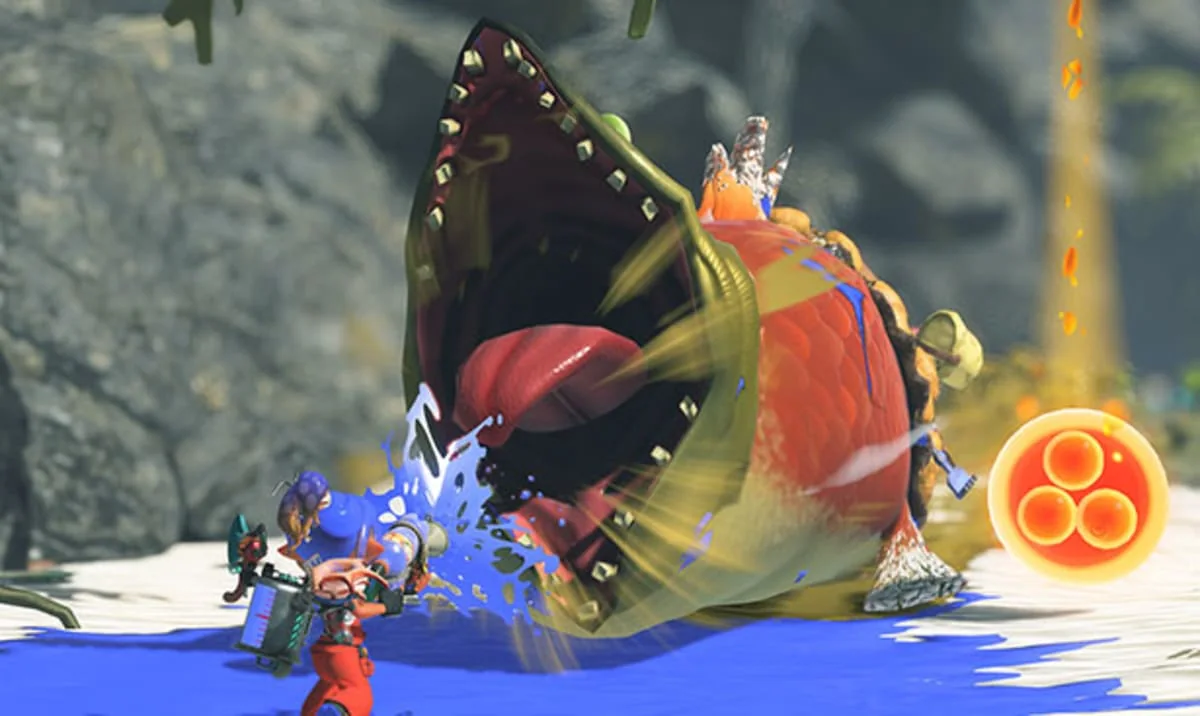
Which Splatoon Raiders final boss do you mean?
Full story and post-game spoilers begin here. Splatoon Raiders has two encounters that players reasonably call the final boss. Salmonarch is the main campaign finale in the Throne Room and leads to the regular credits. Lord Saltimatum is the secret post-game boss reached on floor 100 of the Bottomless Buffet and leads to the true-ending sequence. They are different battles, not two phases or names for one enemy.
| Boss | Location | What it completes |
|---|---|---|
| Salmonarch | Throne Room at the end of the story route | Main campaign and normal ending |
| Lord Saltimatum | Bottomless Buffet floor 100 after the story | Secret boss route and true ending |
If you have not rolled credits, follow the preparation and Salmonarch phases first. If you are already climbing the Great Salmon Mess Hall, jump to the unlock and Lord Saltimatum sections. Floor 100 is not required to finish the initial campaign, and the secret fight assumes far more developed weapons, Gadgets, Tank upgrades and Relic Powers than the Throne Room.
This walkthrough focuses on the objectives that actually advance each battle. Salmonarch is partly a traversal and timed Power Egg test, so firing at its body is often wasted effort. Lord Saltimatum is a direct endurance fight built around avoiding large attacks, controlling adds and earning Drill windows. Knowing which rule set is active is the first—and most important—counter.
Best preparation before the Salmonarch fight
Build for reliable crowd clearing and movement rather than a theoretical single-target damage record. Salmonarch's central objective is powered by eggs from spawned enemies, and later transitions require accurate Bot Hops between floating platforms. Take the weapon you can aim while moving, upgrade its current level at the Weapon Stash and test that it can remove ordinary Salmonids without consuming an entire ink tank.
Your Gadgets should cover two different failures. One should remove or stagger a clustered wave; the other should protect a route, reach a troublesome Boss or create breathing room. Speed Tank makes recovery and repositioning forgiving, Power Tank can clear dense groups quickly, and Tactical Tank can hold part of a platform with deployables. All are viable if developed. The bad loadout is one whose cooldowns have no answer when eggs hatch on opposite sides.
- Practice calling Bot Buddy and landing a Bot Hop with the camera angled toward the destination.
- Remember that holding ZL drops the Mechanic faster when a horizontal blast catches you airborne.
- Equip health, ink-efficiency or cooldown support if your damage already clears normal enemies comfortably.
- Enter with a visible Showstopper plan: use it to rescue a failing egg cycle, not automatically on the first group.
- Repaint safe floor whenever a platform gives a short setup pause.
You do not need a narrow “best build,” but you do need consistency for three consecutive timed objectives. If a trial run fails because ordinary enemies survive too long, increase weapon or area damage. If eggs remain on the floor, improve mobility or collection utility. If the Mechanic falls between platforms, stop spending materials and practice the hop. That diagnosis keeps progression grinding from disguising a movement problem.
Salmonarch phase 1: survive the water approach
The opening is a forward traversal sequence. Your goal is to reduce the remaining-distance counter to zero, not to damage Salmonarch. Stay centered enough to choose either side, keep firing lanes open and shoot breakable objects early. Holding the trigger on the boss only drains ink you need for the obstruction directly ahead.
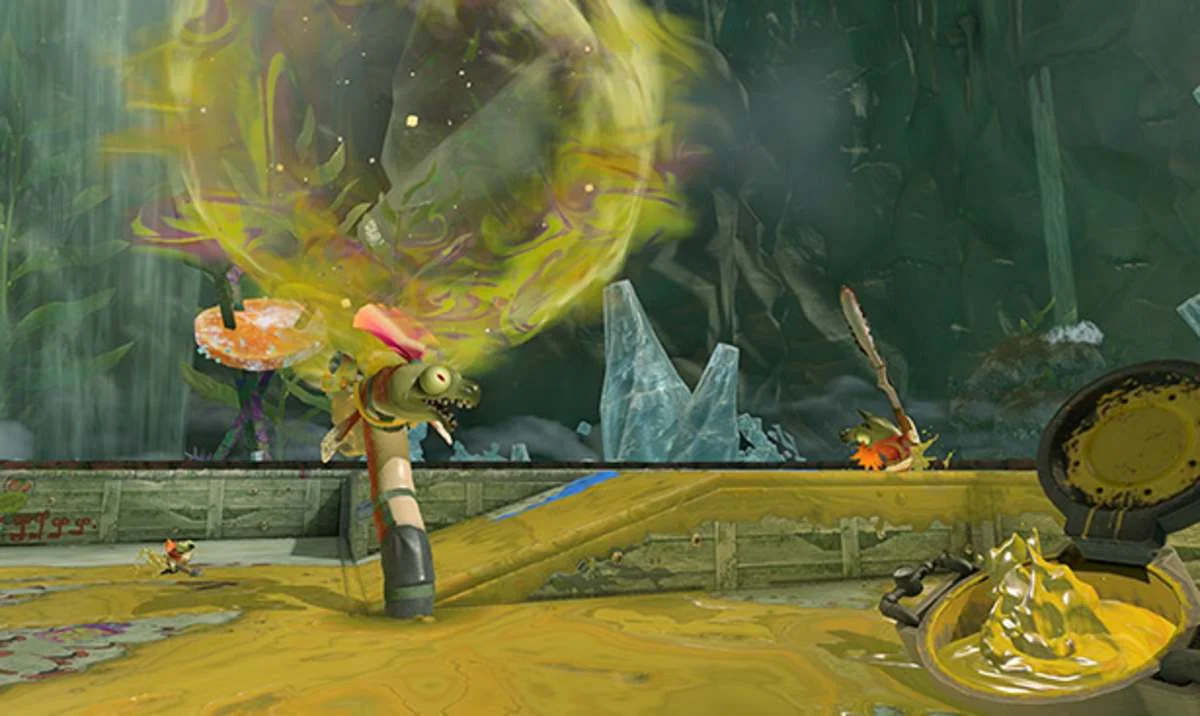
| Hazard | Correct response | Common mistake |
|---|---|---|
| Bone-like projectile or rock | Shoot it early enough to see the lane behind it. | Waiting until it fills the screen and losing the side exit. |
| Water shockwave | Jump as the wave approaches, then land before the next input. | Jumping at Salmonarch's animation instead of reading the water. |
| Horizontal beam | Use squid form to lower the Mechanic beneath it. | Treating it like a shockwave and jumping into the beam. |
| Green tornado | Move laterally through the open gap; it cannot simply be shot away. | Leaving rocks intact until they block the only dodge lane. |
Hazards become dangerous when responses overlap. Break a rock before committing to a jump, because landing against an intact obstacle removes the next lateral choice. After a dodge, recenter instead of hugging the edge; edge movement turns a small correction into a fall. Refill whenever the path gives a quiet second so that the next breakable object never arrives to an empty tank.
If this phase repeatedly fails, name the attack before reacting. “Wave means jump, beam means squid, tornado means side” is simple enough to execute under pressure. The sequence ends when the counter reaches zero and moves into the platform objective. No amount of extra shooting shortens it if the required distance is not covered.
Salmonarch phase 2: break all three glowing orbs
On the first main platform, the fight becomes a timed Power Egg objective. The standard encounter displays a 100-second countdown and a 1,800-egg target; always follow the gauge shown in your run if a mode or update displays a different value. Destroy floating egg clusters and defeat Salmonids until Bot Buddy's Drill Attack is ready. Then press the prompted Bot action immediately to break one glowing orb. Direct weapon fire at Salmonarch or the orb does not replace the Drill.
Ink the floor and a climbable wall during the short setup window. When large eggs arrive, destroy the nearest or most advanced eggs before they hatch. An unbroken egg becomes another enemy that consumes time twice—once to survive its attacks and again to defeat it for the same objective. If several hatch, remove the threat that attacks from range or blocks the route, then sweep Lesser Salmonids with the area Gadget.
- Build the gauge: collect the visible Power Eggs rather than assuming the defeat itself counted.
- Protect the route: keep a painted arc between the spawn points, drops and Bot launch position.
- Use Drill immediately: once the quota is met, stop chasing optional enemies and trigger the attack.
- Bot Hop onward: call Bot Buddy, aim the camera down at the next platform and land before Salmonarch's beam crosses the route.
- Repeat twice: each new platform resets the timed job; three successful Drill Attacks break all three orbs.
The second and third cycles are mechanically familiar but visually busier. Do not carry a dangerous formation from one side of the platform to the other just to collect a small drop. A nearby Boss and its Mega Power Egg can be efficient, but only if its counter fits the remaining time. Use Showstopper when it clears enough bodies to expose multiple drops or prevents a nearly charged cycle from collapsing.
After the third orb, the objective changes again. New floating platforms lead back toward the Hideout Ship under another countdown. Prioritize movement, use Bot Hop in measured steps and climb to the crane controls. Press A at the crane, then follow the final prompt by rotating the L Stick continuously. Once the crane sequence begins, ordinary weapon damage is finished; clean execution of the prompt closes the main campaign battle.
How to unlock the secret final boss
Defeat Salmonarch and roll the main credits first. The post-game opens harder activities, including Hidden Ruins and the route into the Great Salmon Mess Hall's Bottomless Buffet. Complete the required post-game ruin path until the Buffet becomes available; Lord Saltimatum is not behind an alternate door in the Throne Room.
The climb itself is the unlock test. Bottomless Buffet begins around Salmonid Level 50 and advances in sets of three floors, raising the opposition as the depth increases. Reach and clear through floor 99 to enter the floor-100 boss. Progress beyond 100 can continue, but that later endurance ladder is not required for the secret confrontation or true-ending sequence.
These floors are locked to Survivalist difficulty. The normal call-for-Help option is unavailable, although the mode can still be played with a friend through supported online multiplayer. Do not interpret the restriction as a cue to rush alone with campaign equipment. Upgrade the Hideout Ship to level 3 for deeper weapon and part systems, choose one strong weapon you can keep scaling, and use the three-floor reward breaks to reassess damage, health and cooldowns.
Treat floors 91–99 as the final preparation, not disposable rooms before the “real” fight. Enter the last set with a Showstopper available when possible, preserve lives and refuse a marginal clear that leaves the floor-100 attempt with no recovery. If your weapon needs several full ink tanks for an ordinary late-floor Boss, pause the climb and farm. Reaching the boss underpowered only turns a readable pattern into a very long mistake.
How to beat Lord Saltimatum on floor 100
Lord Saltimatum is a long direct fight with alternating damage and defence cycles. Keep a broad painted path around the arena, attack the boss between telegraphs and use Showstopper freely enough that it contributes more than once. Ordinary Salmonids matter when they block movement or supply Power Eggs for a Drill, but they are not the health bar. Do not spend a clean boss opening chasing the last Chum at the opposite edge.
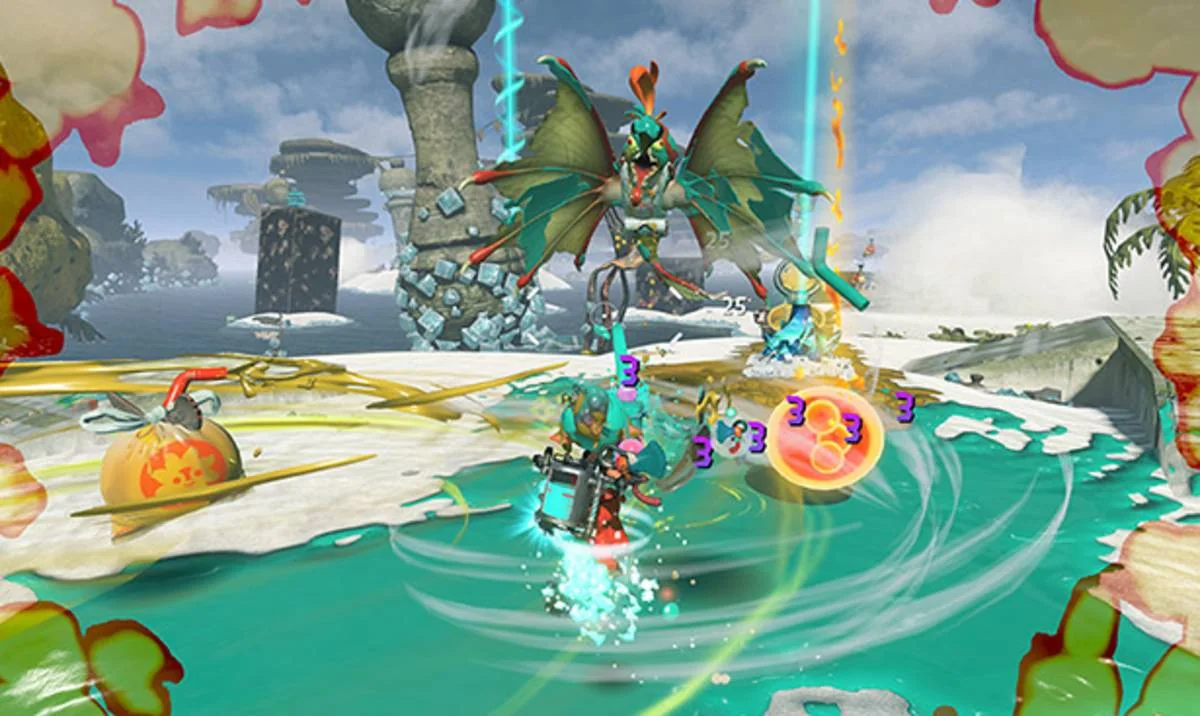
| Attack | Read | Response |
|---|---|---|
| Spreading tornadoes | Multiple funnels fan across the arena. | Swim through the widest gap and curve back into firing range after they pass. |
| Charge beam | Saltimatum visibly powers a straight blast. | Swim toward the boss/beam origin to pass the dangerous line rather than fleeing along it. |
| Fast projectiles | A set of aimed shots launches in sequence. | Keep moving across their track; do not reverse into the following projectile. |
| Phase-three dome | The boss pauses face-down toward arena center. | Immediately swim to the extreme edge beyond the dome's circumference. |
During the first damage cycle, learn these three base attacks while applying steady weapon and Gadget damage. When Saltimatum enters defence, defeat the spawned Salmonids, gather the eggs and trigger Bot Buddy's Drill Attack. The Drill breaks the protected state and creates the strongest damage window. Clear only the enemies needed to keep the collection route safe; a distant survivor is irrelevant if the Drill gauge is ready.
Phase two repeats the language with larger counts—four tornadoes and four projectiles—so move earlier and avoid stopping after the first dodge. Rebuild friendly ink after every large pattern because the next retreat depends on it. Cooldowns should be staggered: use one tool to protect the route, then keep another for the vulnerable window. Spending all three on scattered adds can leave the actual opening empty.
In phase three, the dome is the run-ending check. The face-down center pause is your signal to stop shooting and sprint for the boundary; reacting to the expanding wall is too late. After it clears, return along your own ink instead of cutting through hostile ground. Continue the same chip-damage, defence, Drill and burst rhythm until the health bar is gone. There is no benefit in turning a patient, readable attempt into a damage race.
Final boss rewards, retries and FAQ
What does Salmonarch unlock? The Throne Room victory completes the main story, rolls credits and opens the post-game systems and routes that eventually lead to Bottomless Buffet. It is a complete campaign ending even if you never attempt floor 100.
What does Lord Saltimatum unlock? The floor-100 victory produces the true-ending sequence and a special Relic Power commonly translated as Endless Pursuit, which improves the chance of finding Gadget Parts you have not collected. It does not automatically fill every random Relic entry; Buffet rewards and collection work can continue beyond the story cutoff.
Do I repeat all of Salmonarch after a loss? Once the water approach has been cleared, a retry can resume from the platform stage. However, losing before all three glowing orbs are broken resets that three-cycle objective; an orb is not a permanent checkpoint. Treat the three platforms as one sustained execution test.
Should I change difficulty or copy a meta build? Use the campaign difficulty options where available, but remember that Bottomless Buffet is fixed to Survivalist. Copying a build only helps if its movement and cooldown loop are comfortable. Our best builds guide explains roles; the weapon tier list helps compare drops. Neither replaces upgrading the specific weapon in your hands.
What should I fix after one more failure? For Salmonarch, record whether you lost to traversal, slow egg collection or the final ship route. For Saltimatum, record which telegraph caused damage and whether the arena still had friendly ink. Fix that one fault before changing the entire loadout. If ordinary enemies—not the named boss—are the problem, revisit the Salmonid enemy counter guide. A precise adjustment is faster than another unfocused hour of farming.

Loading comments...