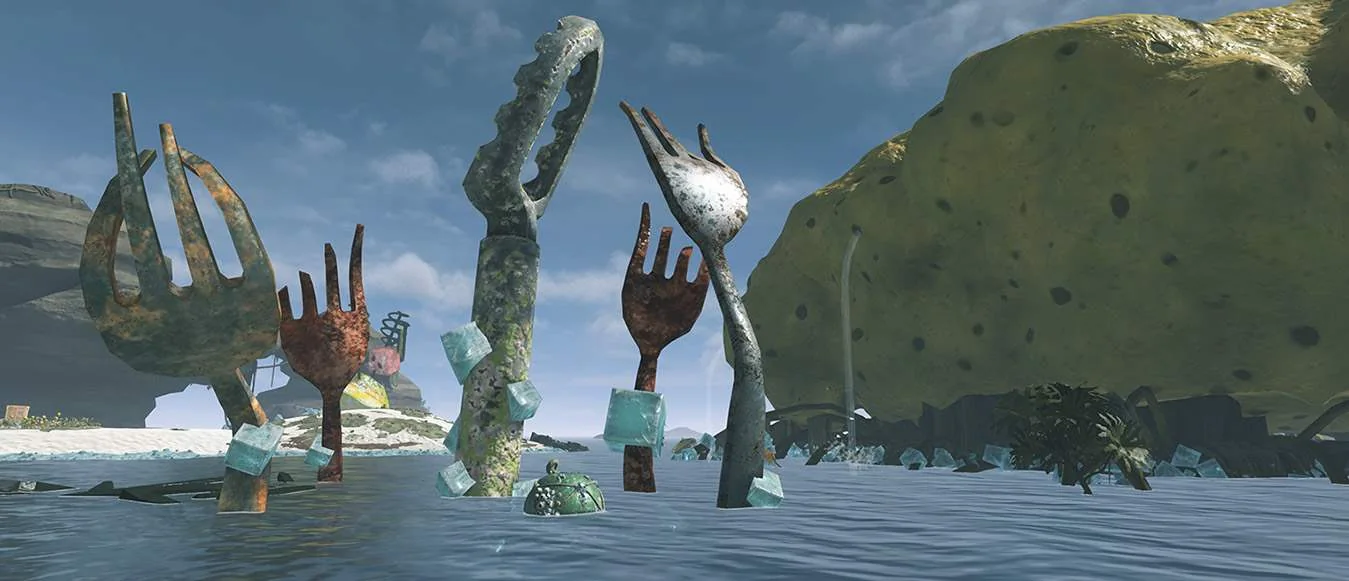
Splatoon Raiders has 24 Old Compasses, and each one points to a hidden Sampler Dungeon on the Treasure Map. Twenty-one can be collected during the main story, usually from navy-blue crates in Treasure Hunt or Huge Crystal missions. The last three come from post-game challenges. Finding the item is only half the job: you must then read its signal on the map and press A at the hidden location.
This guide separates those two tasks. First, it explains how to identify a mission with an uncollected Compass and how each map signal behaves. Then it groups the locations by progression phase so you can clean up a missing crate without scanning every dungeon again. Names reflect the English launch version available in August 2026; where a guide uses translated Japanese terminology, the mission icon and landmark are included to reduce ambiguity.
Splatoon Raiders treasure map and Compass guide at a glance
| Question | Short answer |
|---|---|
| How many Old Compasses are there? | 24 total: 21 during the main game and 3 from post-credit challenges. |
| Where are most Compasses? | Inside dark/navy-blue crates in Treasure Hunt and Huge Crystal stages. |
| What do they unlock? | Hidden Sampler Dungeons with preset Gadget challenges and one-time Skill Point rewards. |
| How do I know one is missing? | Open the map’s ZL Dungeon Menu and inspect the Compass icon/checkmark for eligible stages. |
| Why is a Compass still on my map? | You collected it but have not yet moved the cursor to the hidden dungeon and confirmed the reveal. |
The fastest cleanup method is not to wander the overworld. Open the Dungeon Menu, find an eligible stage whose Compass entry lacks a check, replay that mission while checking side paths for a blue crate, return to the Treasure Map and immediately solve the new signal. Repeat in list order. The site wiki can help you distinguish Treasure Hunt, Huge Crystal, Sampler and Underground Ruins activities before you start.
Compasses are worth collecting even if you do not care about a perfect map. Sampler Dungeons teach a particular Gadget or movement idea under a preset loadout, and their Skill Points feed Tank progression. That makes a missed blue crate a practical power gap, not merely an empty collectible box.
How Old Compasses work on the Treasure Map
After collecting an Old Compass, return to the Hideout Ship’s Treasure Map. The Compass display reacts while you move the cursor, but there are three interfaces. Treating all three like a traditional needle is the main reason players get stuck.
| Display | What it measures | Best technique |
|---|---|---|
| Needle/yellow | Direction from the cursor to the hidden dungeon | Follow the needle in small steps; it spins when the cursor reaches the target. |
| Orange gauge | Distance/proximity | Move in one direction and watch whether the fill rises. Reverse when it falls, then repeat on the other axis. |
| Blue circle | Whether the cursor is currently moving toward the target | Test short horizontal and vertical movements; continue only while the blue response grows. |
The yellow/needle version is direct. Move along its bearing, slow down near the suspected island, and watch for the spin and A prompt. The orange version is a conventional hot-and-cold search: first find the best horizontal position, then hold that line while testing up and down. A fuller gauge means closer, so use tiny cursor taps as the display approaches full.
The blue version reports movement toward the destination. Start with a short rightward movement. If the circle responds, keep going until it weakens or disappears; if not, test left. Once you have isolated the correct column, test up and down in the same way. You may cross the correct longitude without being on the correct latitude, so a vanished response is not a failed attempt—it tells you where to switch axes.
- Move slowly; large cursor sweeps can skip the A-button window.
- Search one axis at a time instead of circling the entire map.
- When the signal peaks or changes state, tap around that small area.
- Press A as soon as the prompt appears to make the Sampler Dungeon permanent.
A solved Compass disappears as an unresolved clue because the dungeon is now a normal selectable map location. Clearing that dungeon is a separate task. If the map point exists but you still need the Skill Point, select the newly revealed Sampler and finish its preset challenge.
All 24 Compass locations checklist
Use this as a source-stage checklist. The landmark tells you where the blue crate sits; the final three are completion rewards rather than crates. Fictional place-name spellings can vary between localized guides, so verify the mission’s chest/crystal icon and its position in the ZL list if one romanization looks unfamiliar.
| # | Source stage | Compass landmark or requirement |
|---|---|---|
| 1 | Mishishiru Rock Formations | After the Salty Salmonid, use a Bot jump to reach the separate island. |
| 2 | Kakitamo Inlet | Beyond the Big Shot group, check the grate at the back of the cave. |
| 3 | Carbanyara Wetlands | From the Tower and balloon encounter, cross the bridge straight ahead. |
| 4 | Peparana Cliffs | After the accelerator/collectible route, take the left branch. |
| 5 | Korokko Mountain Road | Near the summit, use the accelerator and then Bot-jump to the platform. |
| 6 | Taranada Patata Rocks | Ride the wind from the grate near the far bridge to an offshore island. |
| 7 | Shaya Cliff | Bot-jump from the first grate platform, then jump again to the second grate. |
| 8 | Yakasobo Volcano | Chain the launch plants; near the Big Shot, continue along the right side. |
| 9 | Kerepe Lava Lake | Use the vent to reach the separate island occupied by a thick Salty enemy. |
| 10 | Obon Crater | After descending the ledges, look just before the launch plant. |
| 11 | Banara Mountain | Past the Armored Flyfish objective, enter the cave to the treasure’s right. |
| 12 | Mabarnasu Steam Vents | At the floating-island route before the last treasure, search the right side. |
| 13 | Sahatakereme Iceberg | Climb the right slope from the start and pass through the grate into a small room. |
| 14 | Rutoruto Lava Flow | Follow the Ink Rail route to the raised platform around mid-stage. |
| 15 | Muguro Glacier | After the mid-stage ice slope, search the left side of the moving-platform area. |
| 16 | Amaeba Snow Mountain | Cross the Ink Rail and the slope with two Scrappers; search the room’s right side. |
| 17 | Hamacha Ice Spires | Go straight up the first slope, then double back to the cliff above the start. |
| 18 | Tama Lake | Follow the right-hand cliff from the starting point to its dead end. |
| 19 | Sheejar Mountains | Reach the platform above the launch-plant field; watch for the Maws behind the crate. |
| 20 | Sharkalarma Cavern | Break the first wall, then break the wall near the Tower on the right. |
| 21 | Chakokerene Beach | Keep to the right from the start and look behind the farthest treasure. |
| 22 | Kompataja Underground Ruins | Post-game: clear the unlocked highest-difficulty challenge. |
| 23 | Totsutoago Underground Ruins | Post-game: clear the unlocked highest-difficulty challenge. |
| 24 | Chukumuntsu Underground Ruins | Post-game: clear the unlocked highest-difficulty challenge. |
Do not use the table as a substitute for the in-game checkmark. If a stage already shows its collected Compass, skip it even if you do not remember opening the crate. The unresolved item may instead be one of the three post-game rewards—or a Compass already collected but not yet converted into a visible Sampler Dungeon on the map.
Early-game Compass locations and easy-to-miss branches
The first five Compasses teach the collection pattern: the blue crate is usually visible only after you leave the route that leads directly to the mission treasure. On a replay, lower the difficulty if desired, ignore already collected side resources and preserve a movement cooldown for the optional island or platform.
- Mishishiru: after clearing the Salty enemy, do not return immediately to the objective. Call the Bot at the edge and use the jump to land on the separated island.
- Kakitamo: the Big Shot group is a landmark, not the end of the search. Continue into the cave and inspect the back grate.
- Carbanyara: after the Tower/balloon area, orient toward the bridge directly ahead rather than following the most obvious treasure line.
- Peparana: the accelerator and airborne pickup lead into a fork. Take the left branch before rejoining the main route.
- Korokko: near the summit accelerator, look outward for a Bot-jump platform instead of continuing over the peak.
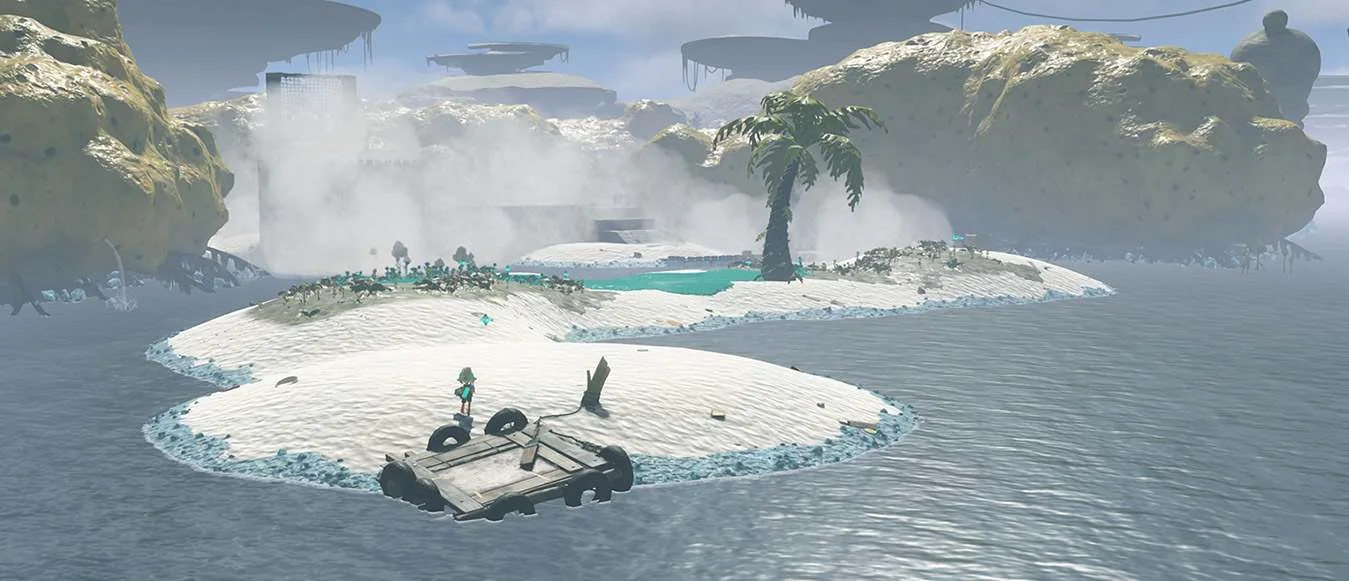
Color is the simplest confirmation. Navy or dark blue means Old Compass; orange belongs to Adventure File/scroll cleanup. Break the crate and make sure the pickup registers before finishing or leaving. After the results screen, open the Treasure Map and solve the signal immediately. This one-at-a-time routine prevents several unresolved Compasses from accumulating into an unreadable row of clues.
If the blue crate is not where the landmark suggests, check whether you entered the similarly named raid on the wrong difficulty or selected a different mission category. The ZL Dungeon Menu is authoritative: it shows which eligible stage still lacks the collected check. Follow that record rather than relying on memory of an island’s scenery.
Midgame and late-island Compass locations
From Taranada Patata onward, the crate is less often hidden in an ordinary corner and more often placed behind the stage’s traversal lesson. Read the environment before adding a special mobility Gadget: wind, vents, Ink Rails, launch plants, moving floors and Bot jumps usually provide the intended route.
Group the remaining field Compasses by movement type. For wind and vents, inspect every offshore landing point in Taranada Patata, Kerepe and Mabarnasu. For multi-jump routes, search the second landing instead of the first in Shaya, Yakasobo and Sheejar. For Ink Rails and moving floors, stop at the middle high platform in Rutoruto and check the left side after Muguro’s icy descent.
Several late crates punish forward-only play:
- Hamacha sends you up the initial slope, then asks you to look back toward the cliff above the spawn.
- Tama Lake hides the crate at a right-hand cliff dead end, not near the obvious central objective.
- Sharkalarma places it beyond a second breakable wall near the Tower after you have already broken the first wall.
- Chakokerene rewards hugging the right boundary all the way to the far treasure and checking behind it.
Clear dangerous ranged enemies before attempting a precise jump. A Tower, Big Shot or Maws can knock the Mechanic off a narrow platform and turn a short collection run into a reset. You do not need a high-damage farming build; use a controllable weapon, one movement option and enough painting to create a safe return path. The beginner guide covers Bot jumping and ink movement if an environmental route is giving you trouble.
After every five or six entries, return to the map and compare checkmarks. Long uninterrupted replays make it easy to confuse “I saw the blue crate” with “I collected the item and saved the result.” A short audit also catches an unresolved Compass before it becomes mixed with the next region’s signals.
Post-game Compass locations and late Sampler Dungeons
Post-game warning: this section names late activity types and the three source ruins, but it does not reveal the final boss or ending.
Compasses 22–24 break the blue-crate rule. After the credits and the appropriate difficulty unlock, clear the highest-difficulty version of Kompataja Underground Ruins, Totsutoago Underground Ruins and Chukumuntsu Underground Ruins. The Old Compass appears as the clear reward, so inspect the mission reward panel before launching; you do not need to search the level for a hidden crate.
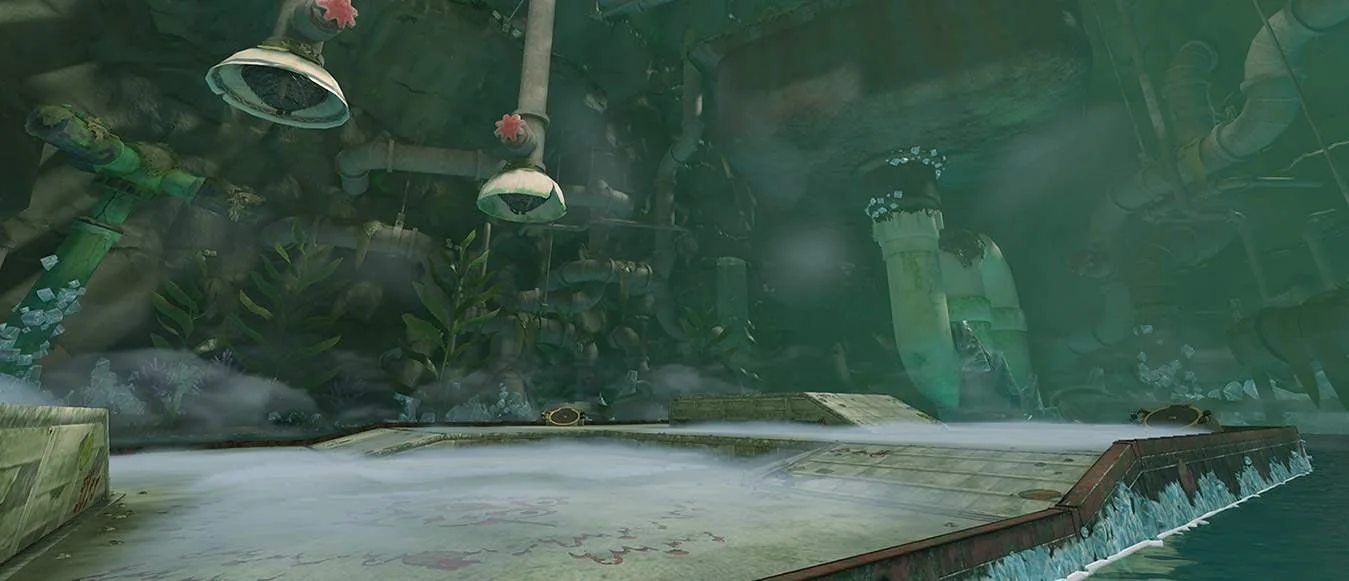
Prepare these runs as combat challenges. Bring the Tank and weapon you can operate under pressure, upgrade the Parts that support your established loop, and clear dangerous ranged enemies before they multiply. Totsutoago, for example, mixes movement gimmicks with enemy priority decisions, so mobility and quick access to a Smoker or Steel Eel weak point are more useful than a pure crate-search setup.
Once the reward is collected, return to the Treasure Map and solve the signal exactly as before. Each late Compass points to a Tank-focused “full course” Sampler. These challenges are important for completing the Skill Point pool, so collecting the reward without revealing and clearing the target still leaves progression unfinished.
If the reward is not visible, verify three things: the main story is complete, the post-game difficulty is selected, and you chose the correct three-chest Underground Ruins entry. General Hidden Ruins and Bottomless Buffet are different activities. The post-game guide explains their unlock sequence without mixing their rewards into this checklist.
What to do when a Compass or hidden dungeon is missing
Identify the missing state before replaying anything. “I am missing a Skill Point” does not necessarily mean “I missed a blue crate.” Work through these four states in order:
- Source Compass uncollected: the eligible mission lacks its Compass checkmark in the ZL list. Replay that exact Treasure Hunt or Huge Crystal stage and find the navy-blue crate.
- Compass collected but unsolved: source stages are checked, but an active needle, orange gauge or blue response remains on the Treasure Map. Move the cursor and press A at its target.
- Sampler revealed but uncleared: the hidden map point is selectable, but its one-time Skill Point reward is still pending. Enter and complete the preset challenge.
- Post-game reward locked: 21 source items and their Samplers are done, but the last three are absent. Finish the story and inspect the correct highest-difficulty Underground Ruins rewards.
If every source has a check but a blue signal feels impossible, zoom out and use short straight movements. Find the horizontal direction that produces a response, stop when it disappears, then test vertical movement from that column. Slow taps near the intersection are more reliable than sweeping loops. Watch the lower corner for the A prompt rather than waiting for the blue circle to remain permanently full.
If a listed crate is physically absent, confirm that the pickup was already registered. A checked source will not keep respawning an unneeded collectible. Also verify you are not looking for an orange Adventure File crate; the two collection tracks appear near each other in the mission list but unlock different rewards.
Finally, make sure the game is current if map behavior or online dungeon selection appears abnormal. Do not erase progress or restart a save for a missing Compass. The tracking system is designed to expose the incomplete source or destination, and none of the 24 requires a permanently missable story choice.
Fast Treasure Map cleanup route and FAQ
For the quickest cleanup, work from information to movement: open ZL, list every unchecked source, replay them in menu order, and solve each new Compass before starting another source stage. Run normal field collections on the most comfortable available difficulty, because the objective is reliable traversal rather than proving a combat build. Save the three required post-game challenge clears for a separate upgraded loadout.
Carry a weapon with predictable painting, one emergency movement Gadget and a Bot Buddy you can position consistently. Do not spend rare materials merely to shave seconds from a one-time route. If combat blocks a late crate, strengthen the working loadout with the farming guide; if a jump is the problem, revisit the movement section in the beginner guide.
Are Compasses random drops? No. The 21 field Compasses have fixed blue-crate positions, and the last three are fixed challenge rewards. Ordinary enemy drops do not replace them.
Can I collect a Compass and leave the mission? The safest method is to finish the activity and confirm the checkmark afterward. Do not assume a mid-run pickup has become permanent until the source entry records it.
Why did clearing a Sampler not reveal another Compass? A Sampler is the destination of one Compass, not normally the source of the next. Return to the Dungeon Menu and locate a different unchecked source stage.
Do all 24 Samplers give the same reward? Most award a one-time Skill Point through their completion book. The final post-game set uses special books worth more, which is why a player can have every ordinary crate and still be short of a fully developed Tank.
Can I lower the difficulty for cleanup? Use a comfortable setting for the 21 field-crate replays and Samplers when the game allows it. The last three source Compasses specifically require the listed post-game highest-difficulty Ruins clear, so lowering that source challenge will not produce its reward.
What proves the Treasure Map is complete? All 24 source Compasses are checked, no unresolved Compass signal remains, every revealed Sampler is selectable, and every one-time Skill Book has been collected. Those four checks are more reliable than comparing the visual shape of your map with a screenshot.

Loading comments...