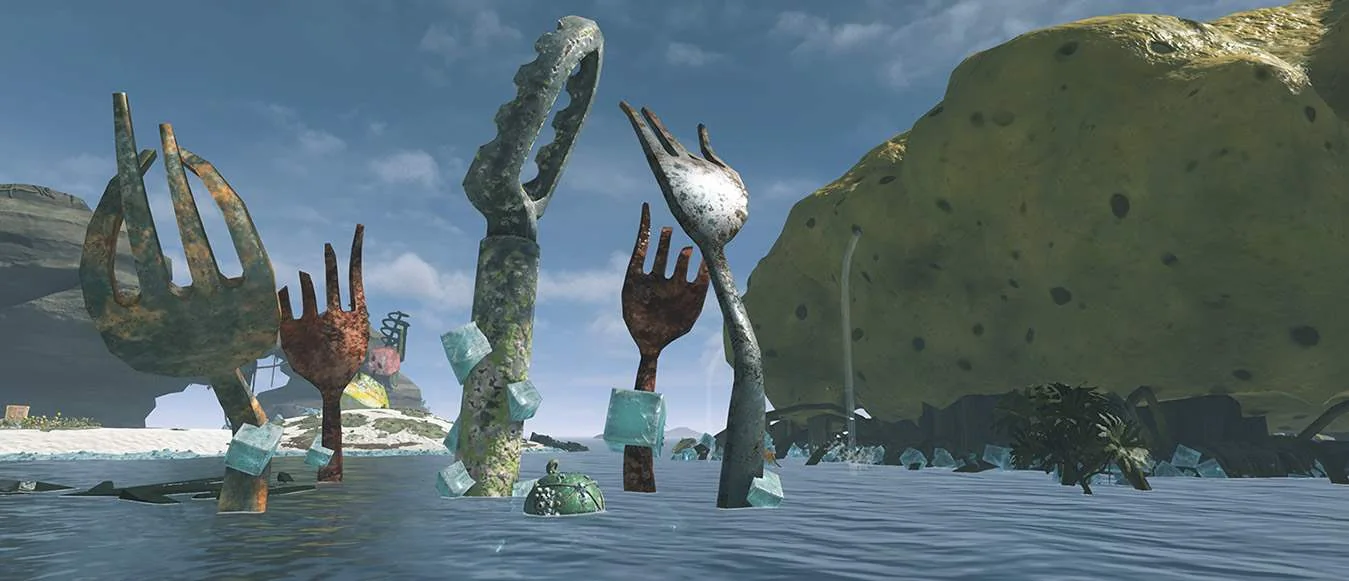
The full Splatoon Raiders map is the Treasure Map of the Spirhalite Islands: 22 named islands encountered across the main campaign, plus three more islands that appear in the post-game. You do not receive a completely uncovered chart at the start. Raids, story events, and optional discoveries reveal destinations as you explore, so two players at different points can see very different versions of the same archipelago.
This guide organizes every verified island and its named main-map stages, explains what the map's destination types mean, and shows how to recover when your next route is unclear. It is a world index rather than a set of guessed pixel-perfect pins. The 24 Old Compass searches and their hidden Sampler Dungeons have their own dedicated checklist, keeping this page focused on the broader island layout.
How the Splatoon Raiders Treasure Map works
The Treasure Map is both a world view and the raid-selection screen. Open the menu with X and choose the map, then move between the destinations your current progress has exposed. A marker is more useful than its position alone: check the stage name, its displayed Salmonid Level, and whether you have already cleared or collected what you need there. When the dungeon list is available, pressing ZL gives you a faster completion-oriented view than repeatedly sweeping the archipelago with the cursor.
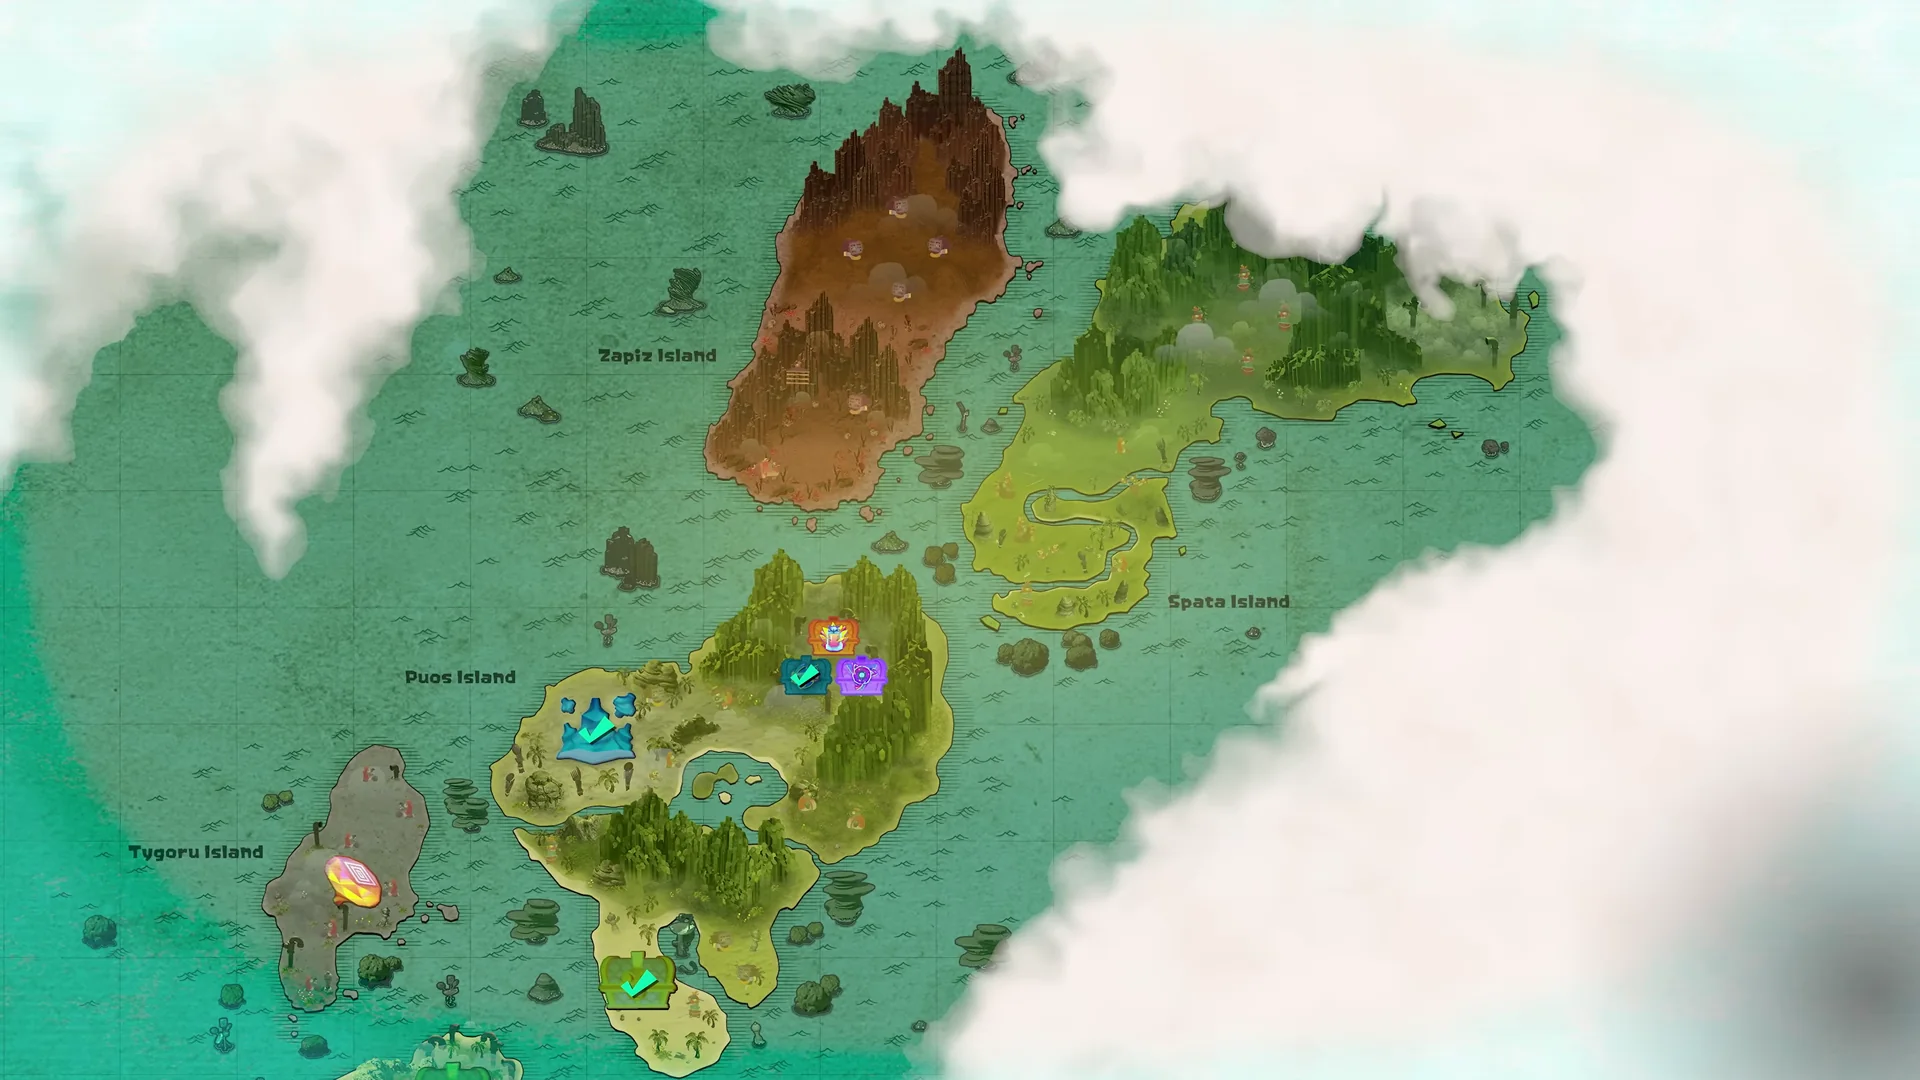
Fog is a progress boundary, not a prompt to search for an invisible door. Clearing raids opens more of the chart, while major victories and story events can expose routes or question-mark locations. The campaign also allows several destinations to appear together. If one marker is above your comfortable level, moving to another visible island for experience, materials, or a different objective is a normal use of the map—not a detour that breaks the story.
| Map information | What it tells you | Best response |
|---|---|---|
| Stage name and island | Which destination and branch you are selecting | Match it against the island tables below |
| Salmonid Level | A broad warning about enemy strength, not a complete difficulty rating | Compare it with your current equipment and another visible route |
| Clear or collectible status | Whether the visit advances cleanup rather than first-time exploration | Use the ZL list when hunting unfinished stages |
| Fog or absent route | The relevant progression reveal has not happened | Finish available story progress instead of guessing a coordinate |
| Old Compass signal | A hidden Sampler Dungeon can be located from the map | Follow that Compass's directional behavior; it is separate from the main route |
A clean reading habit is therefore: check the list, inspect levels, choose among visible branches, and return after a clear to see what changed. The map does not require you to trace one perfect line through every island. If you are still learning how raids, the Hideout Ship, equipment, and Bot Buddy actions fit together, the beginner guide provides the system context behind those decisions.
Full map at a glance: every island and region
The verified launch-game roster contains 25 named islands after post-game reveals. Twenty-two belong to the journey toward the campaign finale; three additional islands hold late challenges. That island total should not be confused with the number of selectable raids. Many islands carry two, three, or more named stages, while a few are built around one major destination.
The region labels below are practical groupings used in this guide, not official tabs printed on the in-game map. They follow the broad progression and environment change visible across a normal playthrough. Since parallel markers can open together, the boundary between “early” and “mid” is a navigation aid rather than a hard lock.
| Guide region | Named islands | Map role |
|---|---|---|
| Opening and early route | Lehlo, Erpp, Puos, Tygoru, Spata, Zapiz, Izakaya | Introduces the Treasure Map, branching raids, the first ruins, and the first Temple |
| Volcanic and mid route | Ferdi, Cire, Narem, Gildred, Oftu, Trattoria | Expands the choice of Dens and longer environment-focused raids before another Temple |
| Frozen and late route | Zeefer, Sypic, Cryur, Hissu, Keplic, Dasla, Rebda, Dretess, Glacerie | Combines ice and late-map branches that converge on the final surface approach |
| Central finale | Great Salmon Mess Hall area | A layered central destination rather than another ordinary island chain |
| Post-game additions | Three islands (names below the spoiler warning) | Tank-specific Hidden Ruins and the route toward the deepest optional challenge |
There is also a second, hidden layer: 24 Sampler Dungeons revealed with Old Compasses. They matter for completion and Tank skill growth, but adding their search solutions to every regional table would make the world layout harder to read and duplicate a more useful checklist. Use the Old Compass and Sampler Dungeon guide when you are ready to clear that layer.
Opening and early islands
The opening map grows from a tutorial destination into several simultaneous island branches. Lehlo establishes the starting point; Erpp turns the Treasure Map into your working mission board. Puos, Tygoru, Spata, and Zapiz then widen the available level range before the route reaches Izakaya's major Temple. The table uses island associations, not a mandatory completion order.
| Island | Named main-map stages | Navigation note |
|---|---|---|
| Lehlo Island | Pantree Beach | The tutorial starting point before the broader Treasure Map becomes useful |
| Erpp Island | Piel Coast; Blansh Seaway; Scayl Buried Ruins | The first compact chain of visible raids and a clear example of one island holding several markers |
| Puos Island | Tumetto Rocks; Lintle Inlet; Chowda Buried Ruins | An early multi-stage branch that can coexist with destinations on neighboring islands |
| Tygoru Island | Pleyn Den | A single-stage island; do not assume a sparse island is missing markers |
| Spata Island | Carbanyara Wetlands; Spigetty Den; Alphreydo Buried Ruins | A three-marker branch whose stages need not be interleaved perfectly with Zapiz |
| Zapiz Island | Pipyoni Cliffs; Sheeyz Den | A parallel early route; `Zapiz` is the attested English spelling |
| Izakaya Island | Bowtlode Temple | The first Temple and the transition out of the early island group |
If several of these islands are visible, choose with the displayed Salmonid Level and your current clear history rather than forcing the table from top to bottom. A recommended route commonly moves from Lehlo and Erpp through the lower-level Puos, Spata, Tygoru, and Zapiz stages before Bowtlode Temple, but the middle branches can overlap. That flexibility is useful: a difficult Den can wait while you clear another marker, improve a weapon, or finish a Hideout Ship task.
Conversely, an island with one listed stage is not automatically incomplete. Tygoru and Izakaya demonstrate why counting markers by island is misleading. Use the stage names in the table as the stable reference; use your own map's clear state to decide whether there is unfinished work.
Volcanic and mid-campaign islands
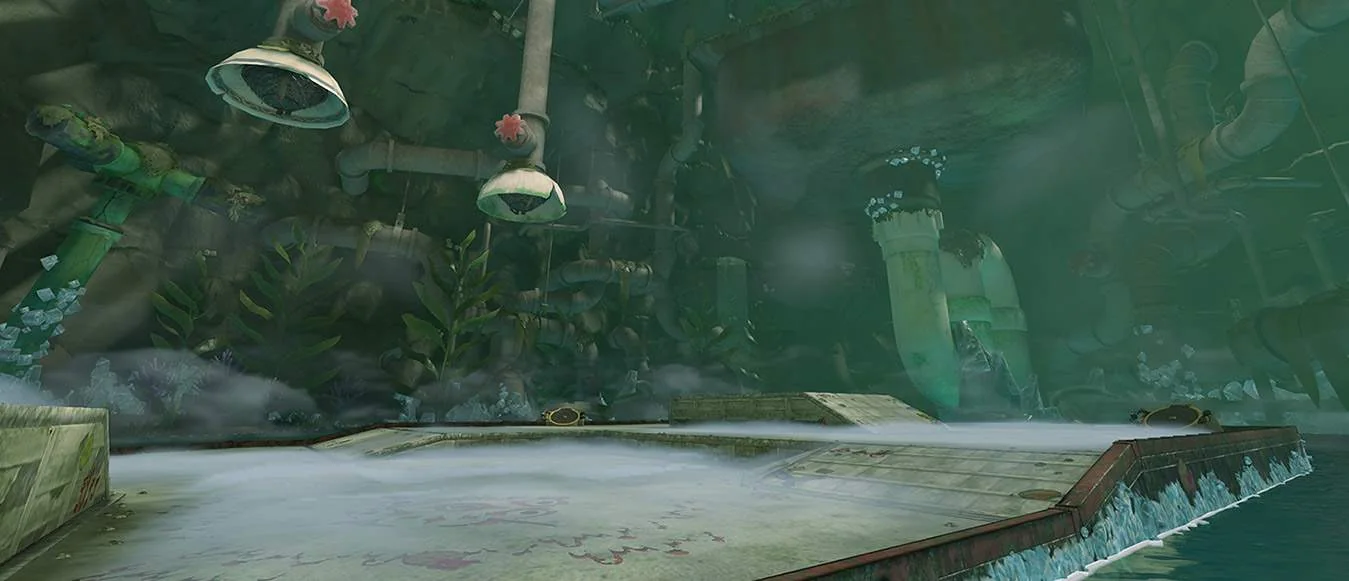
The next broad sweep moves through six islands whose routes increasingly emphasize height, lava, narrow crossings, and compact combat arenas. A commonly recommended normal-difficulty route runs from Fridda Trail through Stonuvan Temple at displayed Salmonid Levels 15–22. That route has fewer entries than the complete table below because a walkthrough can omit optional branches that still belong on a full map index.
| Island | Named main-map stages | Map-reading cue |
|---|---|---|
| Ferdi Island | Fridda Trail; Temprah Den; Taytur Rocks; Unnyarang Buried Ruins | A four-marker cluster that mixes traversal, a compact Den, and Ruins |
| Cire Island | Raisbul Den | A single Den marker rather than a missing island branch |
| Narem Island | Soyu Cliffs; Meesu Den | One exploration-style name paired with a Den |
| Gildred Island | Yaksubi Volcano; Kreyp Lava Lake; Pankak Den; Gjoza Buried Ruins | The densest volcanic cluster in this part of the chart |
| Oftu Island | Sylkin Den; Awlmun Den | Two Dens; valuable as a branch without implying campaign priority |
| Trattoria Island | Uven Crater; Stonuvan Temple | The exploration route and Temple form the main transition to later islands |
Read the suffix before reading geographic distance as an instruction. A Den is usually a compact challenge, while a named trail, cliff, lake, or crater more often signals an exploration route. Buried Ruins and Temples tend to be larger progression landmarks. These are useful expectations, not a guarantee that every stage with the same suffix shares one objective.
If a mid-map Den feels disproportionately hard, compare its displayed level with the longer exploration marker on another island. The Treasure Map's branching structure gives you room to gather experience and equipment elsewhere. Return after improving a comfortable weapon or Gadget setup rather than assuming the nearest marker must be cleared immediately.
Frozen and late-campaign islands
Late-area name warning: the following table reveals islands and destinations that appear well beyond the second Temple, but it does not identify bosses, rewards, or story outcomes.
Zeefer is the clearest entry into the ice-focused stretch, with Vanilo Mountain and Choclet Iceberg providing an immediately recognizable change of terrain. The later chart is broader than one biome: Sypic and Cryur retain hotter environmental language, while Hissu carries the largest single cluster in this part of the archipelago. Treat all nine islands as a location index, not a promised order.
| Island | Named main-map stages | Map-reading cue |
|---|---|---|
| Zeefer Island | Vanilo Mountain; Choclet Iceberg; Stroborro Den; Minchup Buried Ruins | The documented starting point for the ice route, followed by two additional markers |
| Sypic Island | Sahlse Vents; Cheeli Den | A small two-stage branch that may sit beside colder routes |
| Cryur Island | Kurmuh Lava Flows; Mosamun Den | Another hot-environment branch within the wider late map |
| Hissu Island | Toonya Glacier; Sweeshrim Peak; Yillatay Icicles; Draggen Den; Rinboh Lake; Quekub Buried Ruins | The largest late-island cluster; use the ZL list rather than cursor memory for cleanup |
| Keplic Island | Cyuuk Den | A one-stage island, complete as shown |
| Dasla Island | Seaza Mountains; Kohslah Den | Exploration marker plus a Den |
| Rebda Island | Krosont Den; Baygull Beach | Two differently structured markers on one branch |
| Dretess Island | Krimpuf Cave; Pudyin Den; Frewtert Buried Ruins | A three-stage sequence positioned near the final surface route |
| Glacerie Island | Coohla Temple | A single major Temple destination rather than an incomplete cluster |
The practical route begins with visible markers near your current level and gradually converges on the final Temple and the central part of the archipelago. It is still unsafe to infer that every six-marker island must be completed before a one-marker island. Story prompts and new fog reveals determine progression; marker count does not.
For cleanup, compare this table with the in-game list instead of trying to remember a marker's position among the ice and water. A name present here but absent from your chart usually points to unfinished progression, while a visible cleared name may simply remain available for replay or a higher difficulty. Exact stage strategy belongs in a walkthrough; this index's job is to tell you which island you should be inspecting.
What Dens, Buried Ruins, Temples, and hidden dungeons mean
Nintendo describes the island raids as a mix of crystal-mining areas, Salmonid dens, facilities that restrict equipment, and places where you dig deeper underground. Finished-game names refine that picture. You can use a suffix as a planning clue, but it does not guarantee an identical objective, timer, or reward every time.
| Destination class | What to expect | How it appears in full-map planning |
|---|---|---|
| Named exploration or mining raid | A longer path or broader space involving treasure, crystals, combat, traversal, or a mixture | A normal visible marker; read its own objective instead of assuming every unsuffixed stage works alike |
| Den | A compact combat-focused challenge, commonly built around rapid Power Egg collection or survival pressure | Useful as a short branch or build check, but not automatically the next story requirement |
| Buried Ruins | Several connected challenge sections, often ending in a major encounter | A larger progression landmark; prepare before treating it like a quick Den |
| Temple | A major story-stage landmark | A regional convergence point, not proof that every neighboring marker must be cleared first |
| Sampler Dungeon | A short hidden challenge with an assigned weapon/Gadget setup and a Skill Point reward | Revealed one at a time through the 24 Old Compasses; separate from the visible island route |
| Hidden Ruins | Post-game challenges that test the Tank categories | New island markers after the main credits; covered after the stronger spoiler warning below |
| Great Salmon Mess Hall | A layered central sequence rather than an ordinary surface island cluster | The campaign's central destination and the anchor for later deep-map content |
The most important distinction for completion is visible versus deliberately hidden. A Sampler Dungeon is not merely a regular marker concealed by ordinary story fog. You first need its matching Old Compass, then resolve the signal on the Treasure Map. Our 24 Compass location guide handles every source stage and signal without forcing that long collectible list into this regional reference.
Enemy icons, stage levels, and suffixes help you prepare, but the selected raid's own information remains authoritative. If an unfamiliar marker suggests a fight you have not prepared for, review the Salmonid and boss guide before changing your route. That is safer than treating every “Ruins” marker as mechanically interchangeable.
Central finale and post-game map locations
Major map and post-game spoiler warning: this section names the campaign's central area, its internal layers, and every island that appears after the first credits. Stop here if you only wanted the surface island index.
The late surface route reaches Sea Surface and the Great Salmon Mess Hall at the center of the Spirhalite Islands. This is why a flat island count cannot describe the entire playable layout. The Mess Hall continues vertically through Upper Tier, Middle Tier, Lower Tier, and the Throne Room. These are parts of one central sequence, not four more named islands to add to the 25-island total.
| Map layer | Locations | What changes |
|---|---|---|
| Central campaign route | Sea Surface → Upper Tier → Middle Tier → Lower Tier → Throne Room | The map moves from the surface chart into a layered descent |
| Atke Island | Fischflak Hidden Ruins | A new post-game island with Tank-specific challenges |
| Kinp Island | Smoksam Hidden Ruins | A second post-game island and Tank challenge set |
| Suma Island | Myunyere Hidden Ruins | A third post-game island and Tank challenge set |
| Below the Throne Room | Bottomless Buffet | The deep post-game route unlocked through the complete Hidden Ruins progression |
Each Hidden Ruins marker needs more than one visit if your goal is to finish its full progression requirement: the challenges cover Speed, Power, and Tactical Tanks. The commonly recommended order follows their displayed levels—Fischflak, then Smoksam, then Myunyere—but that is a difficulty curve rather than a geographic lock.
This page stops at map orientation. It does not name the final encounters, explain the ending, or turn the Bottomless Buffet into a floor walkthrough. For exact preparation, all-three-Tanks requirements, and the deeper objective, continue with the post-game and endgame guide.
Where to go next when the map seems stuck
Most “stuck map” problems fall into one of three categories: the next visible raid is difficult, a story reveal has not fired, or an optional hidden marker lacks its Compass. Work through this order before searching every empty patch of ocean.
- Open the ZL dungeon list. Confirm what is actually cleared and which visible stages still have unfinished status or collectible indicators. A list is more dependable than judging tiny marker positions.
- Compare every currently visible route. If one Den or Ruins is a difficulty wall, choose another marker near your level, gain useful experience or equipment, and return. Branching is intentional.
- Review Past Adventures and current story prompts. When the issue is campaign progress rather than difficulty, the relevant story activity is a better lead than replaying an arbitrary cleared raid.
- Return to the Hideout Ship. Speak with the crew and complete the construction or facility step the current story explicitly requests. Do not assume an unprompted facility grind is a universal map key.
- Separate Compass cleanup from story fog. A missing Sampler Dungeon requires its paired Old Compass. Use the list to identify an unchecked source stage, recover the Compass, then resolve its Treasure Map signal.
- After the credits, reload the cleared save and finish the new conversation. The post-game chart changes only after its proper trigger; staring at the pre-credits map cannot reveal those destinations early.
If the blocker is mechanical rather than navigational, the beginner guide can help you reset the raid loop and equipment plan. If the blocker is an unchecked Compass, go straight to the Compass checklist. That split prevents a completion problem from being mistaken for a missing campaign island.
Full-map FAQ
How many islands are in Splatoon Raiders? The verified English launch-game roster has 22 named campaign islands and three named post-game islands, for 25 total. The Great Salmon Mess Hall is a separate layered central location, not a 26th island.
Does the map have one fixed route? No. The opening has a clear starting chain and major story landmarks eventually gate progress, but several ordinary raids can be available at once. A sensible recommended order follows displayed levels while allowing side branches.
Are all dungeons visible from the beginning? No. Story progression clears fog and reveals ordinary destinations over time. Sampler Dungeons use a different rule: each remains hidden until you collect and resolve its matching Old Compass.
Is there an interactive full map? The in-game Treasure Map is the authoritative interactive selector. Fan databases and wiki maps can help match names to islands, but as of August 28, 2026, no official Nintendo coordinate dataset was found for a downloadable exact-pin map. This guide therefore uses verified island-stage associations instead of redrawing remembered pins.
Does the map expand after the ending? Yes. Reloading the cleared save and completing the post-credits conversation reveals three additional island locations. The late section above explains their association without exposing either final boss.
For a broader index of systems, equipment, locations, and supporting guides, use the site's Splatoon Raiders wiki hub. This map reference was verified on August 28, 2026 and should be rechecked if Nintendo announces additional islands or downloadable content.

Loading comments...