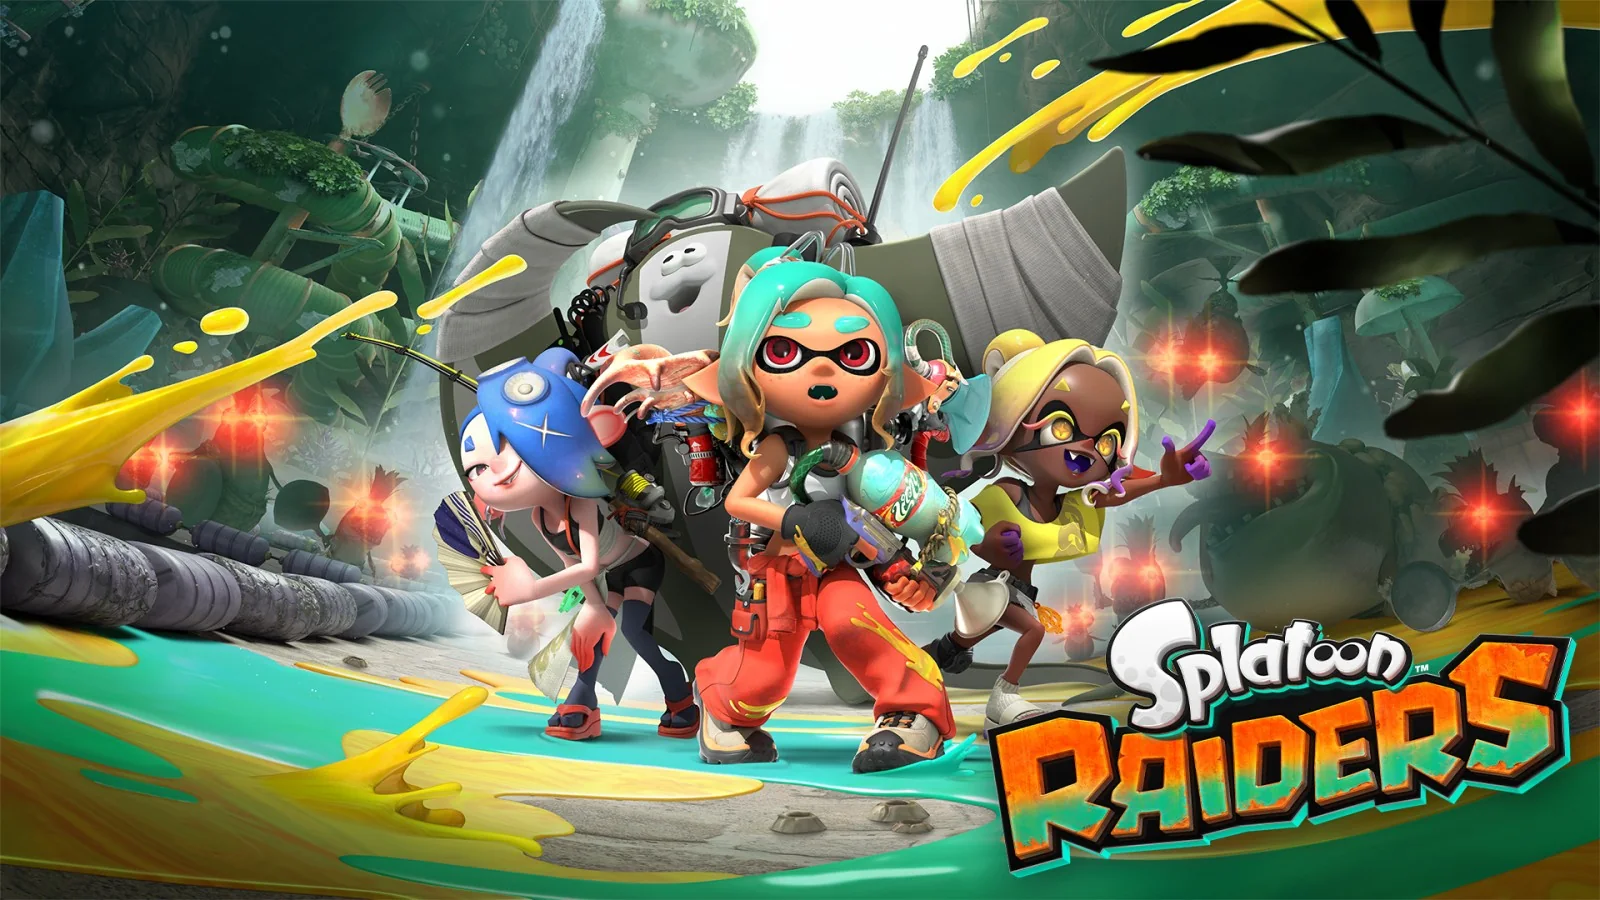
The best first Tank for most new Splatoon Raiders players is the Power Tank, while the best early upgrade priority is Weapon Damage. Power offers an easy-to-read, direct style: splat the immediate threat, create breathing room, and finish encounters before mistakes accumulate. That is a practical default, not a universal tier-list winner. Pick the Speed Tank instead if movement keeps you alive, or the Tactical Tank if you prefer ranged tools, setup, and battlefield control.
This guide separates two decisions that are easy to confuse. Your Tank choice determines the Gadget family and special progression path you begin with; your Skill Point spending improves shared combat fundamentals such as damage and durability. We will compare all three Tanks, give a safe early upgrade order, explain Super and Ultra progression, and show when a specialized route is worth more than the default. The recommendations reflect the launch-era game in August 2026 and may need revisiting after balance updates.
Power vs Speed vs Tactical Tank: which fits you?
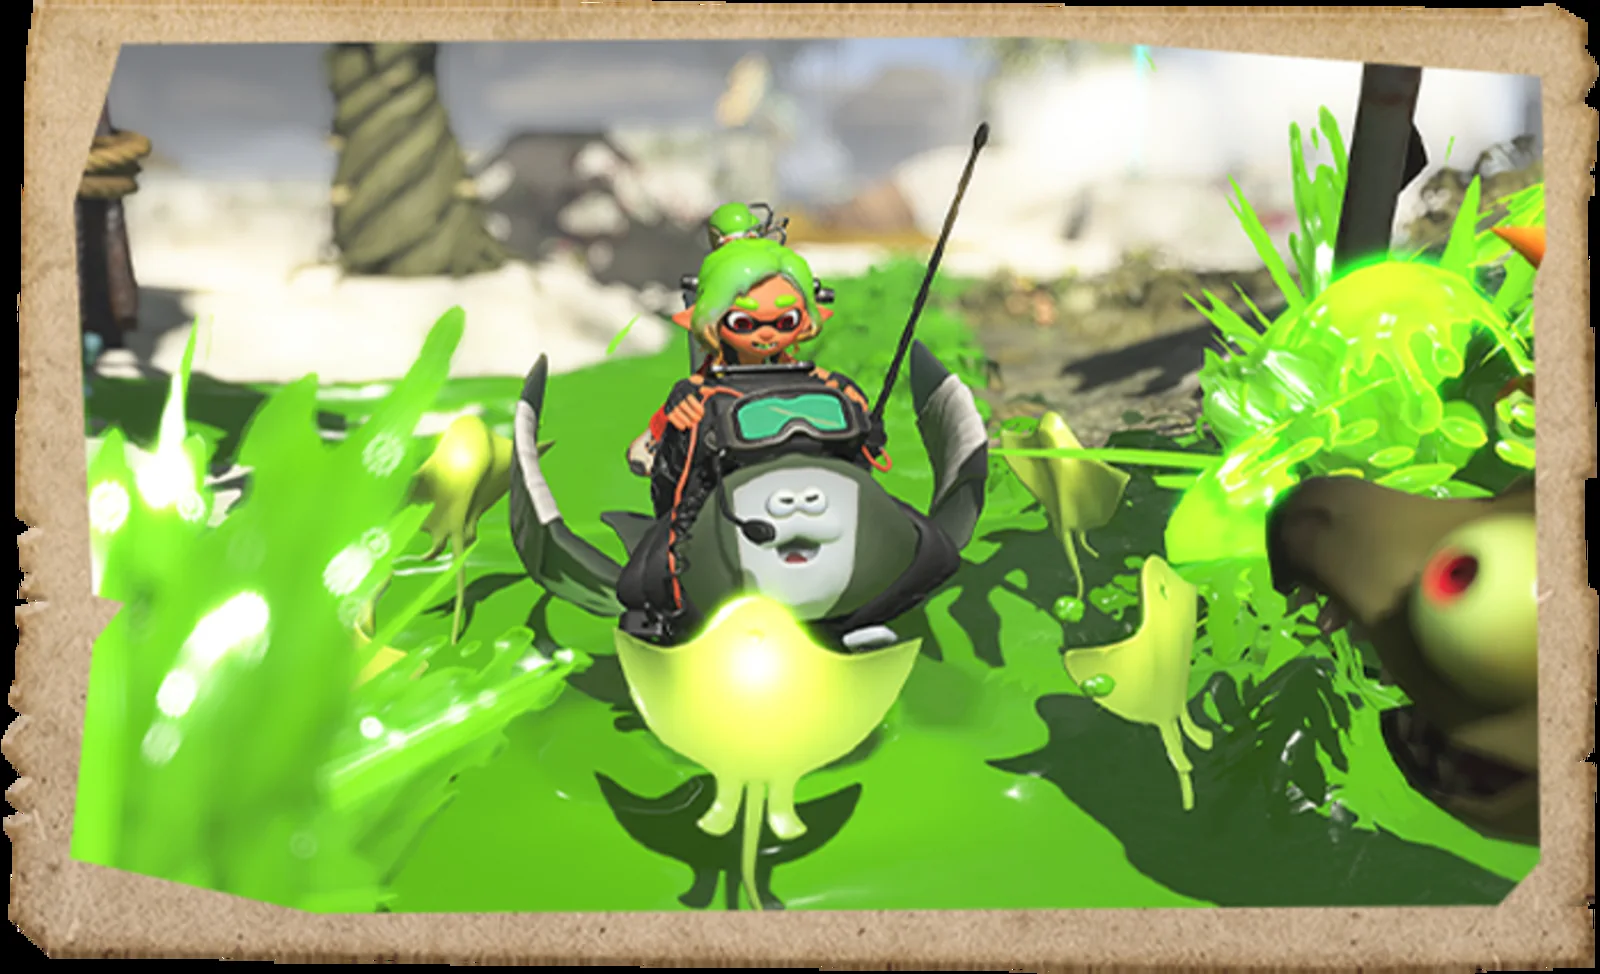
All three Tanks have functionally equal ink capacity, so this is not a choice between a tiny reservoir and a large one. The meaningful early difference is the Tank-specific Gadget pool and the combat rhythm that pool encourages. You begin with two Gadget slots, then broaden each Tank through progression. Because you can swap Tanks between missions, your first selection is an investment decision rather than a permanent class lock.
| Tank | Best at | Pick it if… | Main early risk |
|---|---|---|---|
| Power | Direct pressure, burst damage, breaking through swarms | You like obvious attack windows and fast threat removal | Committing too close without an exit |
| Speed | Repositioning, evasion, maintaining safe angles | You survive by moving and dislike being boxed in | Using mobility without converting it into damage |
| Tactical | Area control, ranged pressure, planned engagements | You enjoy setup tools and fighting from controlled space | Losing tempo when a wave disrupts your setup |
Power is the cleanest general-purpose starting recommendation. Removing a dangerous Salmonid sooner reduces the number of attacks you must dodge, and its head-on identity is easy to understand while you learn weapons, enemy tells, and mission layouts. It is especially comfortable if your favorite weapon already inks an escape route reliably.
Speed is the better first Tank for movement-first players. If your failures come from being surrounded, missing a timed route, or standing in hostile ink, mobility creates more useful opportunities than another theoretical damage increase. Its value still depends on execution: a dash that merely postpones the fight is weaker than a dash that reaches cover, a weak point, or a clean firing lane.
Tactical rewards anticipation. Its control-oriented Gadgets can keep pressure on one lane while you handle another. That is powerful in structured encounters, but less forgiving when you deploy too late or abandon your setup. Before spending heavily, use the Tank & Gadget Explorer to see which tools support the role you actually want. Do not choose from the Tank name alone; choose from the problems its Gadgets solve.
Best early Skill Point upgrade order
Leveling awards Skill Points that you spend in four Tank upgrade tracks: HP, Weapon Damage, Gadget Damage, and Gadget Part Slots. A limiter prevents you from pouring every point into one stat immediately, so “max damage first” really means “take Weapon Damage whenever the limiter permits, then buy the support upgrades that keep your build functional.” Use this practical order:
- Weapon Damage: the default first pick whenever available.
- HP: the best stabilizer if you are losing runs rather than merely finishing slowly.
- Gadget Part Slots: raise this when a useful part combination will not fit.
- Gadget Damage: move it up the order when Gadgets produce a large share of your actual damage.
Weapon Damage leads because your main weapon is always available. Gadgets operate around cooldowns and situations, whereas a stronger primary improves routine enemies, boss openings, object damage, and cleanup. Faster splats also function as defense: every enemy removed is one less source of projectiles, hostile ink, or body-blocking. Players who already understand Splatoon movement can safely lean harder into this route.
New players should treat HP as a diagnostic choice, not a consolation prize. If a little extra health lets you see the end of an unfamiliar attack sequence, you gain information that damage could not buy. A useful rule is to add HP after two or three failures where the same small hit ends the run. If you are surviving comfortably but repeatedly missing a timer, return to damage.
Gadget Part Slots are deceptively weak when your part collection is small and increasingly valuable as your workshop improves. Do not spend points there simply because the number can rise. Spend when you can name the exact part—or combination of parts—you will equip afterward. That turns a future-facing stat into an immediate build upgrade. The same test applies to Gadget Damage: promote it above HP or slots only if you activate damaging Gadgets consistently enough for the multiplier to matter.
Skill Points cannot replace clean fundamentals. Ink an escape lane before committing, refill before a wave peaks, and learn when a weapon must stop firing so you can move. The beginner guide covers those habits; upgrading them through practice makes every point on the Tank screen more effective.
Super and Ultra Tank upgrades explained
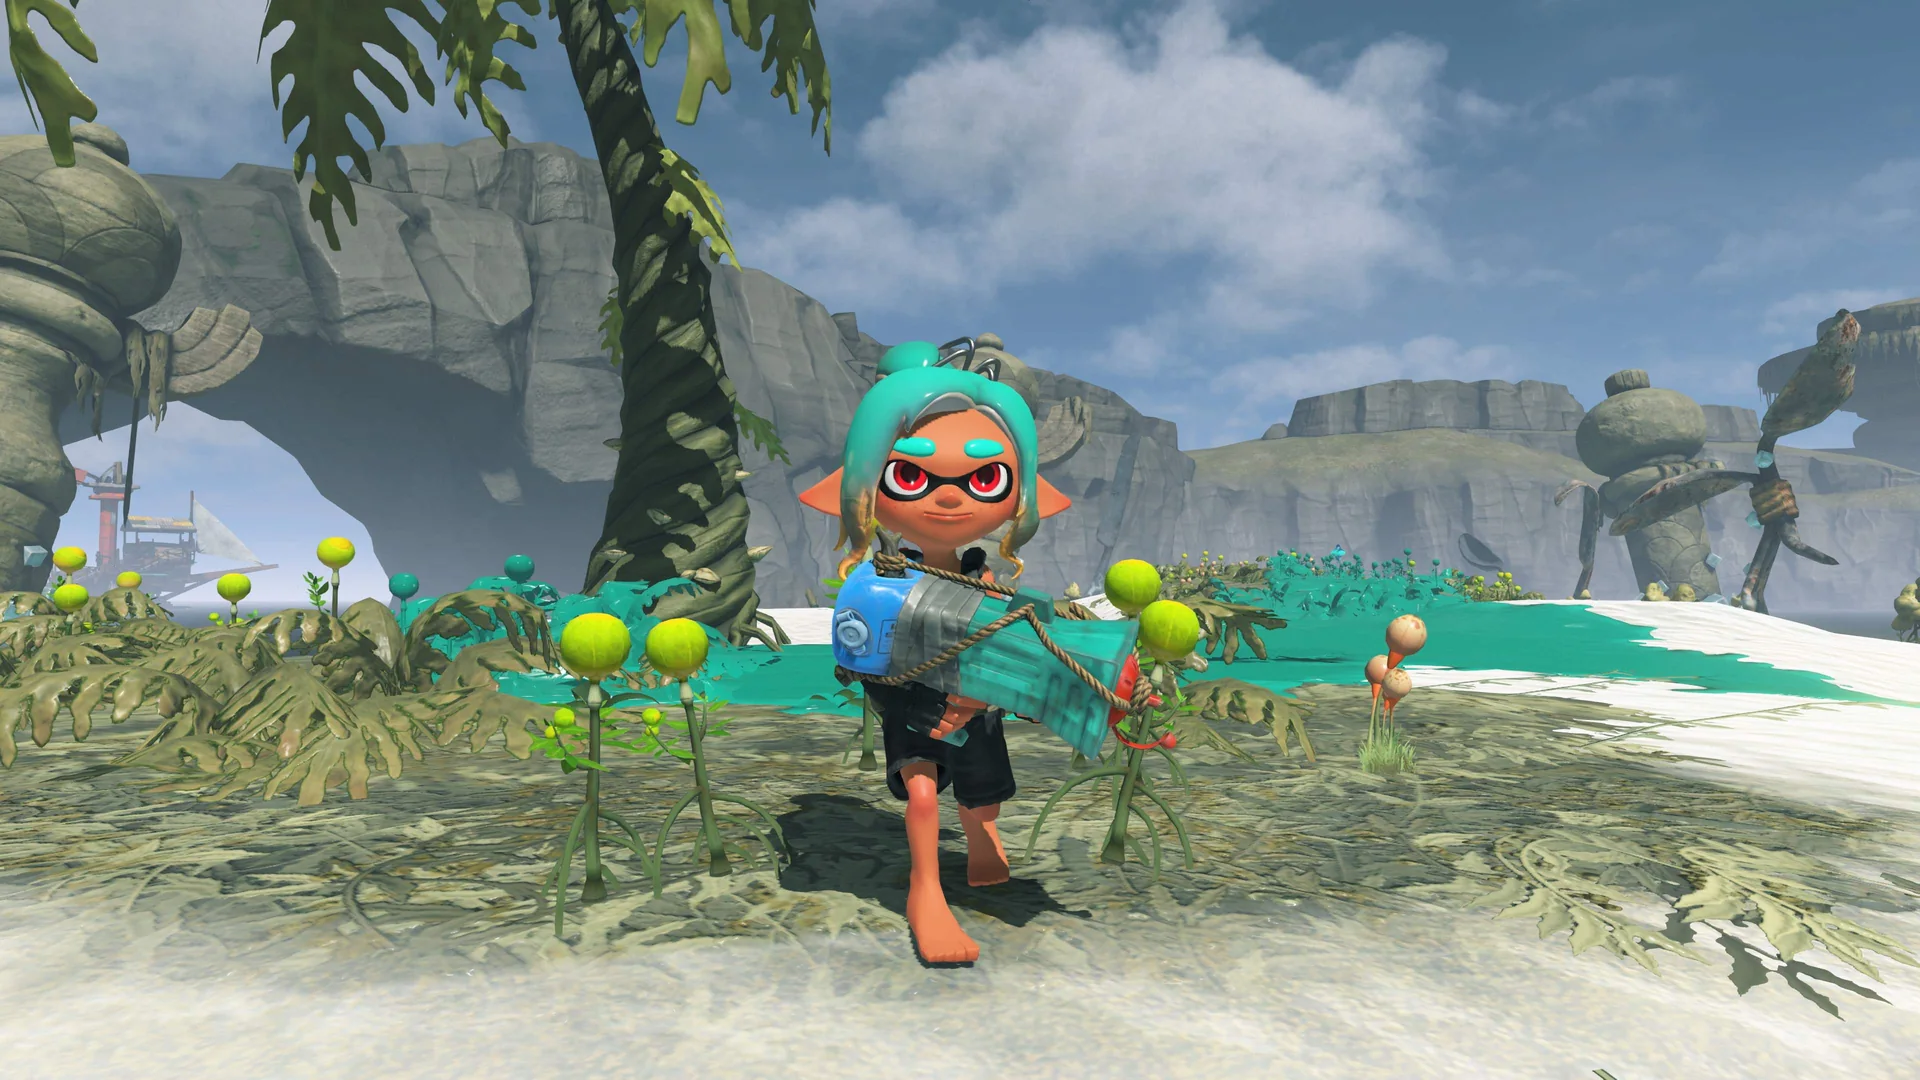
Skill Point upgrades and Tank grades are separate progress systems. Skill Points improve HP, weapon output, Gadget output, and part capacity. Super and Ultra grades advance by collecting Power Eggs while a particular Tank is equipped. That distinction matters: spending points does not replace the use requirement, and farming eggs on the wrong Tank will not advance the route you expected.
Each Tank reaches Super after 50,000 Power Eggs collected with that Tank. Super unlocks a Tank-specific ability that activates after you remain submerged in your ink long enough and then emerge:
- Super Speed — Tank Torrent: boosts movement and produces a close aura that inks and pushes nearby threats, helping you turn a retreat into a new angle.
- Super Power — Tank Surge: temporarily increases all damage by 20%, rewarding players who deliberately prime the effect before an opening.
- Super Tactical — Tank Vortex: creates a damaging nearby vortex with a chance to Ferment Salmonids, setting up stronger follow-up damage.
Ultra is the major build-expansion milestone. It adds a third Gadget slot, permits one Gadget from a designated second Tank family, and opens a corresponding cross-Tank Relic Power option. The requirements form a directed loop rather than letting every Tank borrow from either neighbor:
| Ultra target | Power Egg requirements | Cross-Tank access |
|---|---|---|
| Ultra Speed | 50,000 Speed + 30,000 Tactical | One Tactical Gadget and eligible Tactical Relic Power |
| Ultra Power | 50,000 Power + 30,000 Speed | One Speed Gadget and eligible Speed Relic Power |
| Ultra Tactical | 50,000 Tactical + 30,000 Power | One Power Gadget and eligible Power Relic Power |
This is why the most efficient upgrade plan is not “use one Tank forever.” If Ultra Power is your goal, for example, plan a meaningful block of Speed play before the final push. Choose missions where the secondary Tank naturally helps—movement-heavy objectives for Speed, dense swarms for Power, or defensible arenas for Tactical—so required progress also teaches you a useful alternative style.
The third Gadget is more than another cooldown button. It can cover a missing function: mobility for a Power build, direct force for Tactical, or control for Speed. Read our best Gadgets for every Tank guide before committing materials, because unlocking a slot does not make an underdeveloped Gadget automatically effective.
Which Tank should you upgrade first?
Upgrade Power first if you want the safest general recommendation. It turns a basic goal—remove the dangerous target—into visible progress and eventually rewards deliberate swim-form setup with Tank Surge. Power suits a first playthrough when you are still learning which Salmonids deserve immediate attention. Pair its aggression with a weapon that paints an exit, and avoid treating “head-on” as permission to stand still.
Upgrade Speed first if positioning is your strongest skill or biggest problem. Experienced Splatoon players can turn quick movement into continuous favorable angles, while newcomers who feel trapped may value an emergency reposition more than raw output. Speed is also attractive for route-heavy or timed missions. Judge it by successful conversions: after moving, did you reach safety, a weak point, an objective, or a clean damage window? If not, more mobility is not yet improving the run.
Upgrade Tactical first if you enjoy managing space. It is a strong personal choice for cautious solo play because a deployed tool can contest one direction while your weapon watches another. It also suits players who like preparing an arena before a wave fully develops. The price is attention: control Gadgets are strongest when placed early and weakest when thrown out reactively after enemies have already crossed your safe line.
In co-op, do not assume everyone needs a different Tank, and do not force a “tank, damage, support” party template onto the game. Enemy challenge scales with the group, and every player still needs to contribute damage, movement, and survival. A coordinated team can benefit from mixing roles—Tactical pressure holding a lane while Power deletes a priority target and Speed handles a distant objective—but duplicate Tanks are perfectly reasonable when the mission rewards the same answer repeatedly.
Before committing your first long Power Egg grind, run the same familiar mission once with each Tank using a comparable weapon. Record three things: clear time, healing or near-death moments, and how often a Gadget sat ready but unused. The fastest clear is useful evidence, but the Tank with fewer panic moments and higher Gadget use may scale better for you. Choose based on repeatable execution, not a single spectacular highlight.
Mid-game and endgame upgrade priorities
In the mid-game, stop thinking of upgrades as four independent bars and start building a complete combat loop. Decide how you open an encounter, how you sustain damage, how you escape, and how you recover ink. If two of those answers depend on Gadgets, Gadget Damage and Gadget Part Slots deserve more points. If your primary weapon handles three of them, Weapon Damage remains the efficient anchor.
Raise part capacity when it unlocks a specific functional breakpoint. Later parts can change duration, cooldown behavior, status application, activation, or area coverage, so the value of a slot is no longer just another small damage number. Save a screenshot or note of the combination you are trying to fit; then buy capacity only until that combination works. This avoids consuming points for empty theoretical flexibility.
Work toward one Ultra Tank, but route its secondary requirement early. A Power main should accumulate Speed eggs during missions where mobility is naturally helpful, rather than finishing 50,000 Power eggs and then starting an isolated 30,000-egg chore. Apply the same logic to Speed needing Tactical and Tactical needing Power. You preserve variety, learn the borrowed Gadget family, and know which cross-Tank option deserves the new third slot before Ultra arrives.
For endgame play, replace broad advice with testing. Use a repeatable encounter and compare one change at a time: a Gadget Damage point versus HP, one expensive part versus two cheaper parts, or a borrowed Gadget versus a third native one. Track clear time and failures across several attempts. A build that clears five seconds faster once but collapses twice is worse for farming than a slightly slower setup with dependable completion.
Do not chase a launch-week “best Tank” label as if it were permanent. Bottomless Buffet depth, mission rules, weapon powers, Relic Powers, and part rolls can all change what your loadout needs. Endgame progression should therefore prioritize coherence and uptime: enough health for the mistakes you realistically make, enough capacity for the parts you actually own, and enough damage to meet the encounter's pressure. The Tank is the framework; the whole loadout produces the result.
Tank upgrade FAQ and final checklist
Are Skill Point upgrades tied to one Tank?
The core stat investments made through the Tank upgrade screen apply across your Tanks, according to post-launch guide documentation. That means choosing Weapon Damage does not become wasted simply because you switch from Power to Speed. By contrast, Super and Ultra progress is use-specific: collect the required Power Eggs while the relevant Tank is equipped.
Can you switch Tanks after choosing one?
Yes. Nintendo explicitly presents Tank swapping between missions as part of experimentation. Recheck your Gadgets and Relic Powers after switching, because compatible equipment and saved loadout logic can change even when shared stat investments remain useful.
Can you reset spent Skill Points?
A post-launch progression guide reports that allocated points cannot be returned. Because an official English support page surfaced in our research does not spell out respec rules, treat spending as a commitment unless your current in-game menu clearly offers a reset after an update. This is another reason to buy upgrades that solve a measured problem instead of copying a maximum-level build.
Why will the limiter not release?
The limiter is a progression gate that stops one stat from racing too far ahead. First confirm that you have invested the required number of points across the available tracks and that your game is updated. Early release instructions involved a longer button input, but version changes can alter interface behavior; follow the prompt shown by your installed build.
What is the shortest recommended plan?
- Start Power for a simple damage-first route, unless Speed or Tactical clearly matches your habits.
- Take Weapon Damage when available; add HP when deaths are the real blocker.
- Buy Gadget Part Slots only when you have a valuable combination that needs the capacity.
- Reach Super with 50,000 Tank-specific Power Eggs and learn to activate its ability deliberately.
- Begin the 30,000-egg secondary Tank requirement before the Ultra grind feels like cleanup.
- At Ultra, select the third and borrowed Gadget to fix a missing function, not merely to fill buttons.
- Retest on the same encounter and keep the build that clears consistently, not the one with the flashiest single run.
Bottom line: Power plus early Weapon Damage is the dependable recommendation for an undecided beginner. Speed is better when positioning determines success, and Tactical is better when planned area control matches your thinking. Progress toward Ultra with its paired Tank in mind, then let your real mission results—not a universal ranking—decide the final build.

Loading comments...