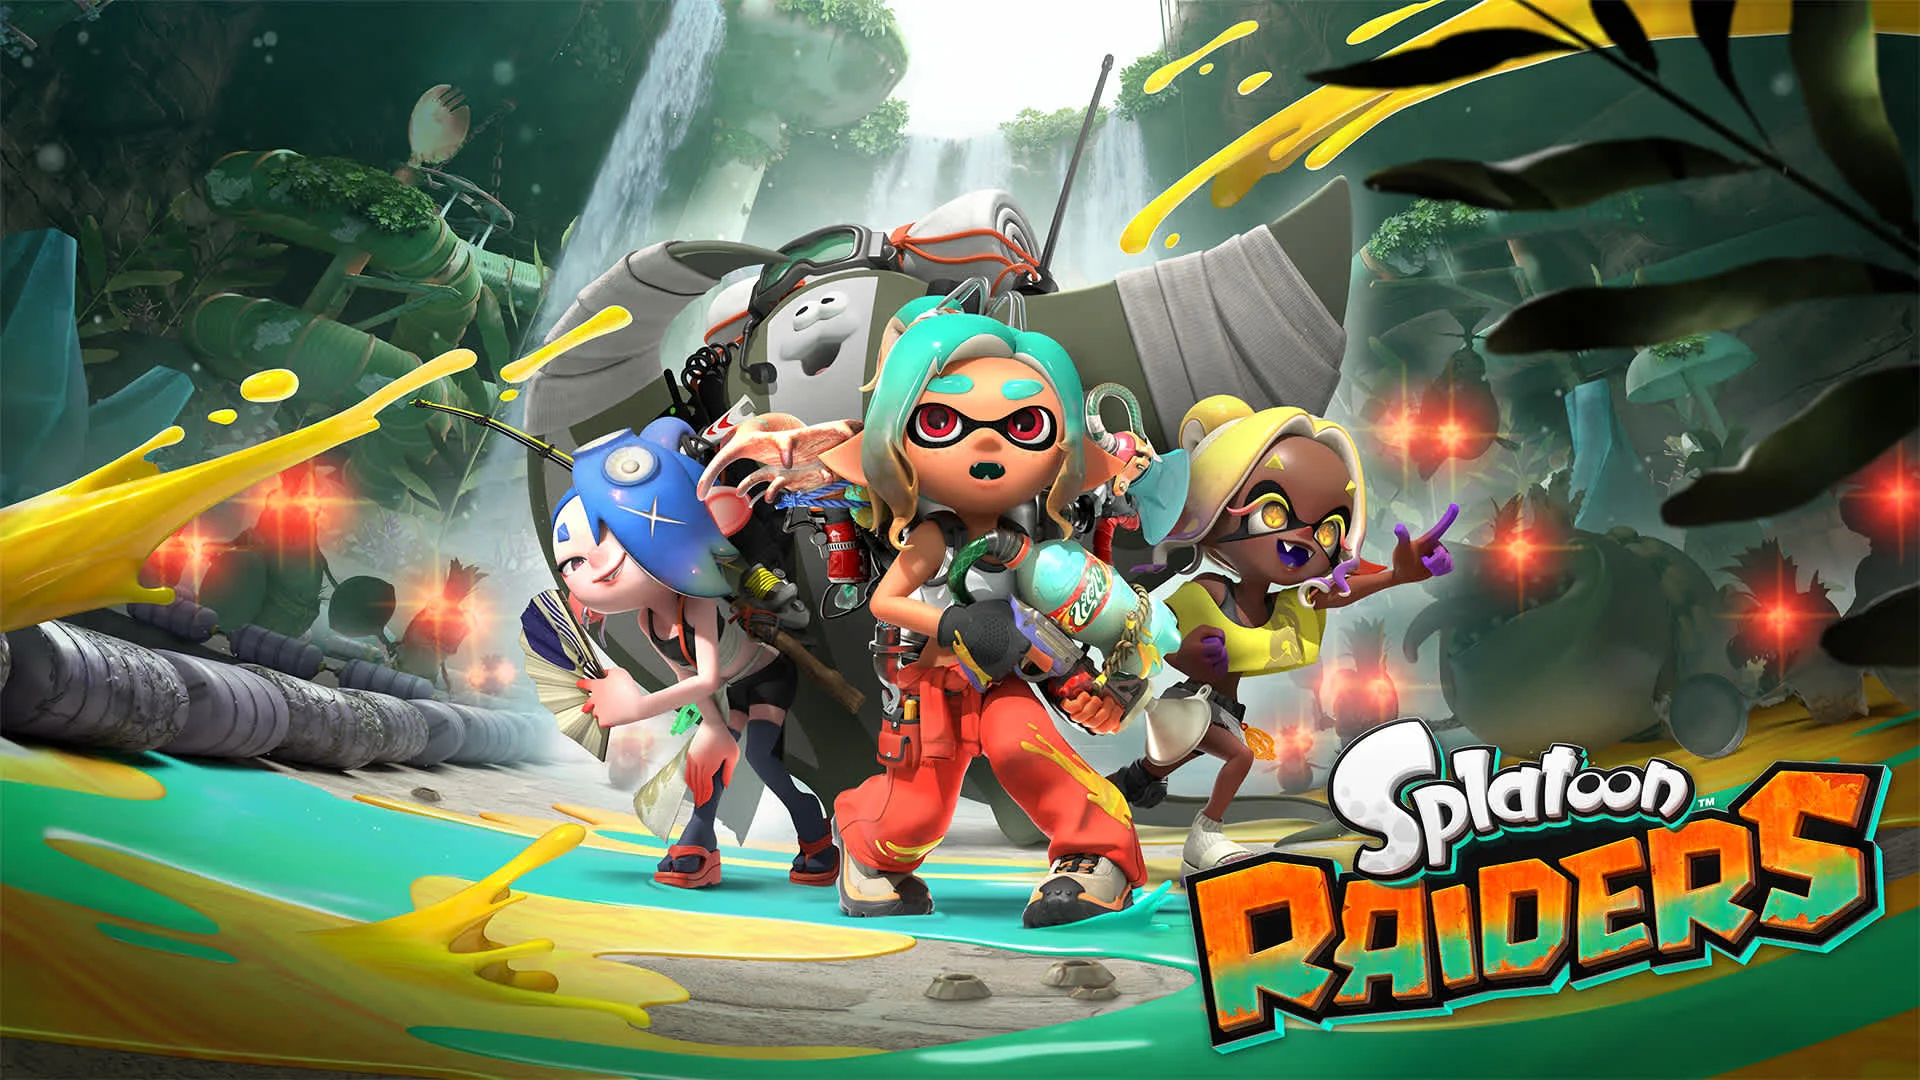
Splatoon Raiders lets you create the Mechanic as an Inkling or Octoling, choose appearance details, and later wear full-body outfits from Gear > Style. Outfits are cosmetic: they do not add abilities or stats, and their individual pieces cannot be mixed like headgear, shirts, and shoes in the mainline games. Your combat build comes from weapons, Tanks, Gadgets, parts, and upgrades.
Launch-week completion guides document 39 wardrobe entries. Most come from normal progression, while a small group requires multiplayer, demanding post-game milestones, or compatible amiibo. This guide separates base-character customization from outfits and groups every current unlock by the task it asks you to complete.
What can you customize in Splatoon Raiders?
Create an Inkling or Octoling Mechanic
The playable character is the Mechanic who travels with Deep Cut across the Spirhalite Islands. During character creation, you can choose an Inkling or Octoling look and adjust appearance details such as facial presentation, hairstyle, and color. Finished-game reviewers describe the creator as expressive but not enormous; it gives the protagonist a personal identity without becoming a separate gear-building system.
That distinction matters in co-op. Your base appearance and outfit communicate who your Mechanic is, while the equipment visible during a raid tells other players more about your role. Changing a hairstyle does not alter movement, and choosing an outfit does not turn a Speed build into a Power build.
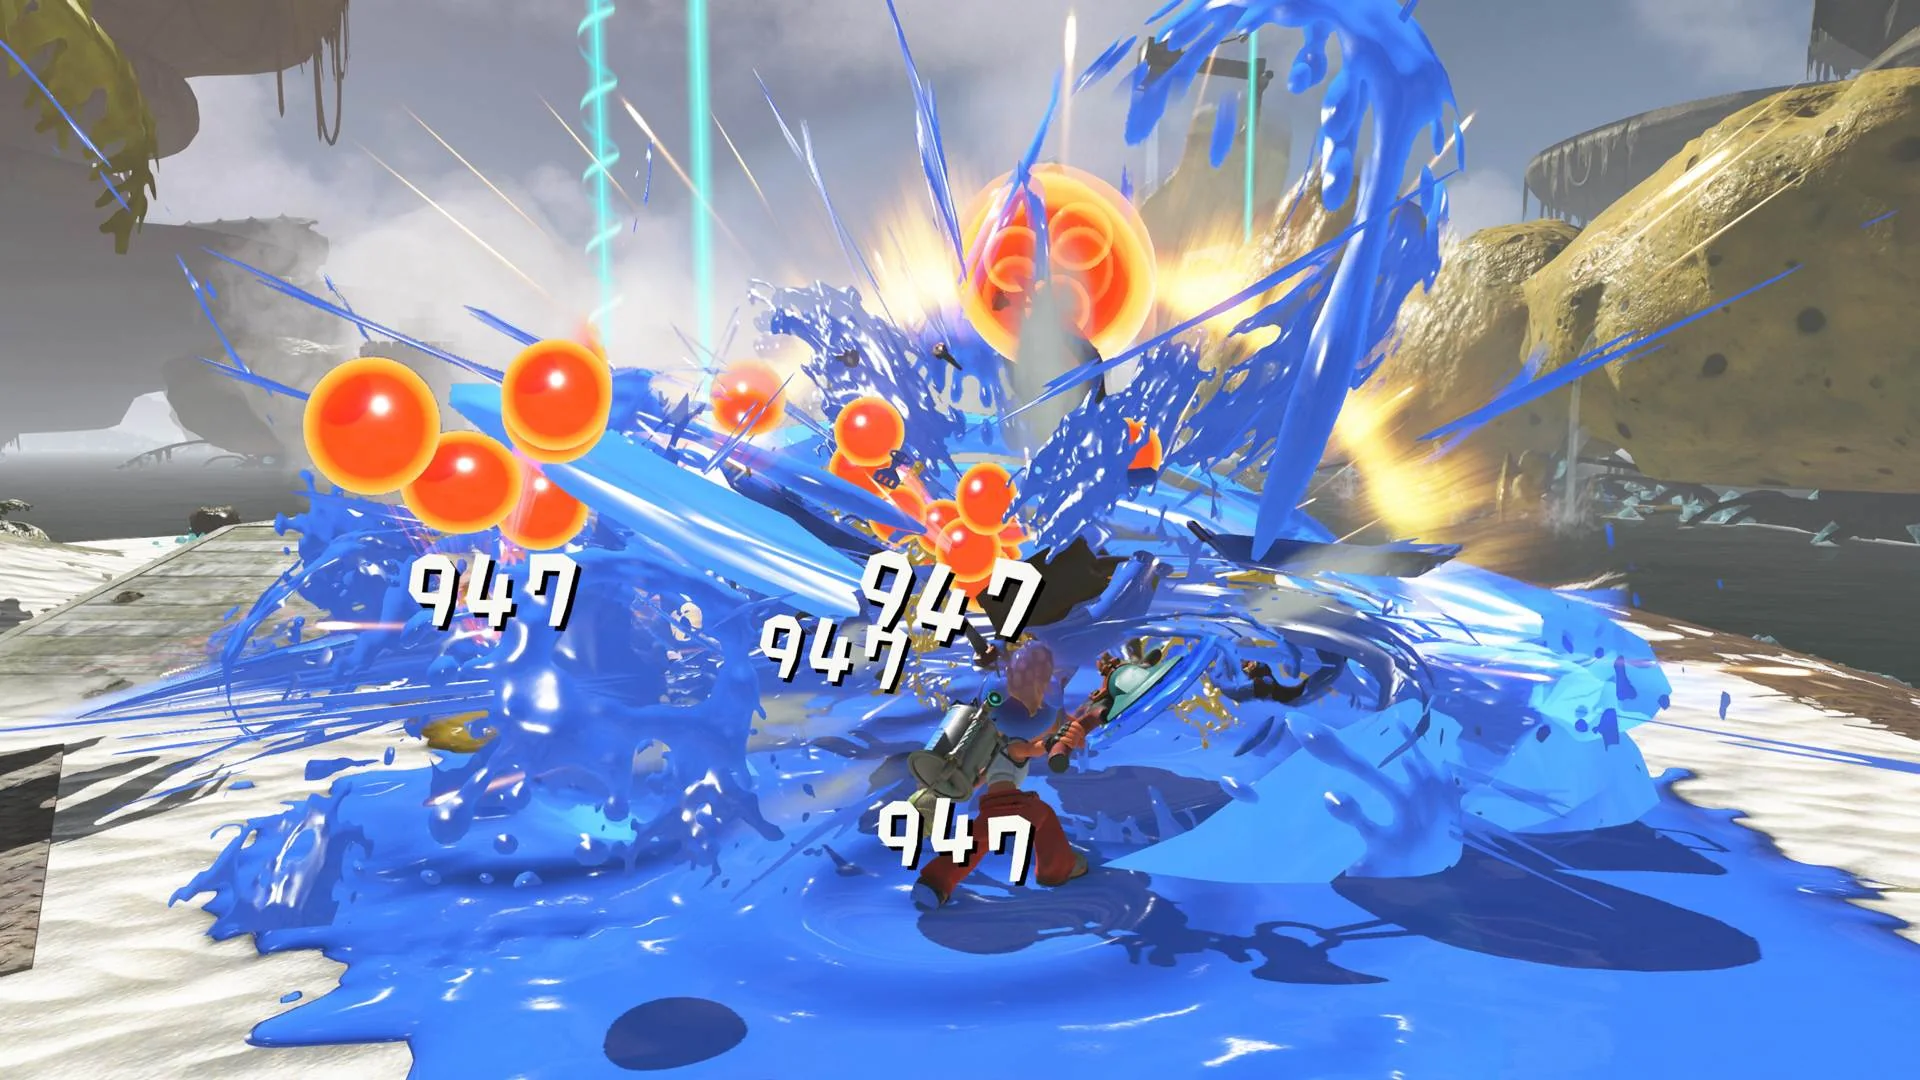
Base appearance, outfit, and combat loadout are separate
| Layer | What it changes | Combat effect |
|---|---|---|
| Base character | Inkling/Octoling presentation, facial details, hair, and color | None documented |
| Outfit | A fixed full-body cosmetic set | None |
| Weapon | Range, handling, damage pattern, level, and Weapon Powers | Direct |
| Tank and Gadgets | Mobility, power, battlefield-control tools, cooldowns, and parts | Direct |
This prevents a common mistake carried over from Splatoon 3: there is no reason to select a less-favorite Raiders outfit for an ability. Wear the look you enjoy, then configure power separately. If you are choosing equipment, use the Tank and Gadget Explorer rather than the wardrobe.
How to change appearance and outfits
- Open the Gear menu with the + button.
- Move to the far-right Style section.
- Select an unlocked outfit or an available appearance option.
- Confirm the choice and return to the Hideout or your next raid.
An outfit shown as unavailable has an unmet unlock condition. Raiders uses complete outfits, so selecting one changes the whole set rather than opening separate head, torso, and footwear slots. You can return to Style after unlocking a reward; Nintendo’s amiibo support instructions also direct players to this menu after a successful scan.
Appearance can be revisited from Gear, but do not assume every creator choice has the same editing rules without checking the prompt on your current save. The wardrobe behavior is clear; some guides use “appearance” broadly and do not audit each individual creator field.
All 39 Splatoon Raiders outfits and unlock requirements
Completion spoiler warning: the tables below name Super Spicy objectives, the Salmonarch, hidden-ruins completion, Bottomless Buffet floors, and other late-game milestones. Skip to “Do outfits affect stats?” for a spoiler-light answer.
The following checklist reflects launch-week documentation checked on July 28, 2026. Three Raiders-amiibo rewards and the all-relic reward do not have reliable published in-game outfit names in the sources reviewed, so they are described instead of given invented names.
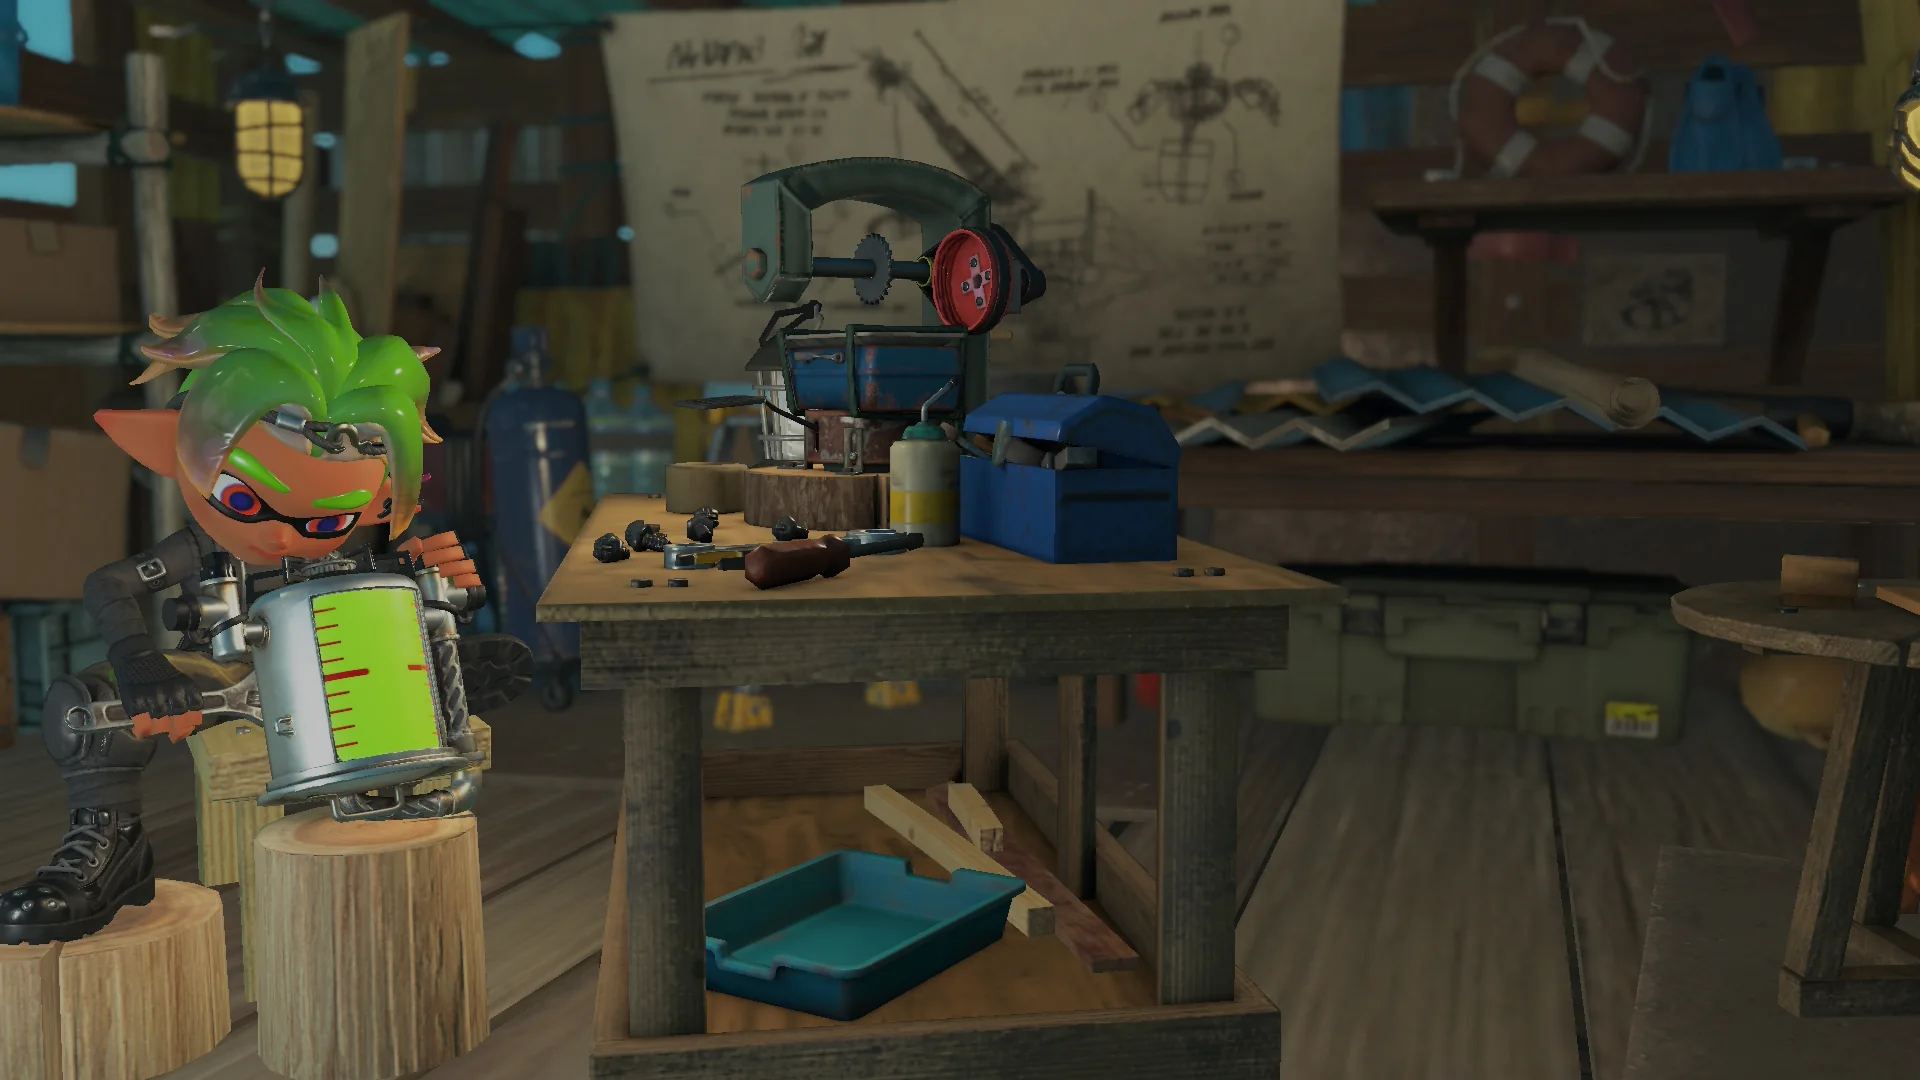
Starting, Gadget, and raid milestones
| # | Outfit | Unlock requirement |
|---|---|---|
| 1 | Speed Mechanic | Available from the start |
| 2 | Power Mechanic | Available from the start |
| 3 | Tactical Mechanic | Available from the start |
| 4 | Sea-Lettuce Camo | Develop 3 Speed Tank Gadgets |
| 5 | Seaweed Camo | Develop 3 Power Tank Gadgets |
| 6 | Algae Camo | Develop 3 Tactical Tank Gadgets |
| 7 | Plane Craft | Clear 5 Dens |
| 8 | Hammer Craft | Clear 5 Dungeons |
| 9 | Bond Craft | Clear 5 Dungeons on Spicy or harder |
The three Mechanic looks are immediate choices. The Camo trio is a sensible early target only when the Gadgets are genuinely useful; crafting three weak tools solely for an outfit can consume resources needed by your main build. Plane Craft and Hammer Craft should arrive naturally while exploring.
Level, Tank, and multiplayer milestones
| # | Outfit | Unlock requirement |
|---|---|---|
| 10 | Sparkle Prism | Reach character level 10 |
| 11 | Shiny Prism | Reach character level 30 |
| 12 | Heartbeat Prism | Reach character level 50 |
| 13 | Super Squid Ink | Power up any Tank once |
| 14 | Ultra Squid Ink | Power up any Tank twice |
| 15 | Triple Squid Ink | Power up all three Tanks twice |
| 16 | Over Here Workwear | Create or join a multiplayer room and clear a Dungeon |
| 17 | Help Workwear | Call for help and clear a Dungeon in multiplayer |
| 18 | Booyah Workwear | Answer a call for help and clear a Dungeon in multiplayer |
The Prism outfits are passive level milestones. Super and Ultra Squid Ink align with strengthening a main Tank, while Triple Squid Ink requires cross-Tank investment. The Workwear trio represents three different multiplayer actions. Organize a session that creates a room, calls for help, and answers another player rather than treating them as three unrelated grinds. The multiplayer guide explains rooms and Help features.
Hideout, weapon, and Gadget-part milestones
| # | Outfit | Unlock requirement |
|---|---|---|
| 19 | Red Paradise | Reach Hideout Ship level 2 |
| 20 | Purple Paradise | Reach Hideout Ship level 3 |
| 21 | Blue Paradise | Construct Weapon Power Swapping and Part Development |
| 22 | Crimson Punk | Swap or upgrade a Weapon Power |
| 23 | Fishbone Punk | Scrap 10 weapons |
| 24 | Checkmate Punk | Upgrade a weapon to +5 |
| 25 | Dusk Avant-Garde | Develop 10 Gadget parts |
| 26 | Dawn Avant-Garde | Develop one Gadget part at 4-star rarity or better |
| 27 | Twilight Avant-Garde | Upgrade 10 Gadget parts |
These nine entries reward using the Hideout’s systems. Blue Paradise naturally prepares Crimson Punk, while normal weapon comparison creates scrap candidates for Fishbone Punk. Lock favorite, Primo, five-star, or unusual Power combinations before dismantling anything. An outfit is not worth accidentally destroying a weapon you cannot easily replace.
Gadget-part tasks can consume substantial materials. Build parts for tools you already use, then spread upgrades when your core loadout is stable. This advances both the wardrobe and raid strength instead of turning customization into a separate resource sink.
Completion, post-game, and amiibo milestones
| # | Outfit | Unlock requirement |
|---|---|---|
| 28 | Speedster Bot Pro | Earn rank A on all arcade games |
| 29 | Genius Bot Pro | Collect all hidden-ruins treasure |
| 30 | Clairvoyant Bot Pro | Clear all Dungeons on Super Spicy |
| 31 | Golden Flash | Clear floor 30 of Bottomless Buffet |
| 32 | Golden Fever | Clear floor 60 of Bottomless Buffet |
| 33 | Golden Forever | Clear floor 100 of Bottomless Buffet |
| 34 | Dingy Tank Top | Defeat the Salmonarch |
| 35 | Relic-completion outfit (published name unconfirmed) | Collect all relics |
| 36 | Bite Waders | Scan a compatible non-Raiders Splatoon-series amiibo |
| 37 | Shiver-themed outfit (published name unconfirmed) | Scan the Shiver (Splatoon Raiders) amiibo |
| 38 | Frye-themed outfit (published name unconfirmed) | Scan the Frye (Splatoon Raiders) amiibo |
| 39 | Big Man-themed outfit (published name unconfirmed) | Scan the Big Man (Splatoon Raiders) amiibo |
The Bot Pro and Golden sets are completion goals, not early wardrobe errands. Clairvoyant Bot Pro asks for broad Super Spicy mastery, while Golden Forever sits at the deepest documented Bottomless Buffet milestone. Build around survival and consistency before pursuing them.
The final four entries are hardware-dependent rather than gameplay challenges. Nintendo officially confirms that the three Raiders figures unlock outfits themed after Shiver, Frye, and Big Man. Bite Waders is documented by launch-week guides as the reward for other compatible Splatoon-series amiibo. Availability and product packaging vary by region.
Fastest route to a larger wardrobe
- Take passive wins first: starting Mechanic sets, level 10, the first Tank power-up, Hideout level 2, and normal Den/Dungeon milestones.
- Develop useful Gadgets: earn Camo progress without creating tools you will never equip.
- Batch the Workwear trio: plan one multiplayer session that uses rooms and both sides of the Help system.
- Use the Hideout deliberately: reach facility milestones, swap one worthwhile Weapon Power, and scrap only reviewed duplicates.
- Build Gadget parts around a real loadout: the Avant-Garde requirements should improve combat at the same time.
- Leave completion outfits for last: arcade ranks, every relic, Super Spicy clears, and Bottomless Buffet require broader progress.
This route prevents cosmetic goals from weakening progression. The fastest wardrobe is not the one produced by spending every Shard immediately; it is the one whose requirements overlap the upgrades and activities you already need.
Do outfits affect stats or abilities?
No. Current finished-game guides consistently report that every outfit is purely cosmetic. There are no outfit ability slots to optimize, and a Golden or amiibo look is not stronger than a starting Mechanic set. Pick clothing for appearance without worrying about raid damage or survival.
Weapons determine attack behavior and can carry Weapon Powers. Tanks shape the class direction, while compatible Gadgets and their parts provide active tools and modifications. General upgrades and relic effects supply other combat benefits. Those systems—not Style—should guide a difficult-raid build.
How amiibo outfit unlocks work
Nintendo’s support page says amiibo scanning becomes available after completing the first three raids. From the Hideout Ship, open the menu with X, choose amiibo, then touch the figure to the controller’s NFC point. A successful Shiver, Frye, or Big Man Raiders scan unlocks the corresponding character-themed outfit. Equip it afterward in Style.
A figure is a purchase and regional stock can change, so do not design a gameplay completion plan around an amiibo you do not own. For current platform, release, and product basics, see the game information guide.
Character customization FAQ
Can you change from an Inkling to an Octoling later?
Appearance can be revisited from the Gear/Style area according to current walkthroughs, but confirm the specific species prompt on your save before relying on it. Outfit changes are clearly available at any time from Style.
Can you mix outfit pieces?
No. Launch-build outfits are fixed full-body looks rather than separate headgear, shirt, and shoe items.
Are any outfits missable?
The documented requirements are persistent progression, repeatable challenge, multiplayer, collection, or amiibo conditions rather than one-time dialogue choices. Patch or event additions could change the wardrobe later.
Do you need Nintendo Switch Online for every outfit?
Most outfits are earned solo. The three Workwear entries specifically require multiplayer actions; online play requirements depend on how you connect. Local wireless and online options are different, so check the multiplayer guide for your setup.
Why does my wardrobe count not match 39?
Some slots remain grey until their condition is met, and four entries require compatible amiibo. Also check the game version: the 39-entry checklist reflects launch-week documentation and may change with updates.
Use Style for expression and Gear for power. Batch overlapping milestones, protect rare weapons before scrapping, and let the difficult outfits arrive as proof of progress rather than a reason to stall it.
Loading comments...